40
(2) Installing the air unit
WARNING :
To protect against possible personal injury due to abrupt start of the machine, be sure to start the
following work after turning the power off and ascertaining that the motor is at rest.
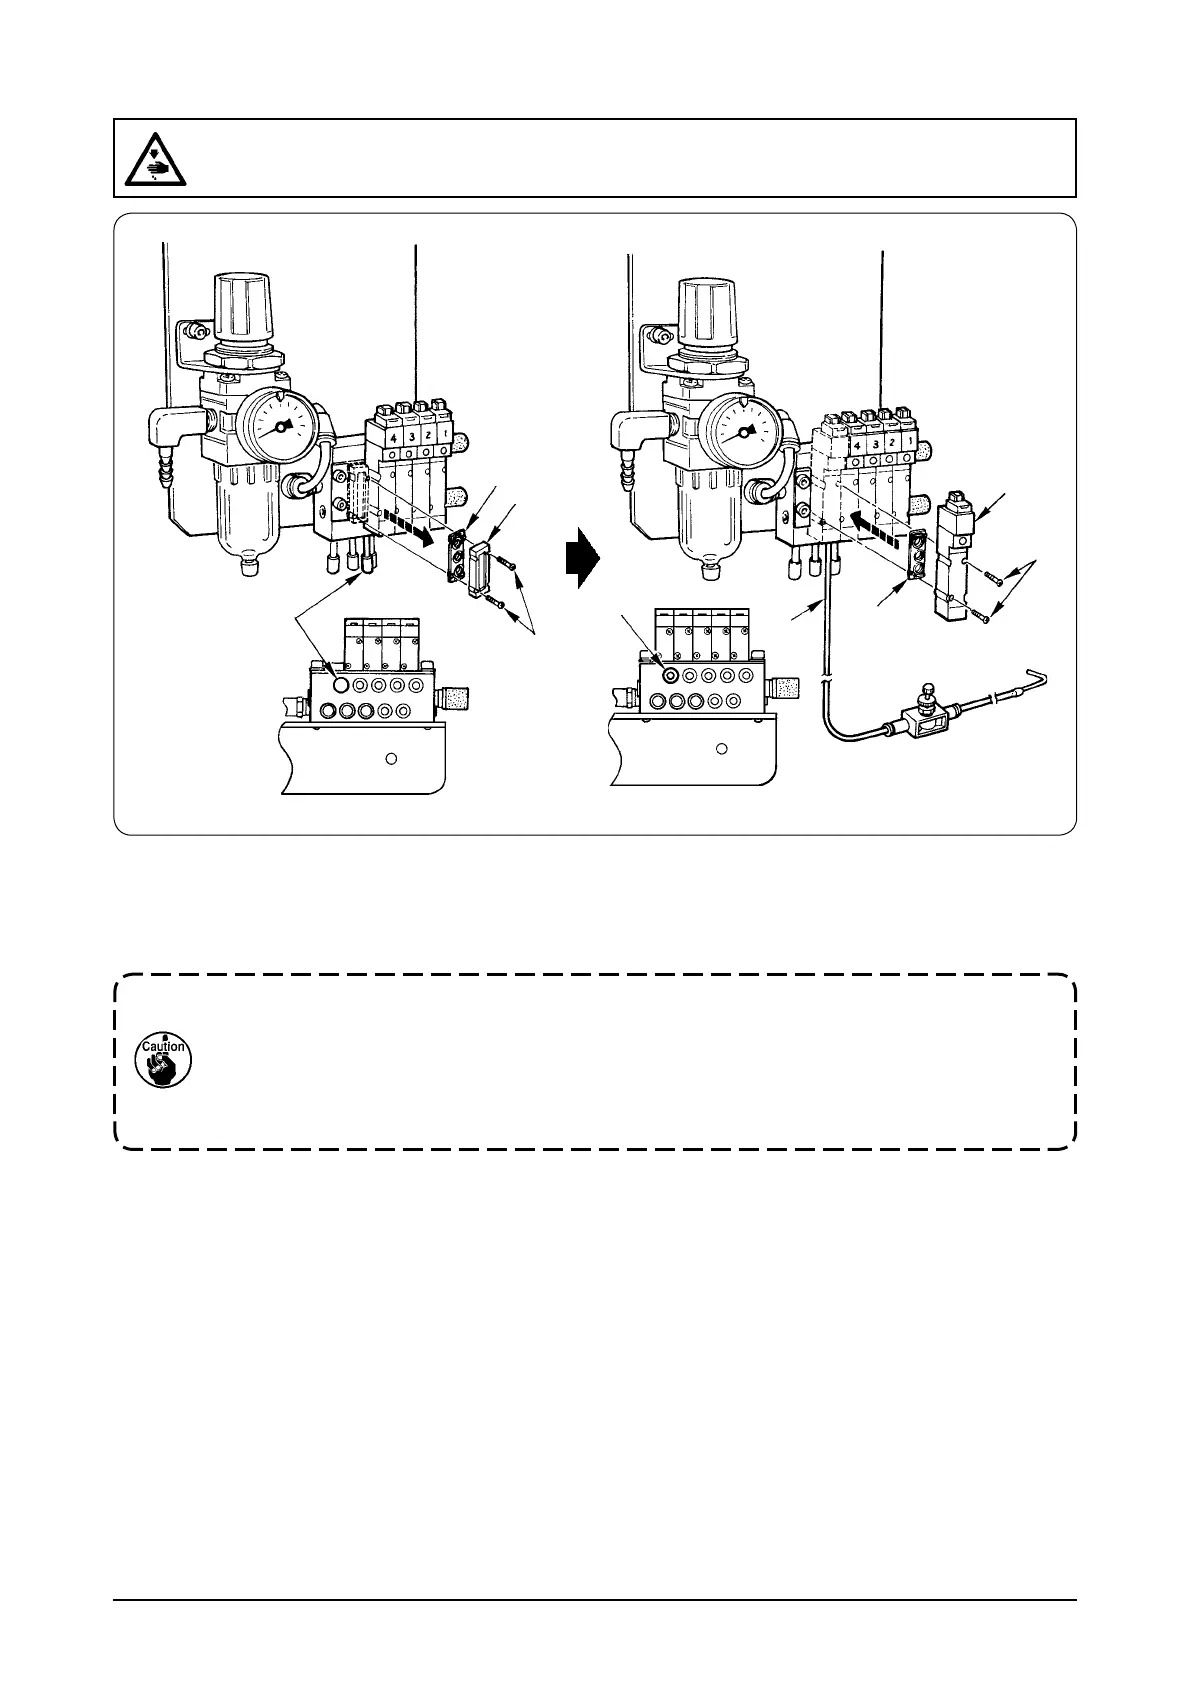
[In case of the machine with thread trimmer]
1) Remove screw
1
and remove plate
2
and gasket
3
.
2) Draw out plug
4
.
3) Install solenoid valve
5
and gasket
6
in the needle cooler for the machine with thread trimmer using screws
7
.
™
When tightening screws
7
:
• Air leaks when tightening the screws excessively loose.
• Screw thread breaks when tightening the screws excessively tight.
Be careful when tightening the screws since the aforementioned matters may occur.
The standard of tightening torque is 0.17 N·m.
™
When installing solenoid valve
5
, be careful that gasket
6
does not slip out of position.
4) Connect air tube
8
in the needle cooler to hole
9
.
*
For the installing position, refer to the drawing of the table for reference.
8
1
4
2
3
6
7
5
9
 Loading...


