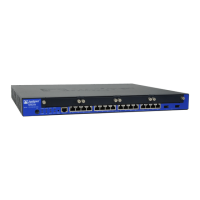
NOTE: If you are removing a double-high, double-wide GPIM such as the
24-Port Ethernet XPIM, you must reinstall the center GPIM slot bracket.
6. Using a Phillips (+) screwdriver, loosen the captive screws on each side of the GPIM
faceplate.
7. Grasp the handles on each side of the GPIM faceplate, and slide the GPIM out of the
services gateway.
8. Place the GPIM in an electrostatic bag or on an antistatic mat.
9. If you are not reinstalling a GPIM into an empty slot, install a blank GPIM faceplate
over the empty slot to maintain proper airflow. If you are reinstalling another GPIM
into the empty slot, see “Installing a Gigabit-Backplane Physical Interface Module on
the SRX Series Services Gateway” on page 256.
NOTE: When installing a blank GPIM faceplate, make sure that the padded
side of the faceplate is facing up.
Related
Documentation
• Removing a Blank Gigabit-Backplane Physical Interface Module Faceplate from the
SRX Series Services Gateway on page 255
• Installing a Gigabit-Backplane Physical Interface Module on the SRX Series Services
Gateway on page 256
• Required Tools and Parts for Replacing a Gigabit-Backplane Physical Interface Module
on page 245
Copyright © 2015, Juniper Networks, Inc.262
SRX Series Services Gateways for the Branch Physical Interface Modules Reference

 Loading...