Repair GL16
7-40
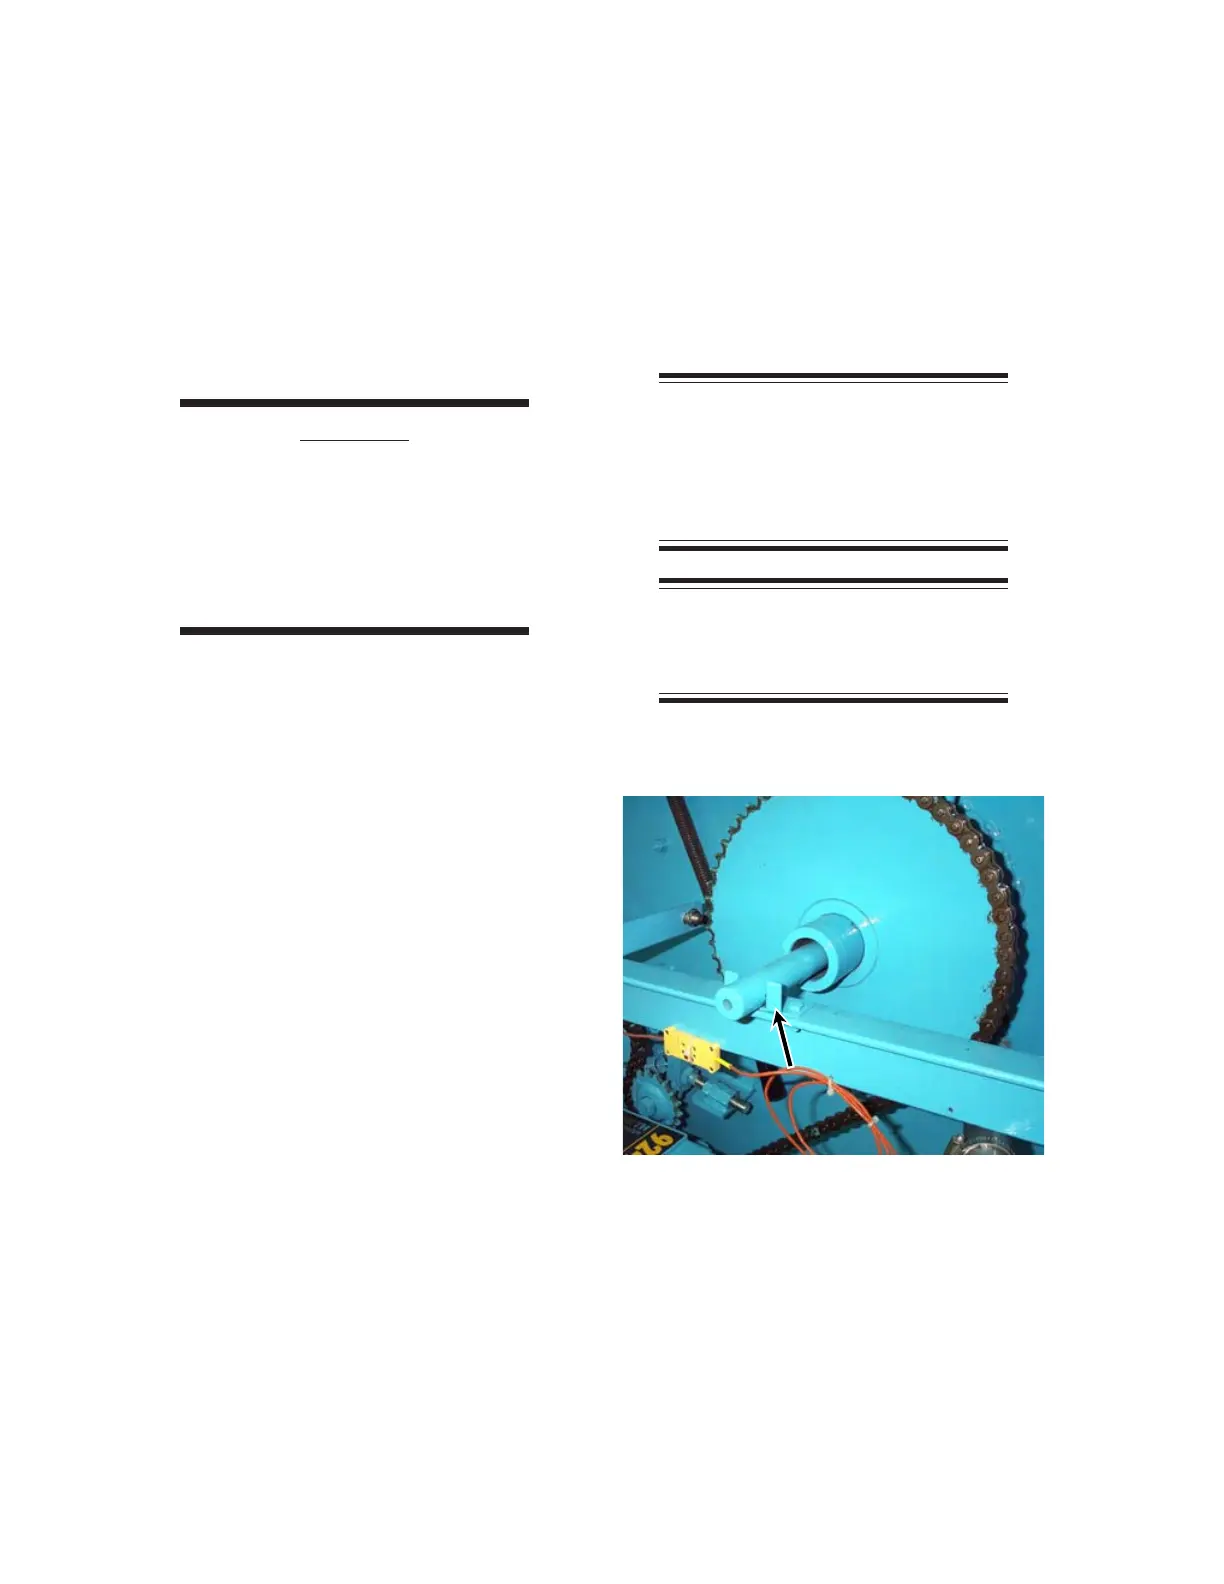
17. Inside the right end frame, remove the
bracket that holds the burner tail pipe in
position (Figure 7-40).
18. Place the 1" x 4' (25 mm x 1220 mm) wa-
ter pipe over the burner tail pipe in the
right end frame. Be careful in removing
the pipe to avoid letting the tail pipe bang
against the bottom of the ironing cylinder.
CAUTION
The burner assembly is very
heavy and will rotate when it
is removed. Support the
assembly from both
ends during removal
and replacement.
19. Place a large C-clamp on the air mixer
and use it as a hand hold to help balance
and support the assembly.
20. Disconnect the main burner pipe union
(Figure 7-39, D).
21. Be sure to support the burner assembly.
Remove the U-bolt (Figure 7-39, E) in the
left end frame that secures the burner as-
sembly to its support.
22. Remove the burner assembly slowly while
pushing the 1" x 4' (25 mm x 1220 mm)
pipe from the right side.
23. Stop moving the assembly before the tail
pipe clears the support hole at the right
end. The two people at the left end should
now push down slightly on the burner as-
sembly to keep it from falling onto the heat
shield inside the cylinder. (If a 4' pipe is
used, fully insert, then push down).
24. Continue moving the burner assembly out
slowly.
Figure 7-40: Burner tail pipe bracket.
25. Continue sliding the burner assembly
slowly out of the ironing cylinder. When
the tail pipe reaches the left end, the burner
assembly should be lifted so the tail pipe
can clear the cylinder.
26. Place the burner assembly on a sturdy
work table.
NOTE: This is a good time to
remove and clean the heat
shield Make sure to install the
heat shield with the “short”
section inserted first.
NOTE: Wear gloves to protect
hands from sharp edges during
heat shield removal.
 Loading...