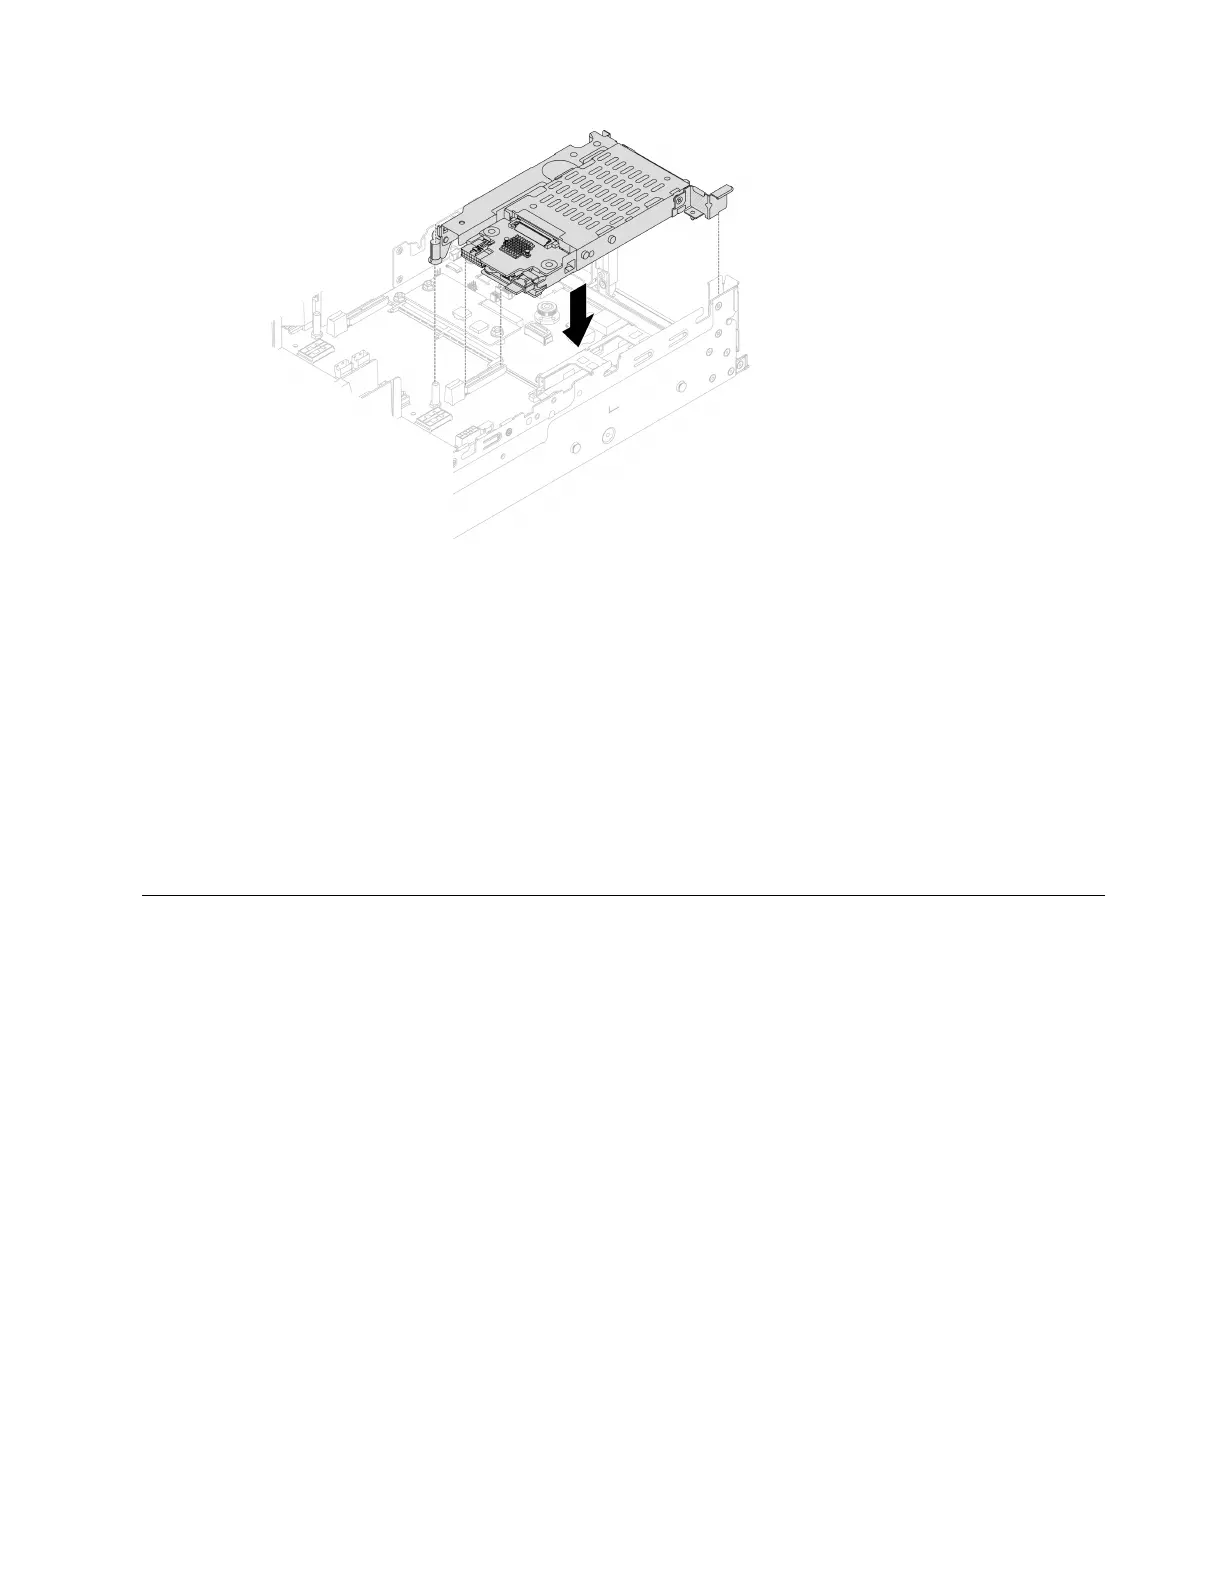
Figure 179. Installing the 7mm SSD riser cage
Step 4. Connect the cables to the backplanes. See
Chapter 6 “Internal cable routing” on page 281.
After you finish
1. Reinstall all the drives and fillers (if any) into the drive bays. See “Install a hot-swap drive” on page 134.
2. Complete the parts replacement. See
“Complete the parts replacement” on page 279.
Demo video
Watch the procedure on YouTube
Rear drive backplane and drive cage replacement
Follow instructions in this section to remove and install rear drive backplanes and drive cages.
•
“Remove the 4 x 2.5" drive backplane and drive cage” on page 213
• “Install the 4 x 2.5" drive backplane and drive cage” on page 215
• “Remove the 8 x 2.5" drive backplane and drive cage” on page 217
• “Install the 8 x 2.5" drive backplane and drive cage” on page 218
• “Remove the 2 x 3.5" drive backplane and drive cage” on page 220
• “Install the 2 x 3.5" drive backplane and drive cage” on page 221
• “Remove the 4 x 3.5" drive backplane and drive cage” on page 223
• “Install the 4 x 3.5" drive backplane and drive cage” on page 225
Remove the 4 x 2.5" drive backplane and drive cage
Follow instructions in this section to remove the rear 2.5-inch 4-bay drive backplane and drive cage.
About this task
Attention:
Chapter 5. Hardware replacement procedures 213

 Loading...


