Page 21 of 88 TP1A072–3 English
Aug 2017
Linx 10 Operating Manual —
Create, edit, and manage messages
Linx 10
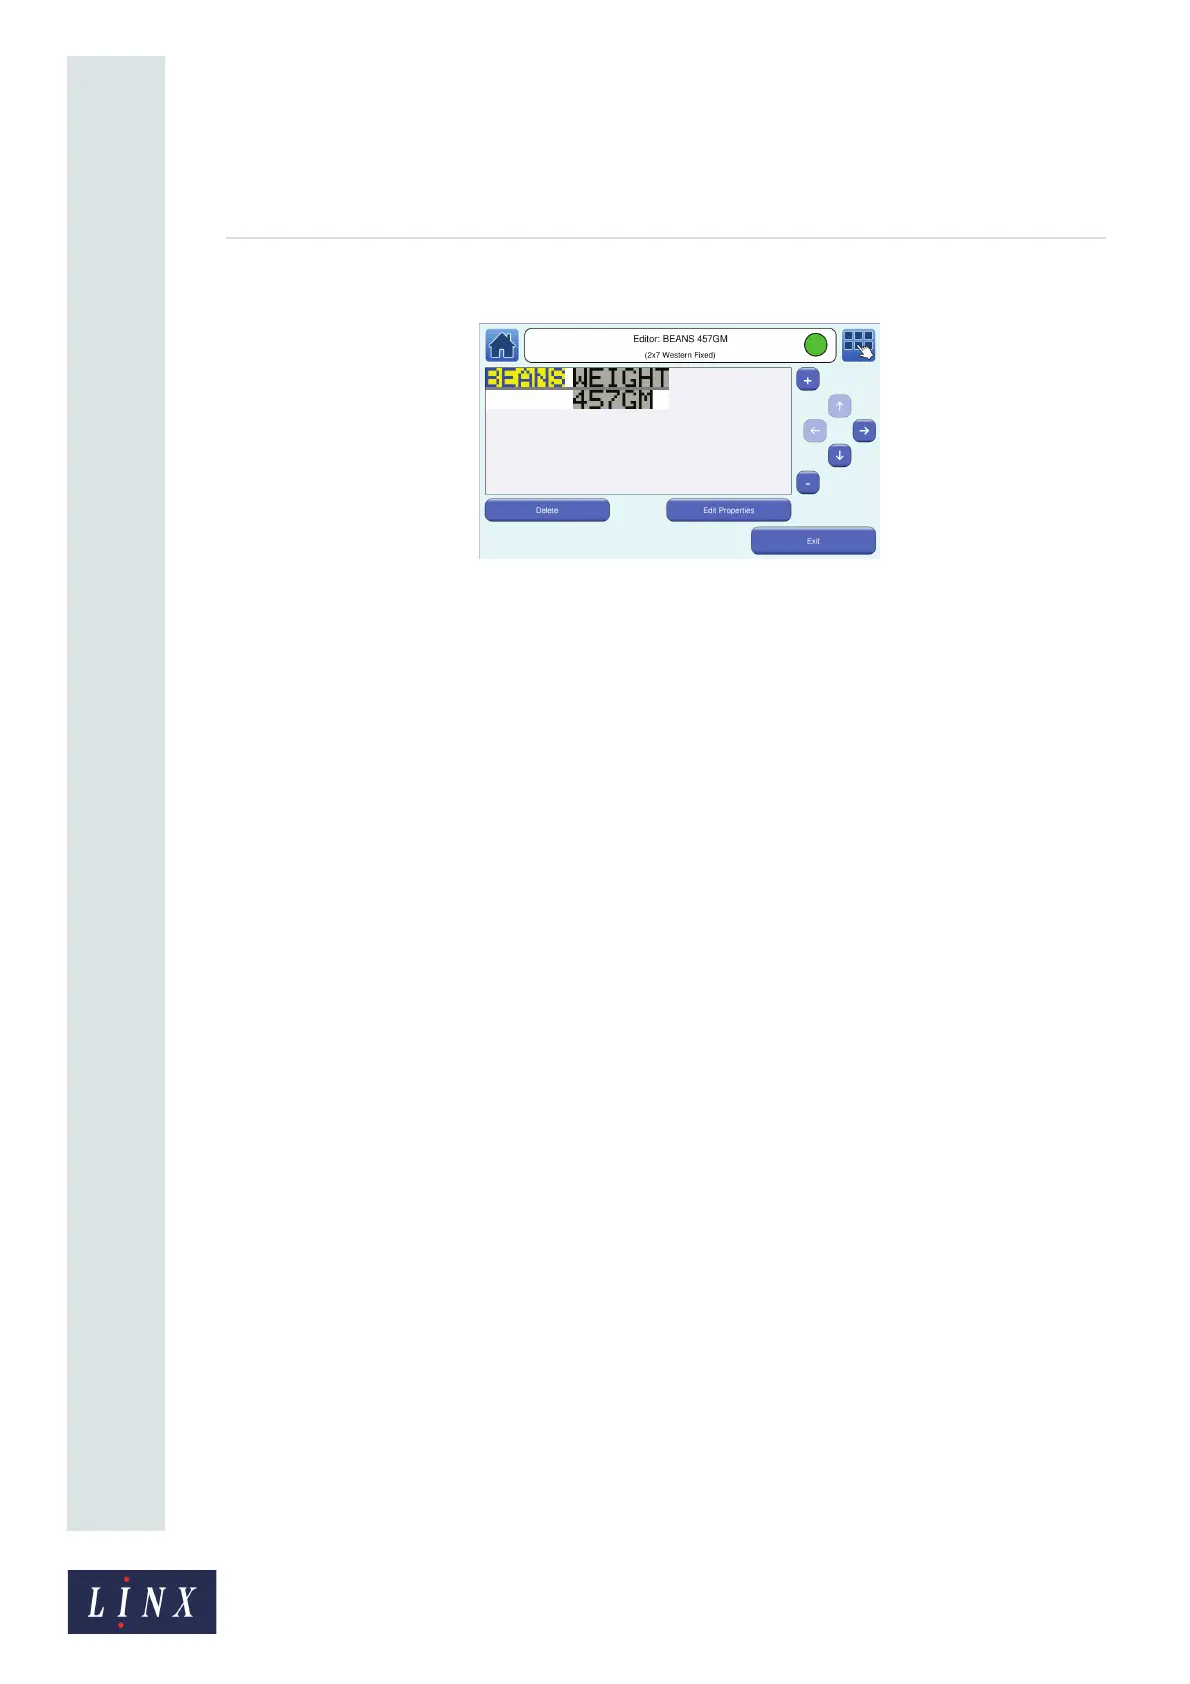
3 Touch the Text field that you want to edit. The selected field is highlighted in yellow.
Figure 20. Edit a Text field
4 Touch the Edit Properties button to display the Text Field Properties screen (see below for
more information about Field Properties options for other types of field). You can edit the
following Text Field Properties:
• Text—displays the Enter Text screen where you can edit your entered text. Use the Scroll
buttons to scroll through your entered text. Use the keyboard to insert a character, or
touch the Backspace button to delete a character.
• Font Name—select the required font from the list. You must also select a font size.
• Font Size—select the required font size from the list.
NOTE: You cannot change the font size for fixed message styles.
• Bold Factor— select a value in the range x1 to x10.
• Inter Character Gap—allows you to specify an inter character gap of between 1 and 10
rasters for the field. If an inter character gap is set for a field, the field is printed with that
number of rasters between the characters.
• Character Rotation—rotates the characters in the selected field by 0, 90, 180, or 270
degrees to the right.
• Field Rotation—rotates the selected field by 0, 90, 180, or 270 degrees to the right.
NOTE: If you rotate a field, the field can move outside the message area and will not print
correctly. The printer applies a red highlight to indicate any field that is outside the
message area. If necessary, you can adjust the font size to make sure that the field fits
in the message area.
• Prompt User—enables Prompted fields functionality for the field. Prompted fields are
fields within a standard Text field that, when the message is selected, require the user to
enter or select text before the message is printed. See ‘Add a Prompted field’ on page 66
for more information about Prompted fields.
5 Select and set the options you require, and then touch the Exit button to return to the Editor
screen.
6 When the changes to the field are complete, touch the Exit button to return to the Editor
screen where you can add or edit other fields, and save or discard the changes to your
message.