Page 30 of 88 TP1A072–3 English
Aug 2017
Linx 10 Operating Manual —
Change the printer setup
Linx 10
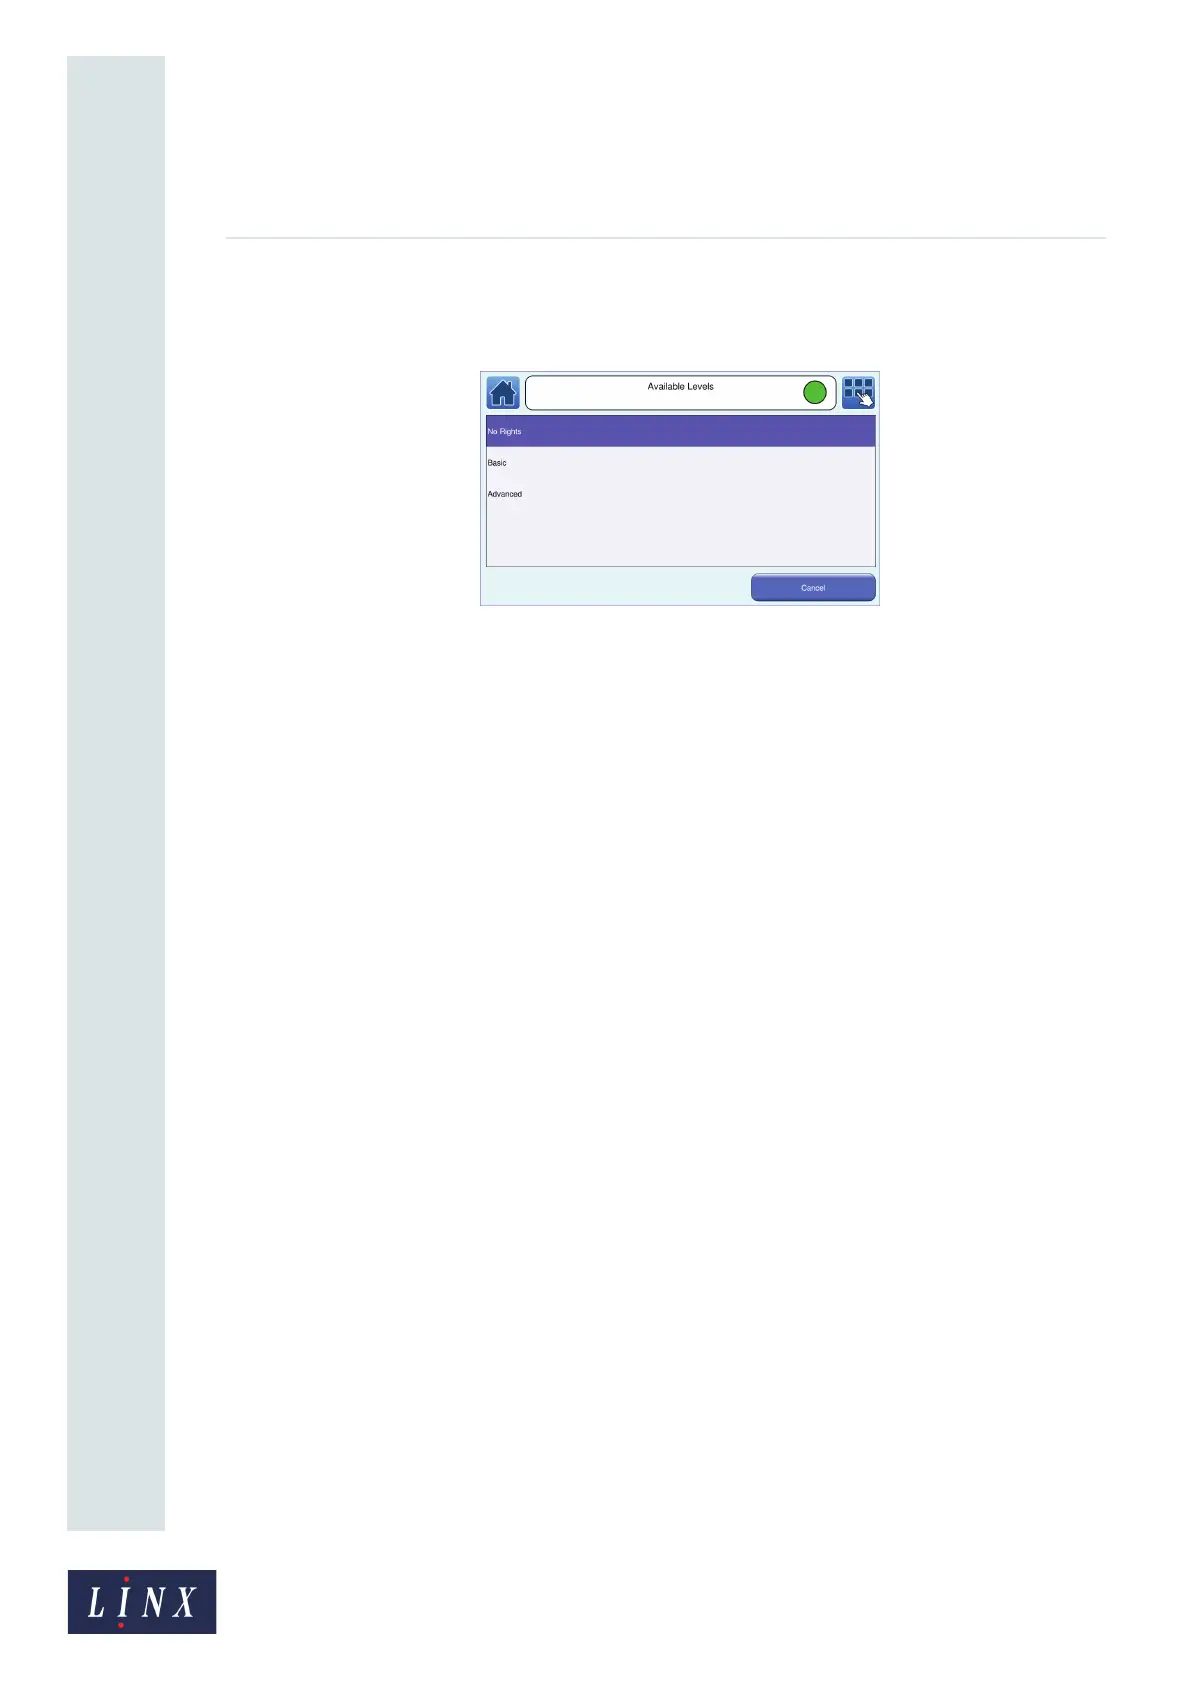
You can set a level of user access for each printer function. Touch the name of a printer
function (for example, “Message Store”) to set security access rights for that function. The
printer displays the Available Levels screen.
Figure 26. Available Levels screen
NOTE: Touch the Help button on the Printer Functions screen to display information about
the security access rights for each printer function.
5 Touch the name of the level of security access rights to set the access right and return to the
Printer Functions screen.
6 Repeat steps 4 and 5, as required, to add security access rights for other printer functions.
7 On the Printer Functions screen, touch the Exit button to return to the User Management
screen.
Delete User
To delete a user, touch the Delete User button. The printer displays the Delete User screen with a list
of users. Touch the name of the user to delete. The printer displays a confirmation screen. Touch the
Yes button to delete the user. Touch the No button to return to the Delete User screen.
Edit User
To edit security access rights for an existing user, touch the Edit User button to display the Select
User screen with a list of users. Touch the name of the user to edit. The printer displays the Printer
Functions screen. You can edit security access rights as shown in ‘Add User’ on page 29.
Change PIN Code
To change a PIN code for a user, touch the name of the user to edit. The printer displays the Enter
New PIN Code screen. Enter the new PIN code for that user, and then touch the Save button to
display the Confirm New PIN Code screen. Enter the new PIN code again, and then touch the Save
button. The printer displays a message to confirm that your PIN code is changed. Touch the OK
button to return to the Change PIN Code screen.
4.1.5 Change Your PIN Code
This option allows you to change the PIN code of the logged in user. Touch the Change Your PIN
Code button to display the Enter Current PIN Code screen. Enter your current PIN code, and then
touch the Save button to display the Enter New PIN Code screen. Enter your new PIN code, and then
touch the Save button to display the Confirm New PIN Code screen. Enter the new PIN code again,
and then touch the Save button. The printer displays a message to confirm that your PIN code is
changed. Touch the OK button to return to the Printer Setup screen.