Page 29 of 88 TP1A072–3 English
Aug 2017
Linx 10 Operating Manual —
Change the printer setup
Linx 10
You can assign the following levels of security access rights to users:
• No Rights—the user cannot access any of the related printer functions.
• Basic—the user can access some of the related printer functions.
• Advanced—the user can access all of the related printer functions.
Add User
1 Touch the Add User button to display the Enter User Name screen.
2 Enter a name for the user and touch the Enter button to display the Enter PIN Code screen.
Enter a PIN code for the user.
NOTE: A PIN code for an Operator must have a minimum of four digits. A PIN code for a
Supervisor must have a minimum of six digits. A user that can create other users
(with Advanced security access rights for Security Settings) must have a PIN code
with a minimum of six digits.
3 Touch the Save button to display the Confirm PIN Code screen. Enter the PIN code again,
and then touch the Save button.
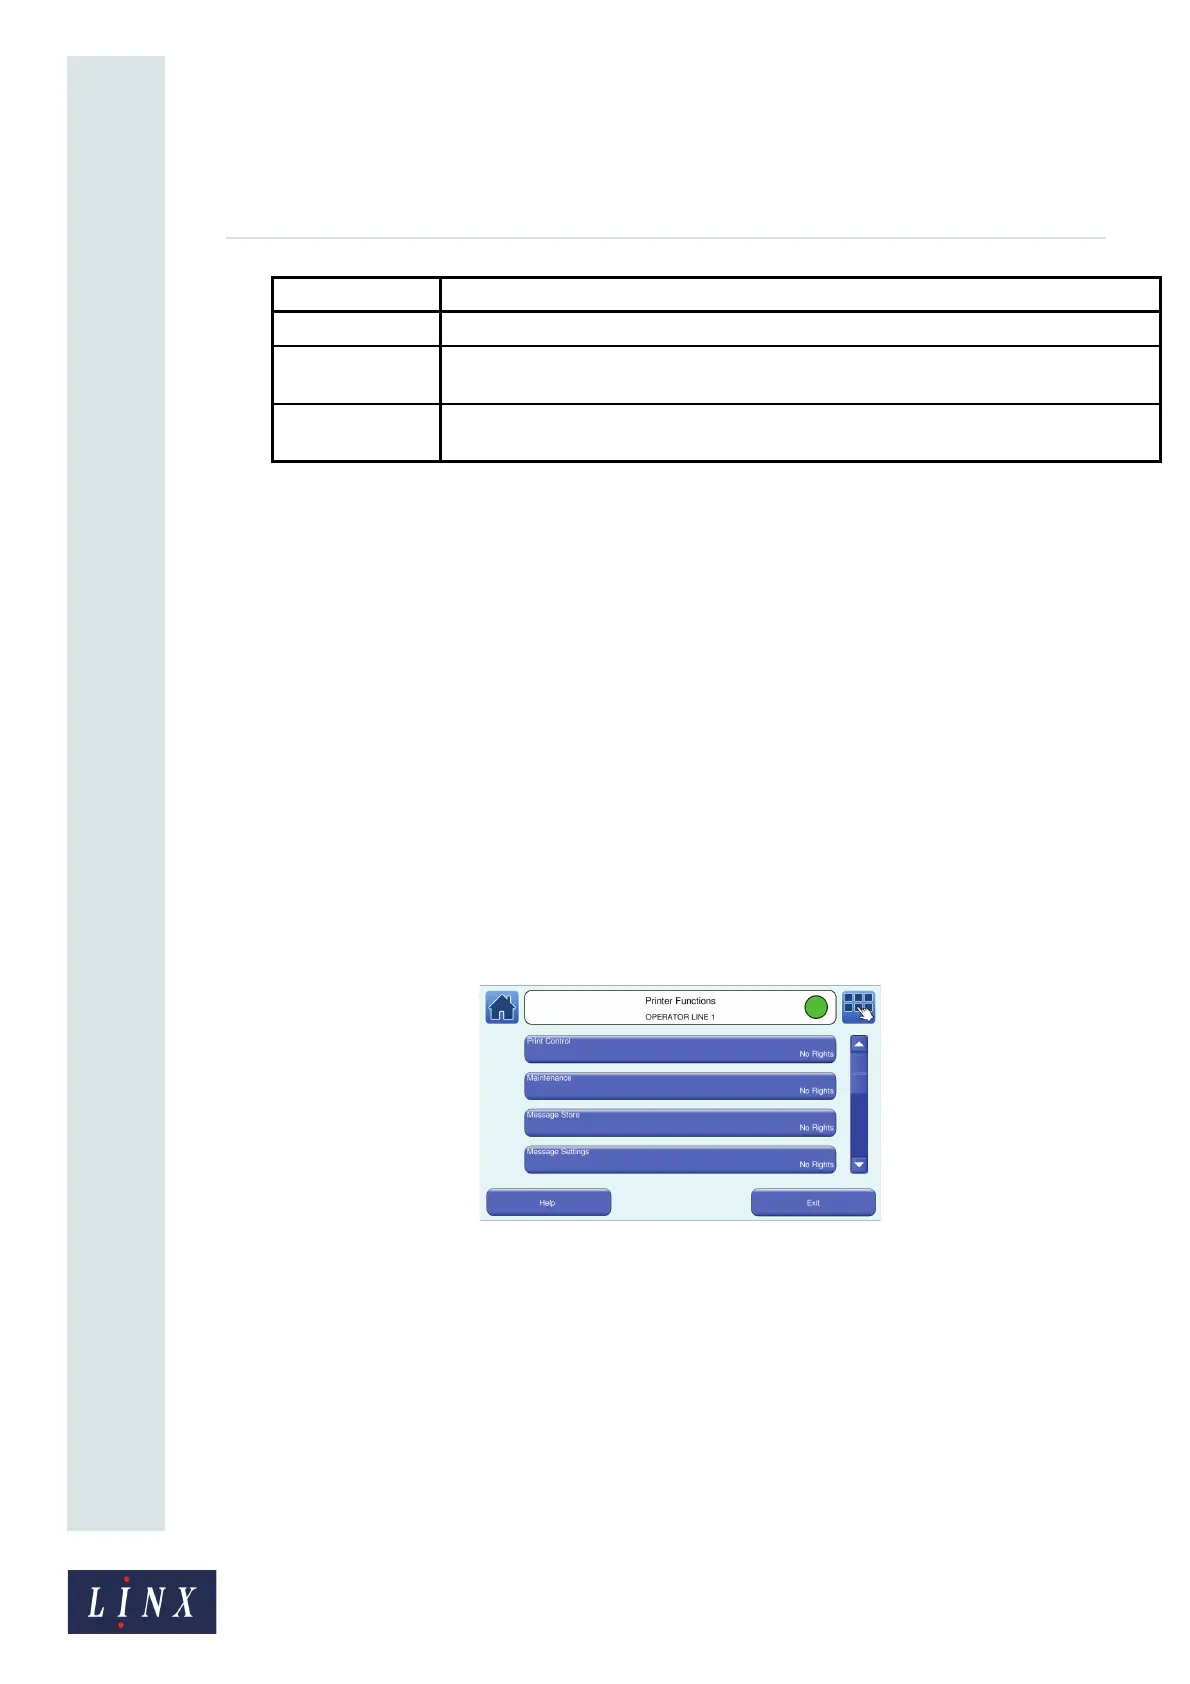
4 The printer displays the Printer Functions screen for the user.
Figure 25. Printer Functions screen
Printer Settings Allows access to the Printer Setup screens.
Security Settings Allows access to the User Management screens to create, edit, and delete users, and
allows access to the Security Options screens.
Data Backup Allows you to back up, and restore, messages, graphics, and printer settings with a USB
memory stick.
Option Description
89113