Page 51 of 88 TP1A072–3 English
Aug 2017
Linx 10 Operating Manual —
Line and message settings
Linx 10
Each alarm mode has a different priority—a Continuous alarm has the highest priority,
followed by a Pulsed Continuous alarm, then a Pulsed alarm. If an alarm is active, and an
event occurs with a higher-priority alarm type, the higher-priority alarm becomes active. For
example, if a Continuous alarm and a Pulsed Continuous alarm are both active, the printer
generates a Continuous alarm.
NOTE: The default alarm mode for all system events is None.
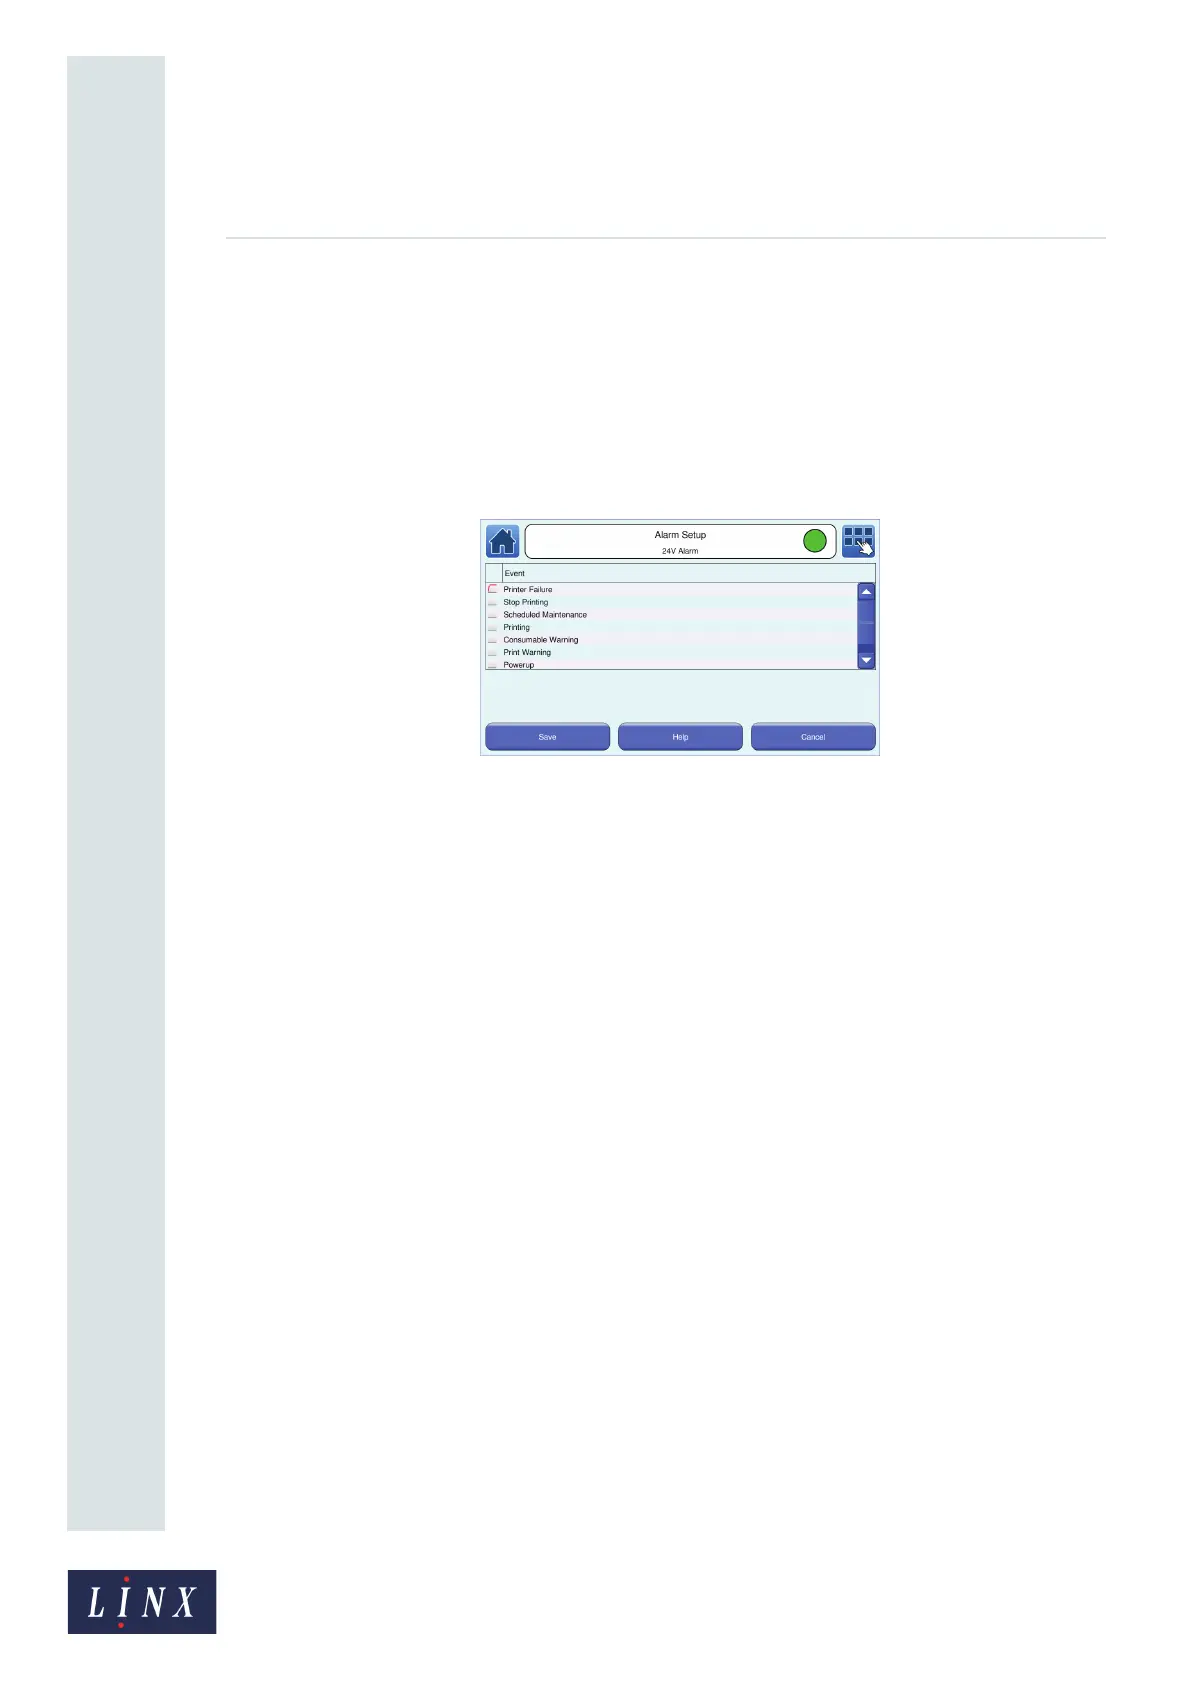
4 Touch the Save button to confirm your selection. The printer displays the Alarm Setup
screen with the selected alarm mode for the system event.
Figure 47. Alarm Setup: alarm mode selected screen
5 Touch the Save button to save your changes and return to the Line Settings screen.
6 Repeat steps 2 to 5 to set the alarm options for other system events.
NOTE: You can touch the Help button for more information about the alarm setup and alarm modes.
5.4.2 Test Mode
This option enables you to test the 24 V alarm outputs to an alarm beacon fitted to the printer. If set to
Yes, the following option is enabled.
5.4.3 Test 24V Alarm
Set this option to On to test the alarm output from the 24 V alarm. The alarm beacon behaves as
configured in ‘Alarm setup’ on page 50.
5.5 Basic message settings
The Message Settings screen allows you to adjust basic message settings (for example, Print Delay,
Print Height, and Print Width) for a selected message. You can change advanced settings like
Message Print Count on the Advanced Message Settings screen. See ‘Advanced message settings’ on
page 54 for more information.