Page 68 of 88 TP1A072–3 English
Aug 2017
Linx 10 Operating Manual —
Add other fields
Linx 10
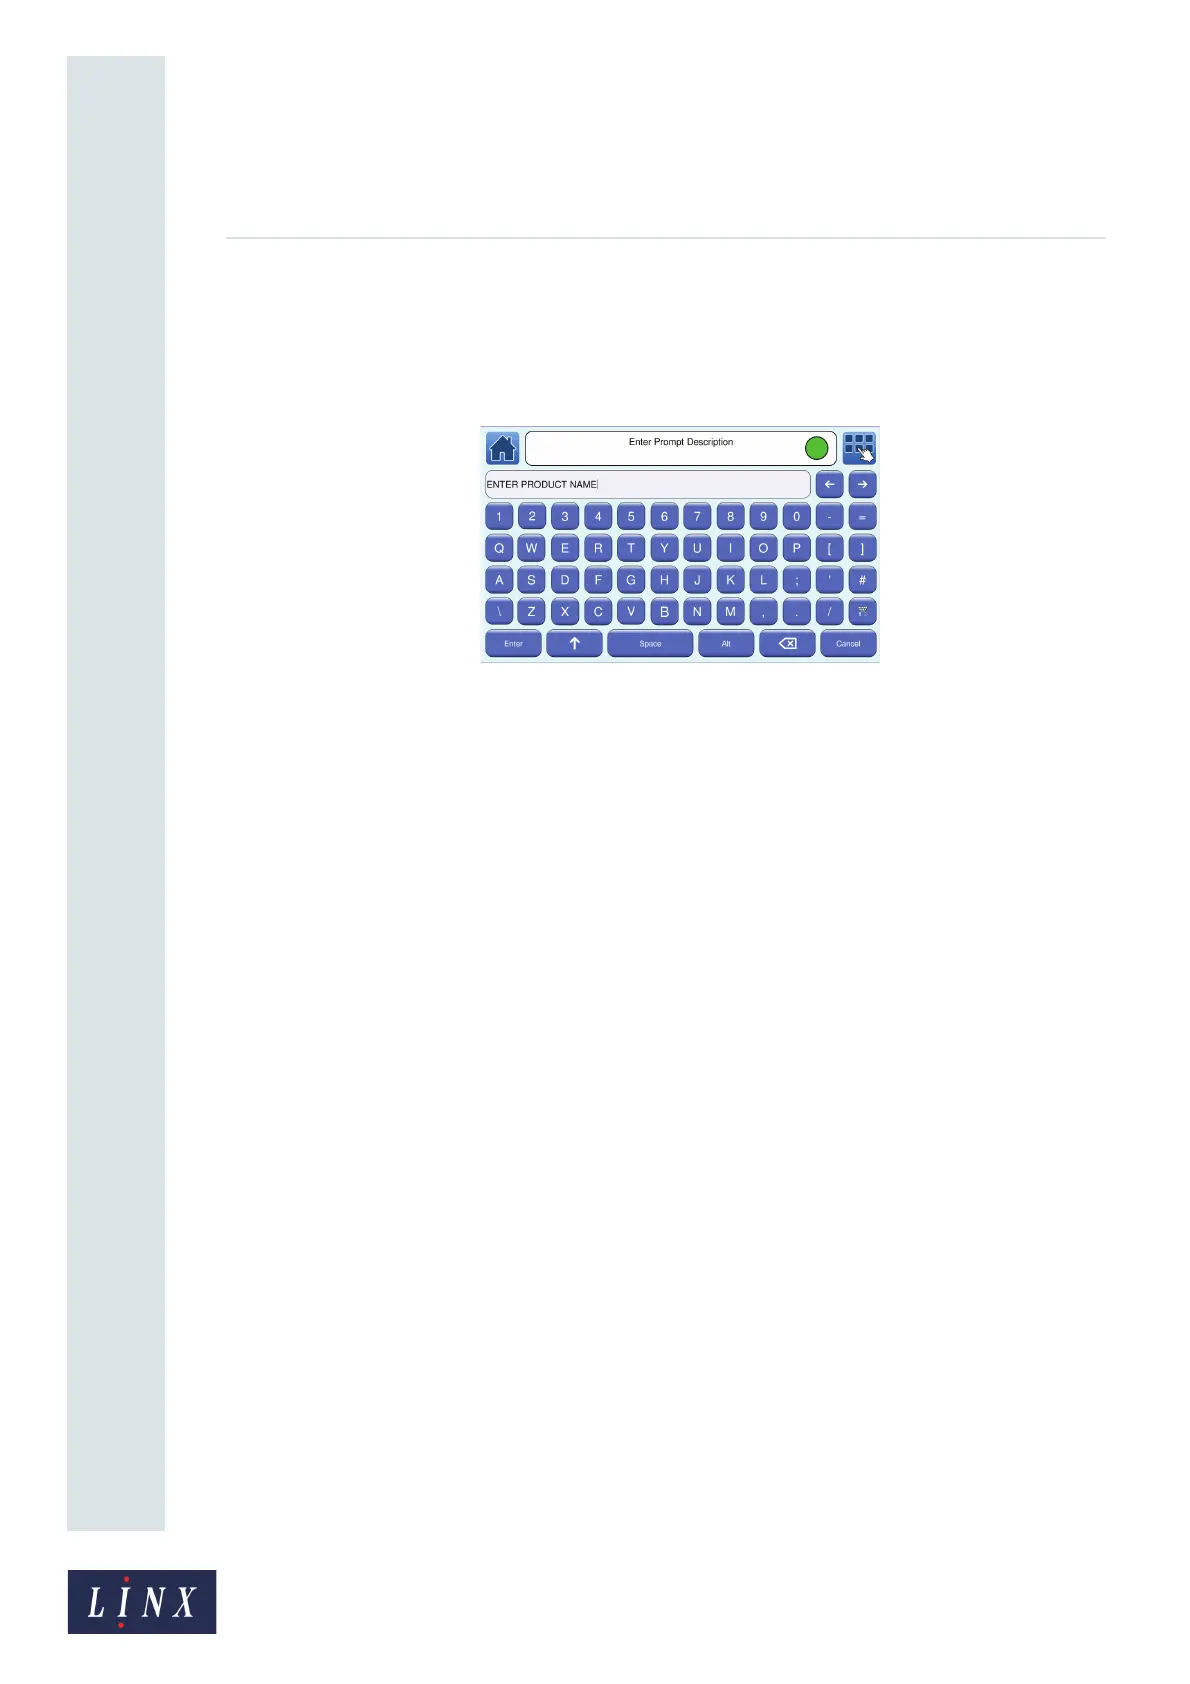
6 Touch the Prompt Text button to display the Enter Prompt Description screen. This screen
allows you to enter the text that is displayed as a prompt when a message is selected. The
default text is “Please enter data”, but you can enter your own prompt description. For
example, “ENTER PRODUCT NAME”. Enter your text and touch the Enter button to return
to the Prompt Setup screen.
Figure 68. Enter Prompt Description screen
7 Touch the Prompt Type button and select either User Entry or Select from List from the
Prompt Type screen:
• The User Entry option can be used to prompt the user to enter text up to a maximum
number of characters, specified by the Maximum Number of Characters option. See
‘User Entry option’ on page 68 for more information.
• The Select from List option can be used to prompt the user to select existing text from a
list, which you can edit via the Edit Prompt List option. See ‘Select from List option’ on
page 69 for more information.
8 If necessary, repeat steps 1 to 7 to create additional prompted fields in your message.
6.4.2 Configure prompted fields
User Entry option
To configure a prompted field created with the User Entry option:
1 At the Editor screen in edit mode, touch the field to select it. The field is highlighted in
yellow.
2 Touch the Edit Properties button to display the Text Field Properties screen, and then touch
the Prompt Setup button to display the Prompt Setup screen.
3 Touch the Maximum Number of Characters button to enter the maximum number of
characters that can be entered in the prompted field. The default value is 10 characters.
4 Touch the Default Text button to edit the default text. This option sets the default text for the
prompted field that appears in the edit box of the User Entry prompt screen (see Figure 73 on
page 72). This text is originally the text entered in the field you created in step 1 on page 66,
but you can edit the text that you entered (for example, you can change the default text to
“BISCUITS”).