Page 41 of 88 TP1A072–3 English
Aug 2017
Linx 10 Operating Manual —
Line and message settings
Linx 10
Touch the Save button to save your changes and return to the Line Settings screen. Touch the Cancel
button to discard any changes and return to the Line Settings screen.
NOTE: If you do not know the encoder pitch, the printer allows you to calculate the value. See
‘Calculate Line Speed/Calculate Encoder Pitch’ on page 42 for information about how to
calculate the value.
Fixed Speed
If the speed of the selected line is known, this option allows you to enter a fixed speed for the line.
Touch the Set Line Speed/Encoder Pitch button to display the Enter Line Speed screen.
To enter the line speed:
• Use the keypad to enter the required line speed.
• Use the plus and minus buttons to make small adjustments to the line speed.
NOTE: The printer does not allow you to enter invalid values in the line speed field. Invalid values
are highlighted in red.
Touch the Save button to save your changes and return to the Line Settings screen. Touch the Cancel
button to discard any changes and return to the Line Settings screen.
NOTE: If you do not know the line speed, the printer allows you to calculate the value. See ‘Calculate
Line Speed/Calculate Encoder Pitch’ on page 42 for information about how to calculate the
value.
Line Sensor
You can use this option to set the correct speed for your production line if the optional line sensor
accessory has been fitted to the line. If selected, the Line Settings screen appears as shown in
Figure 31 on page 38. Touch the Calibrate Sensor button to display the Calibrate Line Sensor screen.
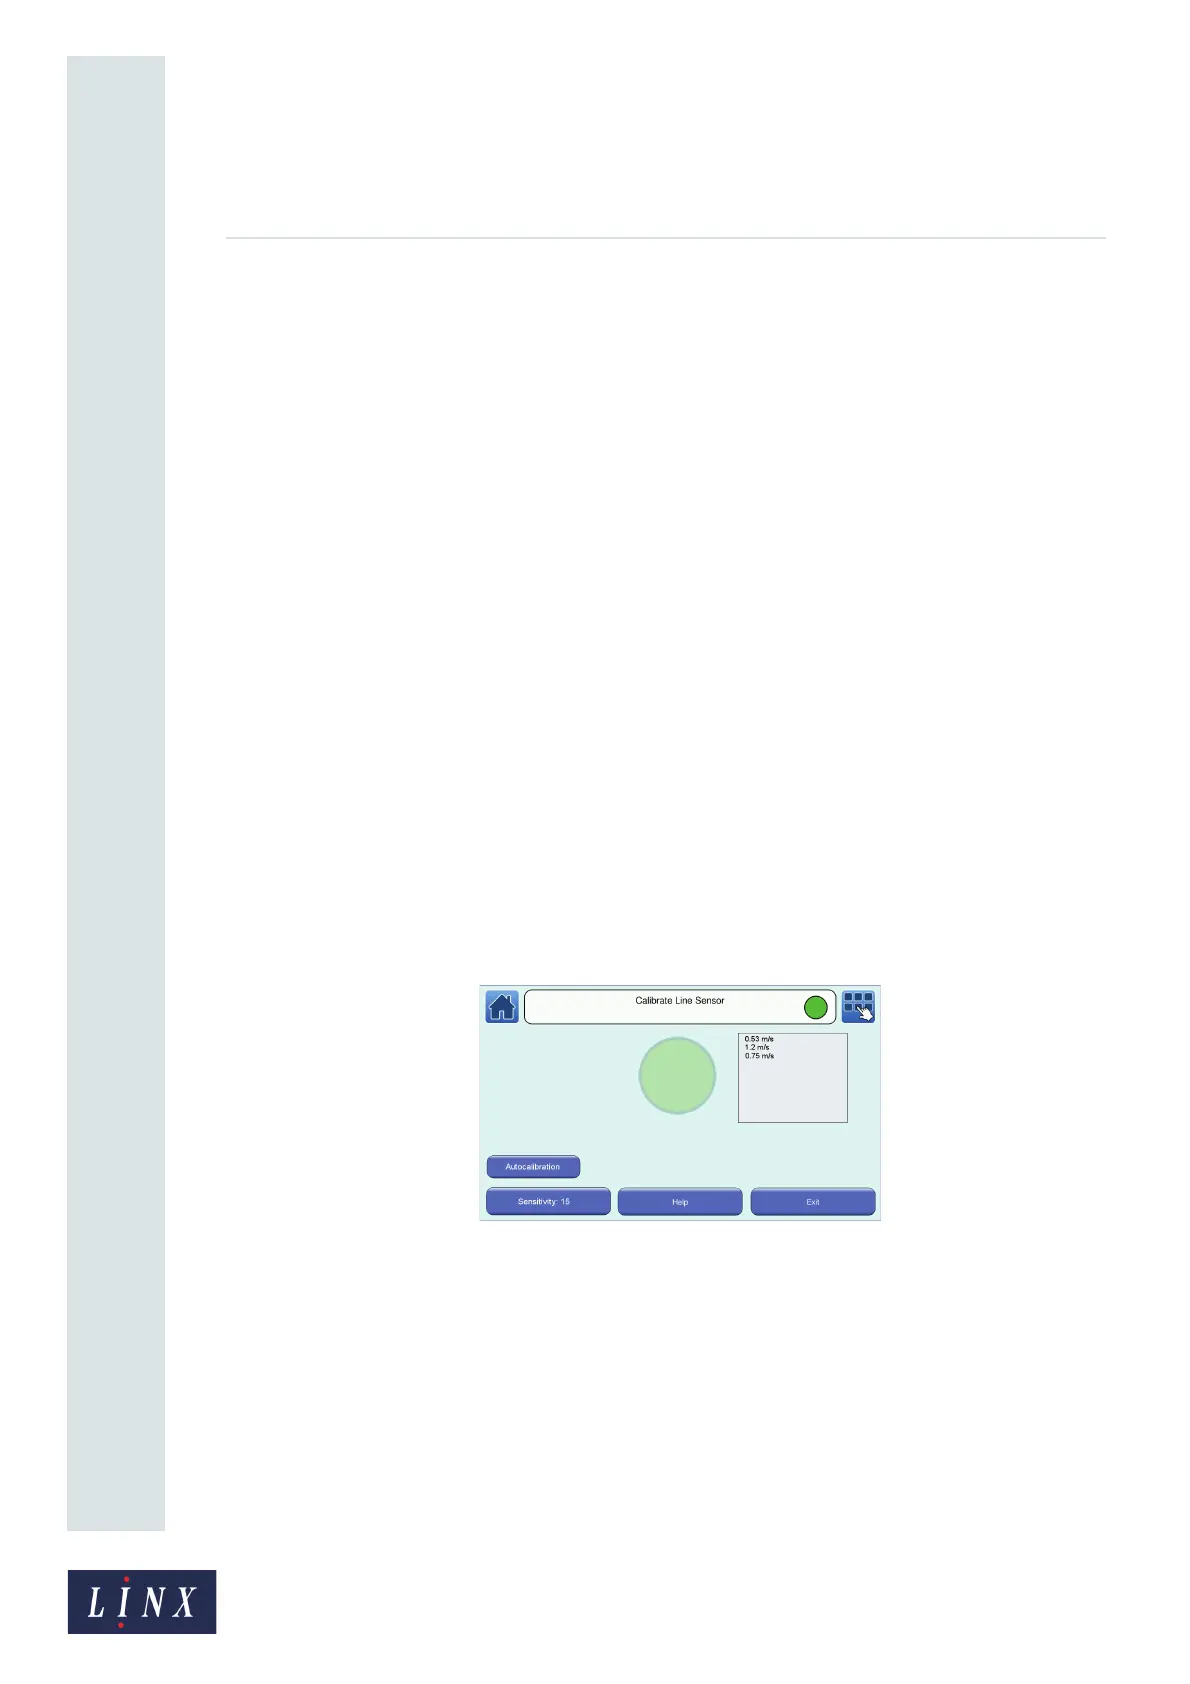
Figure 34. Calibrate Line Sensor screen
The green circle on the screen flashes every time an object on the production line passes the sensor
and is detected. The calculated line speed is displayed in the box to the right of the circle.
The printer allows you to automatically detect and set the line speed. Touch the Autocalibration
button and follow the on-screen instructions.
If an object is still not being detected or the line speed is incorrect, you can use the Sensitivity option
to manually adjust the threshold at which the sensor detects an object. Touch the button and enter a
value between 1 and 128 (where 1 represents the lowest sensitivity and 128 the highest sensitivity).
Adjust the value until the object is detected and the line speed is correct.
Touch the Help button to display information about line sensor calibration.