L-VIS User Manual 235 LOYTEC
Version 6.2 LOYTEC electronics GmbH
To Attach Data Points for Trending
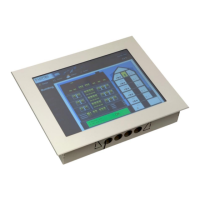
1. Select the trend object in the Trend sub-folder.
2. Right-click and select Configure Trend from the context menu. The same dialog
which appears when a new trend object is created is shown and allows configuring the
trend object. Of course, this step can also be done directly when the object is created.
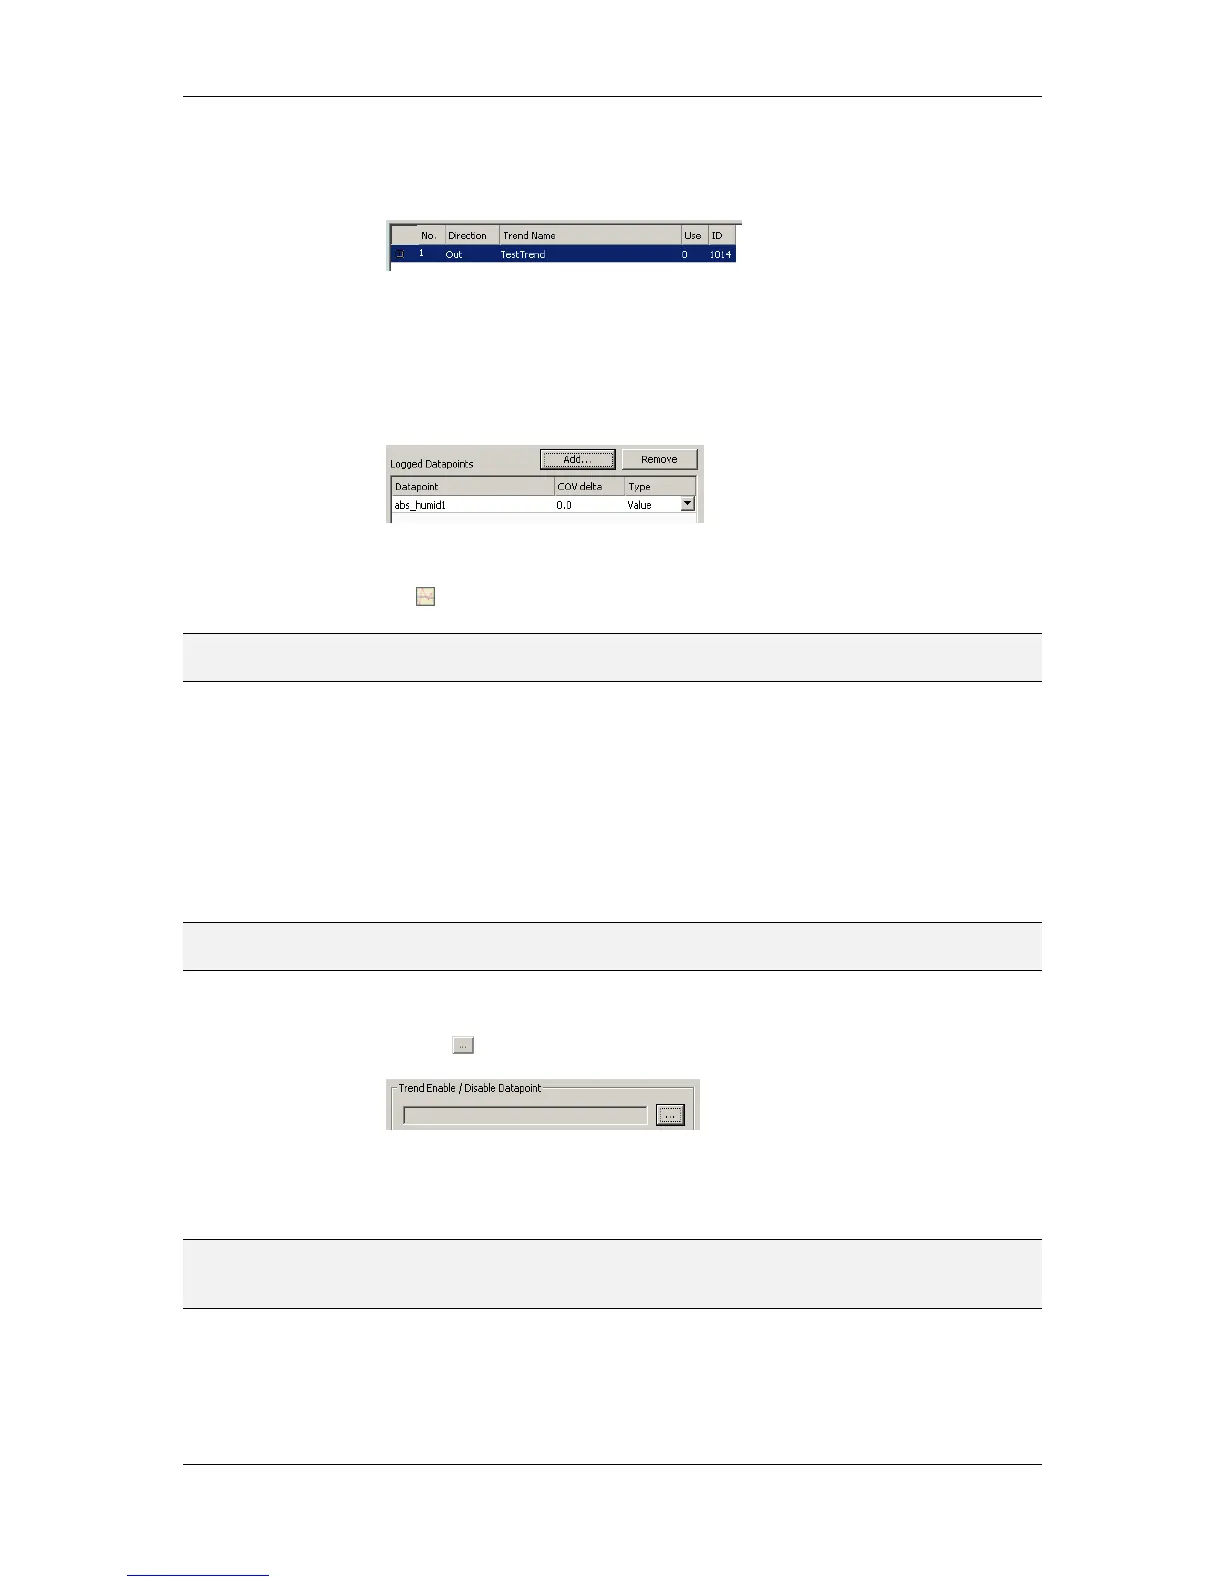
3. Add data points to be trended. Click on Add … which opens a data point selector
window.
4. Select the data points and click OK. For each of the attached data points, a line appears
in the list below the add button. The trended data points will also appear with the trend
icon in the data point manager.
NOTE: Data points can also be attached to a trend by selecting a data point in the data point
manager, drag it onto a trend object, and drop it on the trend object.
5. Data points can be removed from the trend by clicking Remove.
6. If COV mode was selected, the COV increment is displayed in the COV delta column.
This value can be increased to produce less trend data. Note that it cannot be lowered
below the trended data point’s own COV increment. Go to the data point configuration
to change the COV increment of the data point in this case.
7. If the trended value of the data point shall be aggregated over the log interval, select
the desired aggregation in the Type column. Available options are Min, Max, Avg.
NOTE: To create multiple curves with minimum, average, and maximum values, add the same data
point three times and select the different aggregation types.
8. In addition, a special Trend Enable data point can be selected. If configured, the trend
log will only log data when the value of this data point evaluates true, i.e., is not zero.
Click the button to select a data point.
9. To remove the enable data point, click the Remove button.
10. When done with the data point setup, click Save Changes to leave the dialog.
NOTE: A shortcut for creating a trend log object and attaching a data point is to select a data
point in the data point manager, right-click on it and choose Trend Datapoint from the
context menu. This generates a trend log and links that data point to it.
10.12.3 Trend Triggers
Local trend objects can be operated in trigger mode. In this mode, one or more trigger data
points cause the generation of a snapshot containing the values of the trended data points at
the time instant the trigger is activated. For a trend object, one or more trigger conditions
 Loading...