ON-BOARD DIAGNOSTIC
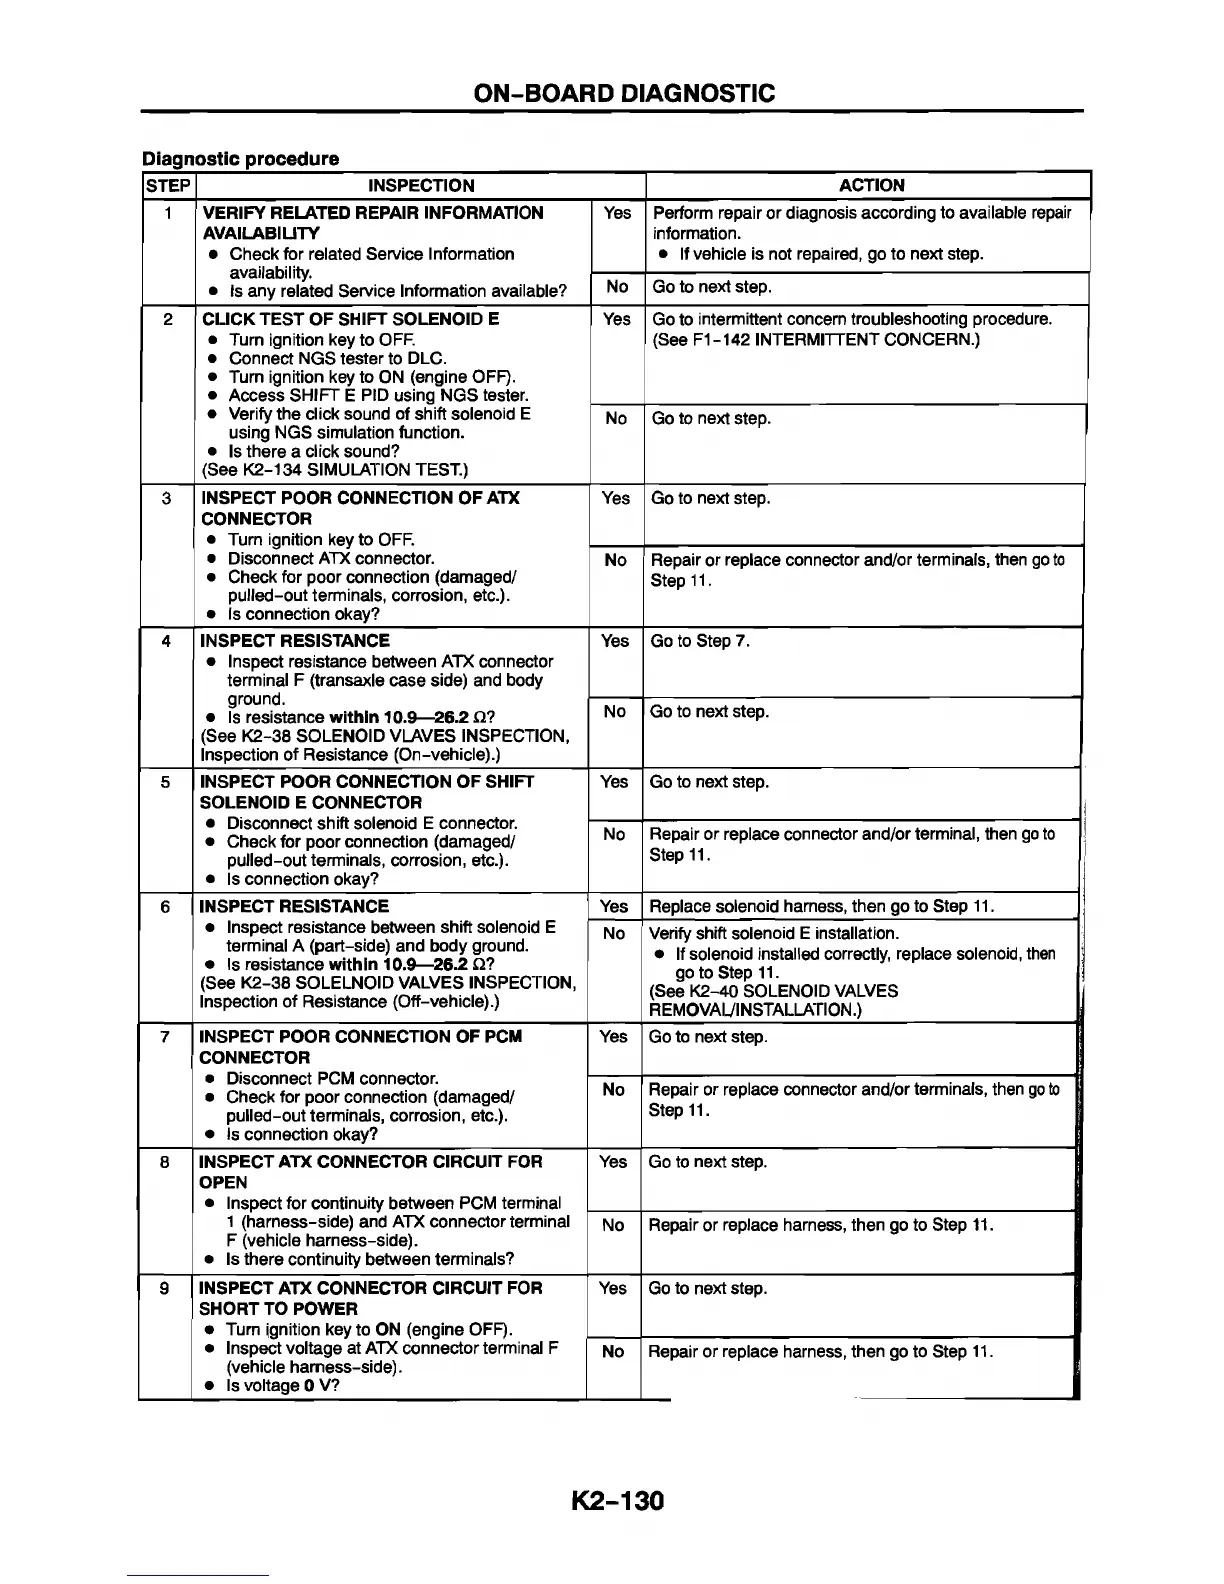
Diagnostic procedure
STEP INSPECTION
ACTION
1 VERIFY RELATED REPAIR INFORMATION
AVAILABILITY
• Check for related Service Information
availability.
• Is any related Service Information available?
Yes Perform repair or diagnosis according to available repair
information.
• If vehicle is not repaired, go to next step.
No Go to next step.
2 CLICK TEST OF SHIFT SOLENOID E
• Turn ignition key to OFF.
• Connect NGS tester to DLC.
• Turn ignition key to ON (engine OFF).
• Access SHIFT E PID using NGS tester.
• Verify the click sound of shift solenoid E
using NGS simulation function.
• Is there a click sound?
(See K2-134 SIMULATION TEST.)
Yes
Go to intermittent concern troubleshooting procedure.
(See F1-142 INTERMITTENT CONCERN.)
No
Go to next step.
3
INSPECT POOR CONNECTION OF ATX
CONNECTOR
• Turn ignition key to OFF.
• Disconnect ATX connector.
• Check for poor connection (damaged/
pulled-out terminals, corrosion, etc.).
• Is connection okay?
Yes
Go to next step.
No
Repair or replace connector and/or terminals, then go to
Step 11.
4 INSPECT RESISTANCE
• Inspect resistance between ATX connector
terminal F (transaxle case side) and body
ground.
• Is resistance within 10.9—26.2 £1?
(See K2-38 SOLENOID VLAVES INSPECTION,
Inspection of Resistance (On-vehicle).)
Yes Go to Step 7.
No
Go to next step.
5
INSPECT POOR CONNECTION OF SHIFT
SOLENOID E CONNECTOR
• Disconnect shift solenoid E connector.
• Check for poor connection (damaged/
pulled-out terminals, corrosion, etc.).
• Is connection okay?
Yes
Go to next step.
No
Repair or replace connector and/or terminal, then go to
Step 11.
6
INSPECT RESISTANCE
• Inspect resistance between shift solenoid E
terminal A (part-side) and body ground.
• Is resistance within 10.9—26.2 ii?
(See K2-38 SOLELNOID VALVES INSPECTION,
Inspection of Resistance (Off-vehicle).)
Yes
Replace solenoid harness, then go to Step 11.
No
Verify shift solenoid E installation.
• If solenoid installed correctly, replace solenoid, then
go to Step 11.
(See K2-40 SOLENOID VALVES
REMOVAL/INSTALLATION.)
7 INSPECT POOR CONNECTION OF PCM
CONNECTOR
• Disconnect PCM connector.
• Check for poor connection (damaged/
pulled-out terminals, corrosion, etc.).
• Is connection okay?
Yes
Go to next step.
No
Repair or replace connector and/or terminals, then go to
Step 11.
8
INSPECT ATX CONNECTOR CIRCUIT FOR
OPEN
• Inspect for continuity between PCM terminal
1 (harness-side) and ATX connector terminal
F (vehicle harness-side).
• Is there continuity between terminals?
Yes
Go to next step.
No
Repair or replace harness, then go to Step 11.
9 INSPECT ATX CONNECTOR CIRCUIT FOR
SHORT TO POWER
• Turn ignition key to ON (engine OFF).
• Inspect voltage at ATX connector terminal F
(vehicle harness-side).
• Is voltage 0 V?
Yes Go to next step.
No Repair or replace harness, then go to Step 11.
K2-130


 To Next Page