ON-BOARD DIAGNOSTIC
STEP
INSPECTION ACTION
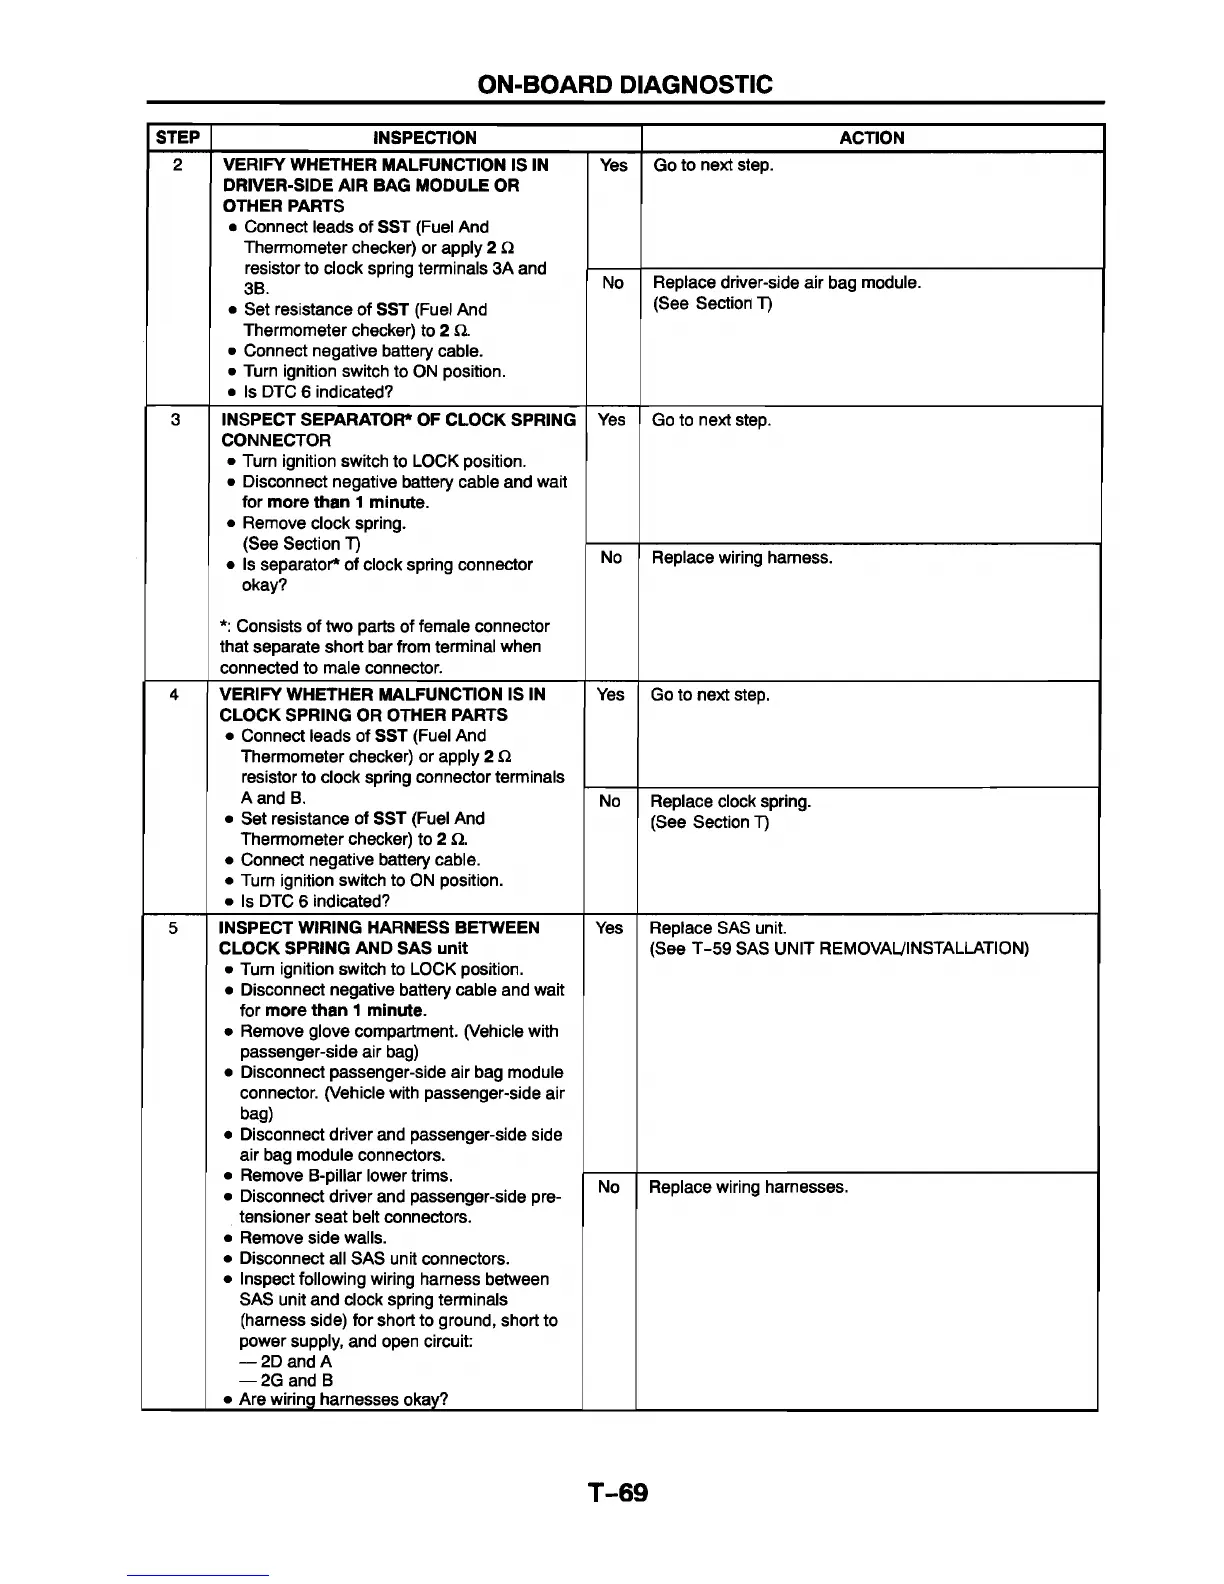
2
VERIFY WHETHER MALFUNCTION IS IN
DRIVER-SIDE AIR BAG MODULE OR
OTHER PARTS
• Connect leads of SST (Fuel And
Thermometer checker) or apply 2 £2
resistor to clock spring terminals 3A and
3B.
• Set resistance of SST (Fuel And
Thermometer checker) to 2 £2.
• Connect negative battery cable.
• Turn ignition switch to ON position.
• Is DTC 6 indicated?
Yes
Go to next step.
No
Replace driver-side air bag module.
(See Section T)
3
INSPECT SEPARATOR* OF CLOCK SPRING
CONNECTOR
• Turn ignition switch to LOCK position.
• Disconnect negative battery cable and wait
for more than 1 minute.
• Remove clock spring.
(See Section T)
• Is separator* of clock spring connector
okay?
*: Consists of two parts of female connector
that separate short bar from terminal when
connected to male connector.
Yes
Go to next step.
No
Replace wiring harness.
4 VERIFY WHETHER MALFUNCTION IS IN
CLOCK SPRING OR OTHER PARTS
• Connect leads of SST (Fuel And
Thermometer checker) or apply 2 £2
resistor to clock spring connector terminals
A and B.
• Set resistance of SST (Fuel And
Thermometer checker) to 2 £2.
• Connect negative battery cable.
• Turn ignition switch to ON position.
• Is DTC 6 indicated?
Yes Go to next step.
No Replace clock spring.
(See Section T)
5 INSPECT WIRING HARNESS BETWEEN
CLOCK SPRING AND SAS unit
• Turn ignition switch to LOCK position.
• Disconnect negative battery cable and wait
for more than 1 minute.
• Remove glove compartment. (Vehicle with
passenger-side air bag)
• Disconnect passenger-side air bag module
connector. (Vehicle with passenger-side air
bag)
• Disconnect driver and passenger-side side
air bag module connectors.
• Remove B-pillar lower trims.
• Disconnect driver and passenger-side pre-
tensioner seat belt connectors.
• Remove side walls.
• Disconnect all SAS unit connectors.
• Inspect following wiring harness between
SAS unit and clock spring terminals
(harness side) for short to ground, short to
power supply, and open circuit:
— 2D and A
— 2G and B
• Are wiring harnesses okay?
Yes Replace SAS unit.
(See T-59 SAS UNIT REMOVAL/INSTALLATION)
No
Replace wiring harnesses.
T-69


 To Next Page