Operation
108
STEP 11
MH06B080
Lower the hitch onto the locking latches to take the
weight off the hydraulic system.
IMPORTANT: The hitch must always be
supported on the locking latches and NOT by the
hydraulic system.
If the locking latches do not lock, adjust the lift
rods. If after adjustment the locking latches still
do not lock see your dealer.
IMPORTANT: To prevent accidents, make sure
the hook is fully retracted and the frame is
correctly latched.
Hook/Clevis Change Over
STEP 1
MH06B079
Lower the auto hitch half way. Extend the hook/
clevis by moving the corresponding hydraulic
remote control.
IMPORTANT: After lowering and extending the
auto hitch, stop the engine, and engage the
parking brake before leaving the tractor.
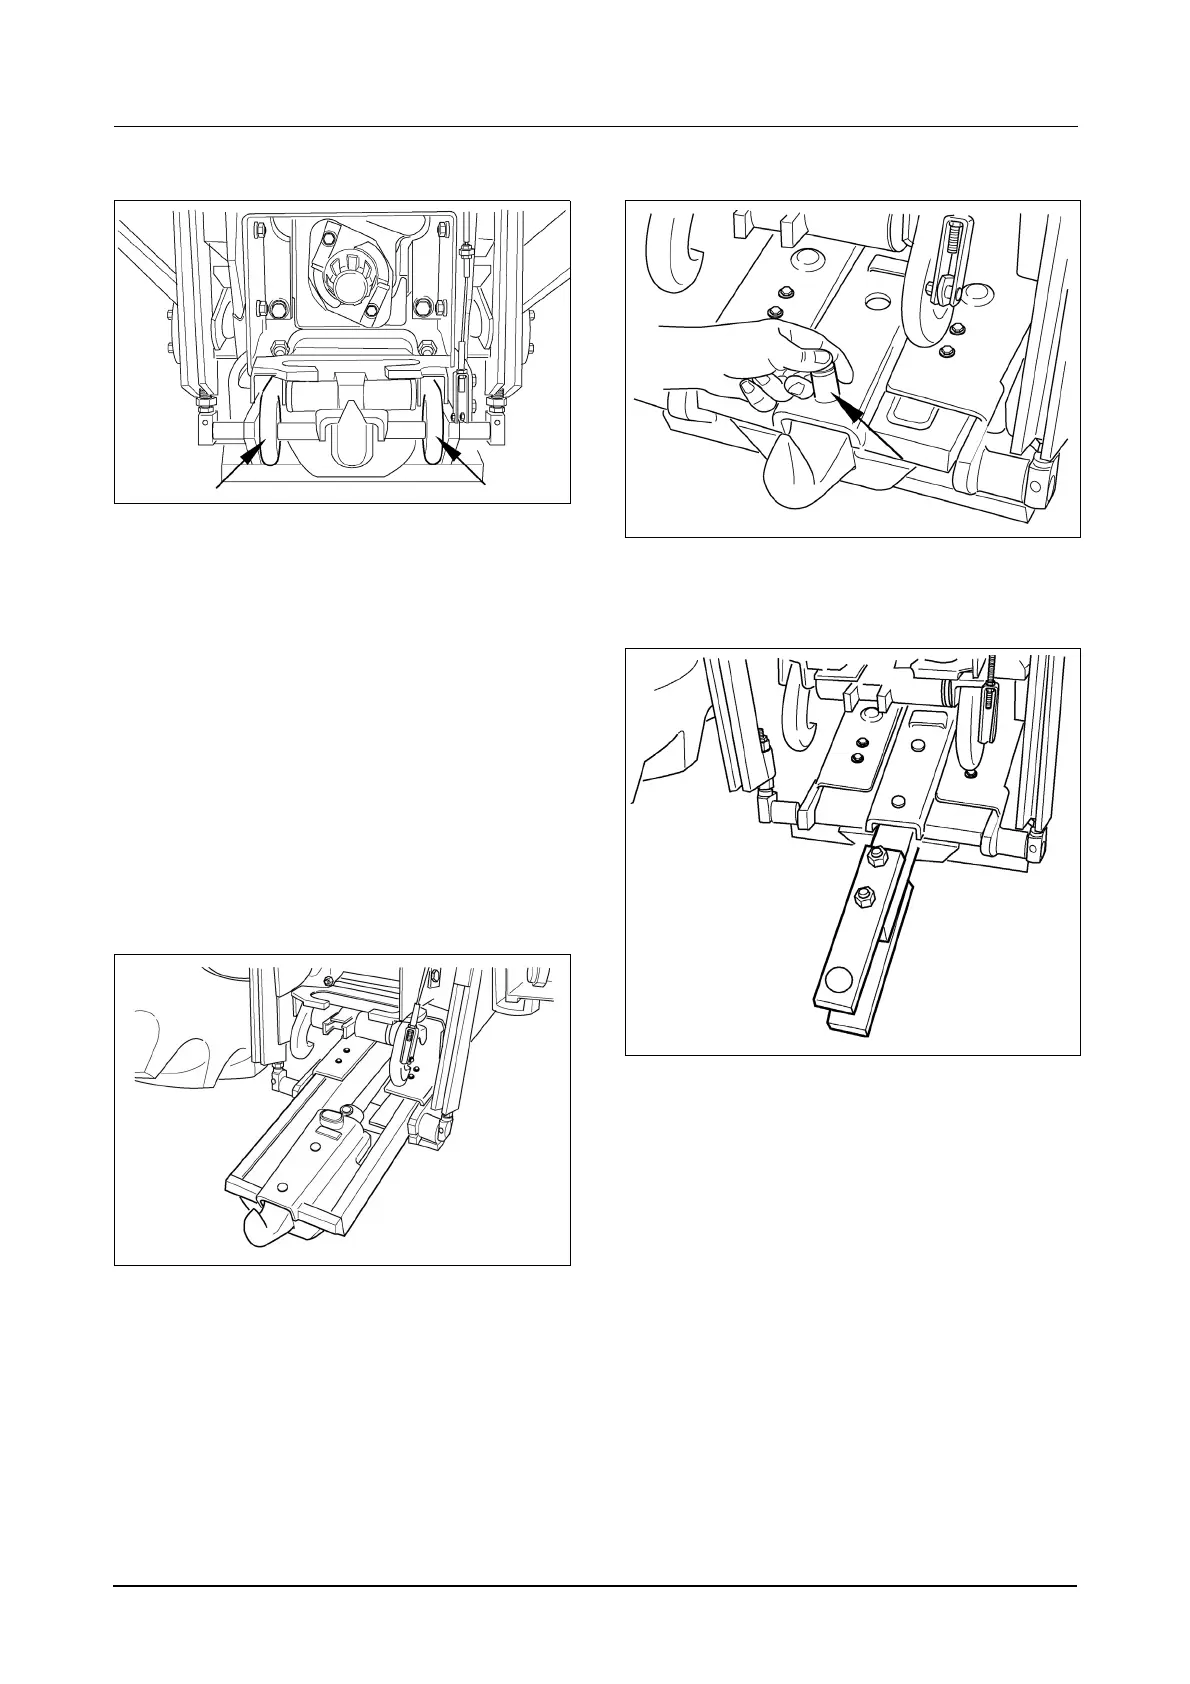
STEP 2
MH06B081
Remove the hook/clevis locating pins.
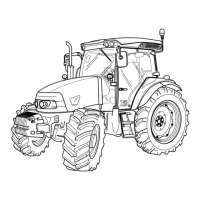
STEP 3
MH06B082
Remove the hook or clevis. Install the hook or
clevis in the storage bracket located at the front of
the tractor on the left hand side.
Install the hook or clevis. The clevis can be installed
in two positions fore/aft. Install the lock pins.
Retract the assembly and raise auto hitch until
locked, then lower onto latches.
Make sure local regulations are followed when
towing implements/trailers. All drawbars, hitches
and hitch clevises have their own individual speed
restrictions for operation on public roads. Also, the
regulations in certain countries require brakes to be
fitted on any equipment that is to be towed on
public roads.
Before travelling on public roads, make sure you
comply will ALL legal requirements.