Routine Maintenance
220
Change Fuel/Water Separator
Filter Element
STEP 1
Clean the filter head, filter and engine area next
to the filter before removing the filter.
STEP 2
MD04C009
Loosen the drain plug on the bottom of the filter
to drain any water. Disconnect the water-in-fuel
sensor from the wiring harness.
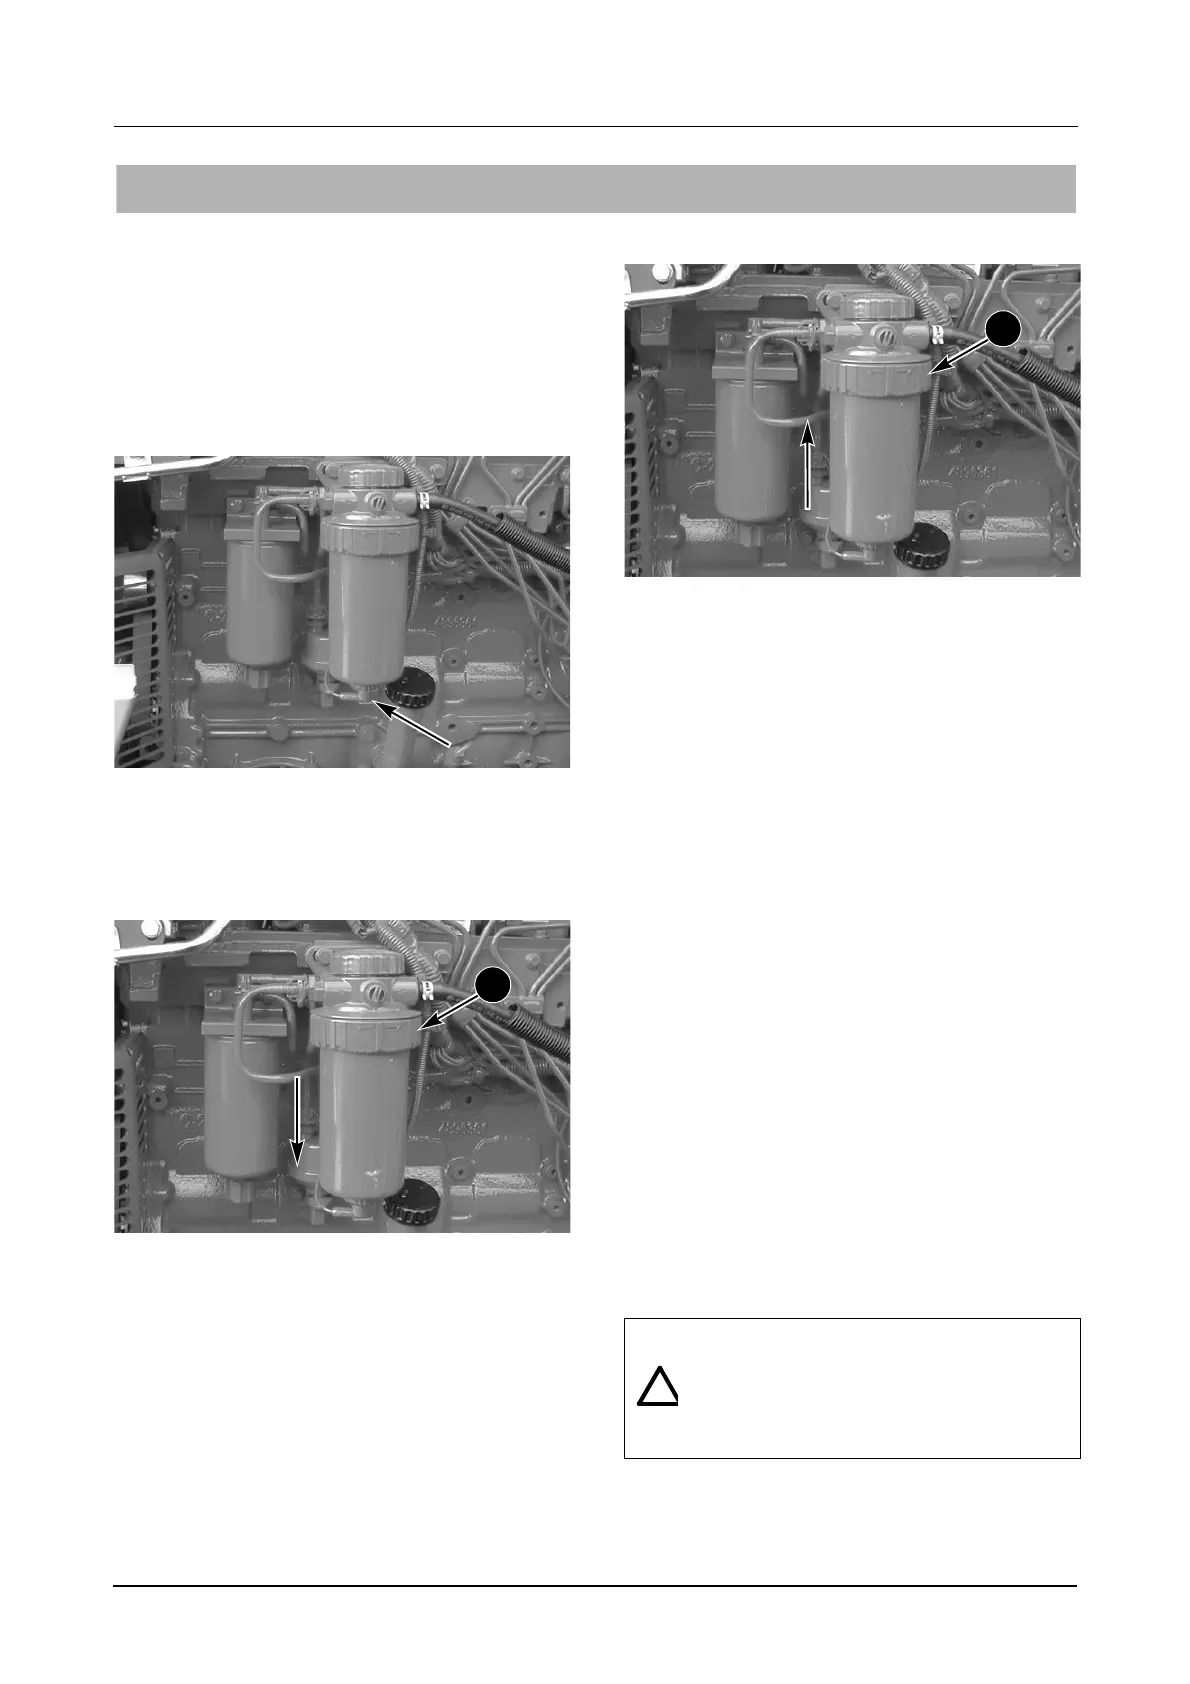
STEP 3
MD04C007
Support the filter and rotate the locking collar (1)
clockwise, (see the direction arrow). Remove the
locking collar and retain.
Pull downwards on the filter canister to remove
from filter head.
IMPORTANT: Dispose of filter in accordance with
local regulations. DO NOT drain fuel onto the
ground, into a drain or into a container that can
leak. Be responsible for the environment.
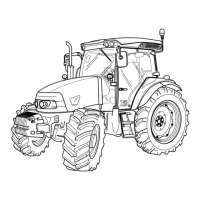
STEP 4
MD04C007
Put clean oil or grease on the filter gasket of the
new filter canister before installing.
Align the spline on the filter canister with the
groove in the filter head and push the new filter
canister fully into the filter head.
Support the canister, install the locking collar (1)
and rotate counterclockwise to lock filter canister
to the filter head.
Connect the water-in-fuel sensor to the wiring
harness.
IMPORTANT: DO NOT fill the new filter with
fuel before installing.
IMPORTANT: Only use a McCormick approved
fuel filter, these filters have been specifically
designed to provide superior engine
protection.
STEP 5
Fill the fuel tank and remove air from the fuel
system. See Fuel System Air Removal on page
221.
IMPORTANT: DO NOT crank the engine before
removing all the air from the fuel system or the fuel
injection pump can be damaged.
500 HOUR SERVICE
1
WARNING: Engine fuel is flammable and
can cause a fire or an explosion. DO NOT
fill the fuel tank or service the fuel system
near an naked flame, welding, burning
cigars, cigarettes etc.
1