www.mdcusa.com
Ph: 1-833-632-8721
©Copyri ght
Propane Furnace
Truma VarioHeat
The Truma VarioHeat is a compact, high-performance liquid propane gas heater designed
for recreational vehicles. It provides efficient warm-air heating to ensure comfort during
your travels.
Safety Information
•
Risk of explosion
: Do not store or use gasoline or other flammable vapors and liquids near the
VarioHeat or any other appliance. Doing so could result in an explosion.
•
Carbon Monoxide Poisoning:
Ensure proper ventilation at all times. Operating the heater in enclosed spaces without adequate
ventilation can cause carbon monoxide buildup, leading to serious injury or death.
• Do not operate the VarioHeat if the exhaust vent is blocked. Blocked vents can cause combustion gases to accumulate inside the RV.
• Do not modify or tamper with any component of the VarioHeat, as this could compromise safety and void the warranty.
• Always switch off the heater before refueling or servicing your RV.
• Ensure children and pets are kept away from the heater’s exhaust area, as it becomes extremely hot during operation.
• Operating the heater in temperatures below -4°F (-20°C) may reduce efficiency.
Use only Truma-authorized accessories and spare parts to maintain warranty and safety compliance.
Operation and Maintenance
Operating the Truma VarioHeat
Preparing the Unit
• Inspect the Exhaust Vent - Ensure that no debris or obstructions are present.
• Check the Power Supply - Verify that your RV’s battery or power source is adequately charged and functioning.
• Fuel Supply - Confirm that there is sufficient gas in your propane tank.
• Gas shut-off valve – Ensure gas shut-off valve is open to allow LP Gas through the appliance.
Starting the Furnace
1. Ensure the RV’s main power switch and the Furnace switch
are turned on at the electrical switchboard panel.
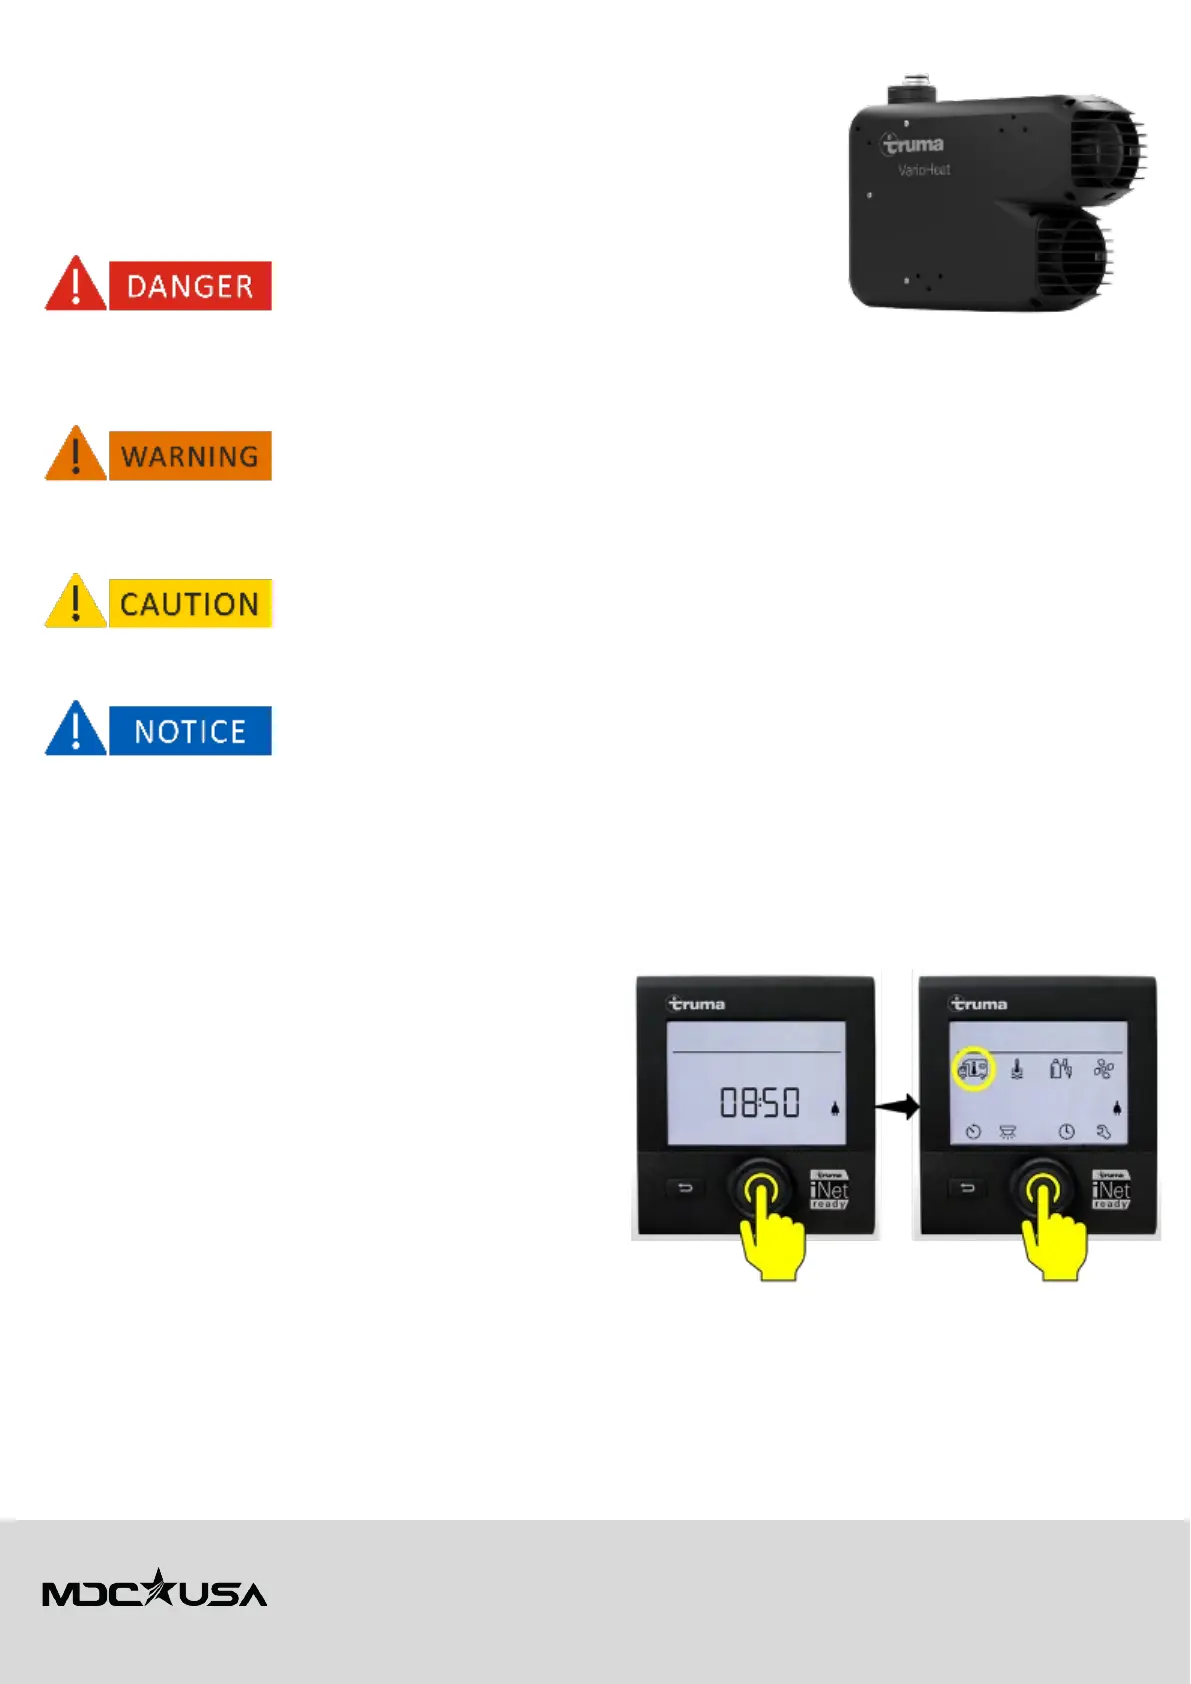
2. Locate the Truma CP Plus control panel and select the room
temperature icon.
3. Select HEATER and confirm by tapping the rotary push
button.
4. Set your desired temperature using the control panel dial
and tap the rotary push button to confirm the value. The
flame icon on the CP Plus control panel will indicate the
furnace is on.
5. Access the fan settings on the CP Plus control panel and
select fan speed based on your comfort level and ambient conditions.
6. Turn the dial to the Clock icon to select the timer function:
a. Use the time switch function to set the furnace to turn on or off automatically
b. Navigate to the timer settings and adjust the start/stop times.
c. Save the timer settings to enable automated operation.
Shutting Down the Furnace
1. Turn off the heater via the CP Plus control panel.