Chapter 4 Maintenance
4-7
1
2
2
4
5
6
7
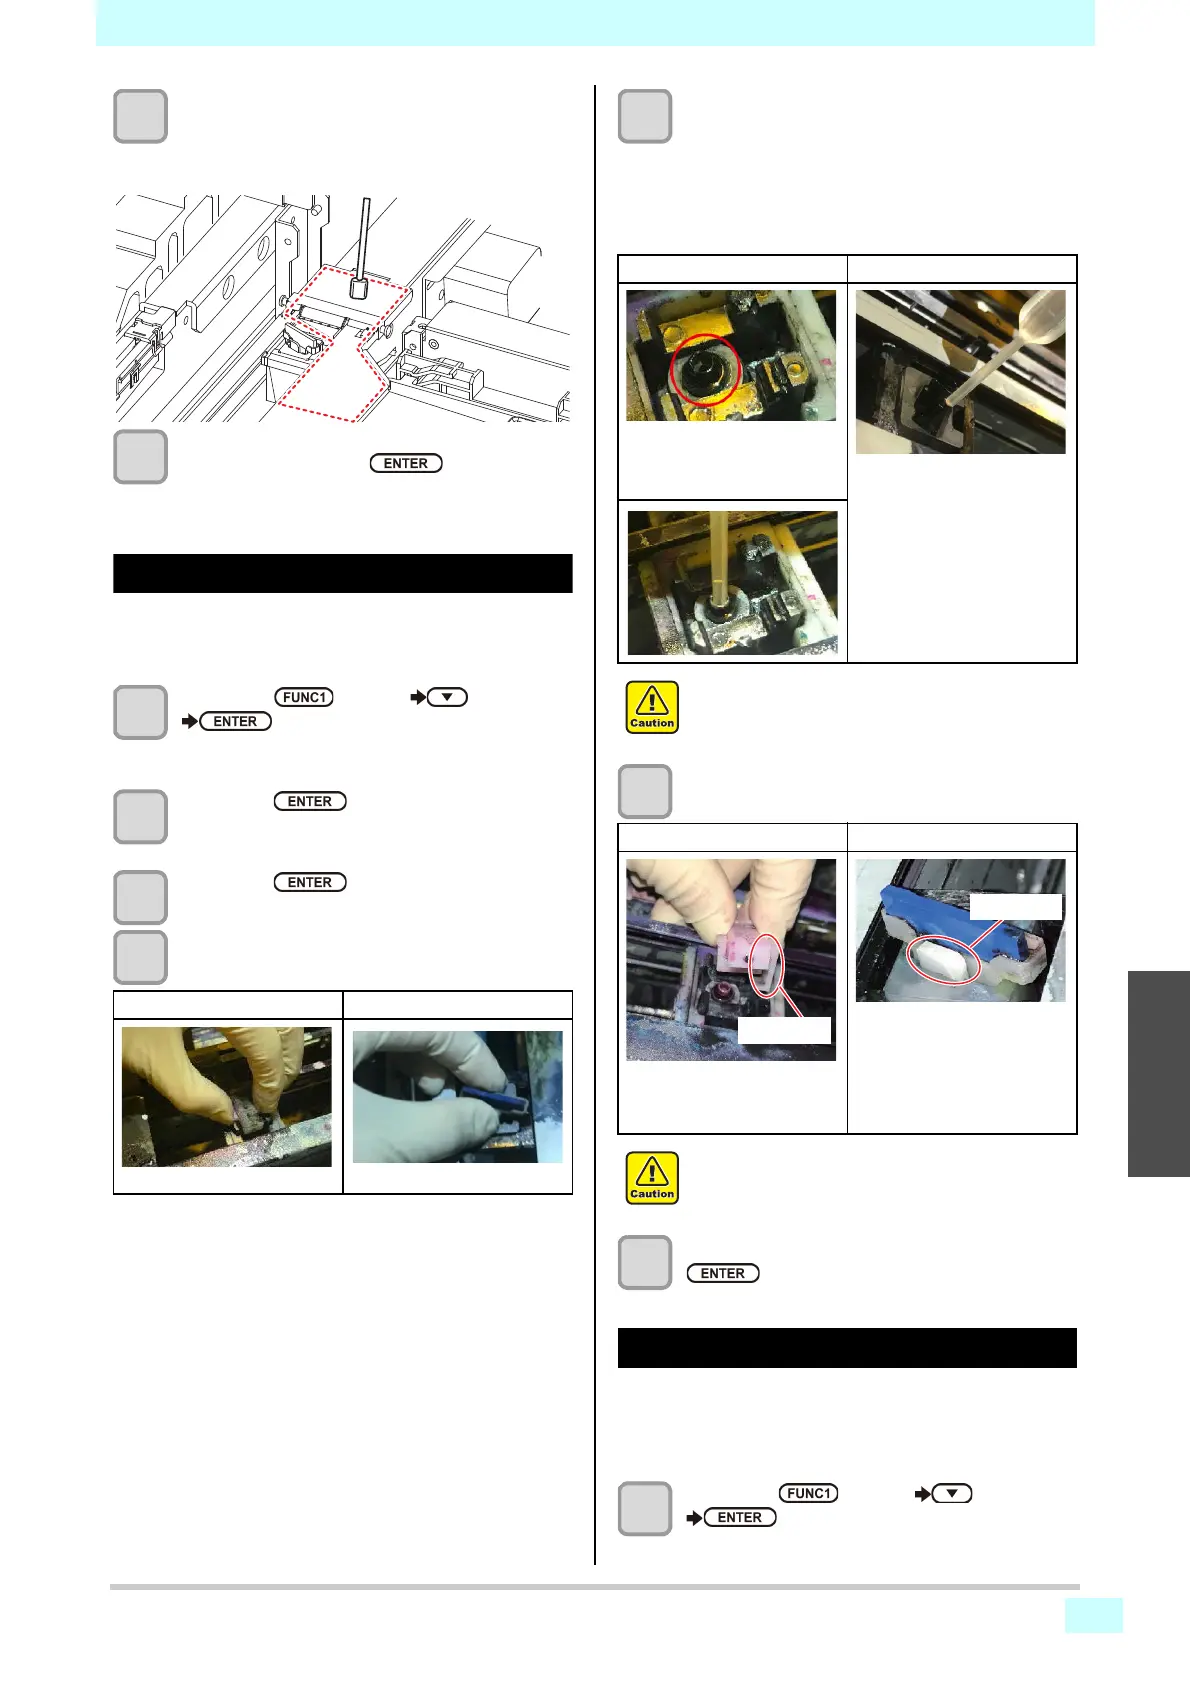
Clean the surroundings of the wiper.
• Clean the area with the clean stick.
• If it is dirty, wipe it with a clean stick containing
cleaning solution.
8
When cleaning is complete, close the front
cover and Press the key.
• After its initial operation, the machine returns to
step 2.
Cleaning around the wiper
Clean around the wiper frequently to prevent the wiper
tube from clogging.
1
Press the
(MENU)
(4 times)
key in LOCAL.
• MAINTENANCE MENU will be displayed.
2
Press the key.
• “STATION” will be displayed.
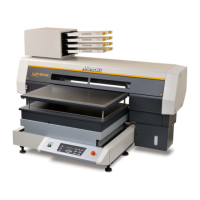
3
Press the key.
• The carriage will move.
4
Remove the wiper.
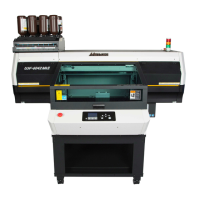
5
Fill the maintenance cleaning solution.
• Take 3cc of the maintenance cleaning solution
into the dropper and add the cleaning solution as
shown in the picture.
• Refer to the dropper scale for the solution volume.
• Estimated speed of pouring: 1cc / sec
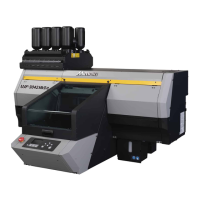
6
Attach the wiper.
7
Close the front cover and press the
key.
Washing the Ink Discharge Passage
Wash the ink discharge passage regularly(about once a
week) to prevent the head nozzles from clogging due to
ink coagulation inside the passage.
1
Press the
(MENU)
(4 times)
key in LOCAL.
• MAINTENANCE MENU will be displayed.
Suction type wiper Wiping type wiper
Suction type wiper Wiping type wiper
• Note for the splash of maintenance cleaning
solution.
Suction type wiper Wiping type wiper
• Note for the installation position of the wiper.
Place the tip of the dropper
to the red circle.
Install so that the projection
face the back side of the
machine.
Projection
Install so that the projection
face the front side of the
machine.
Projection