5 Mounting
Maschinenfabrik Reinhausen 2014 333550953/00 EN TAPCON® 230 pro
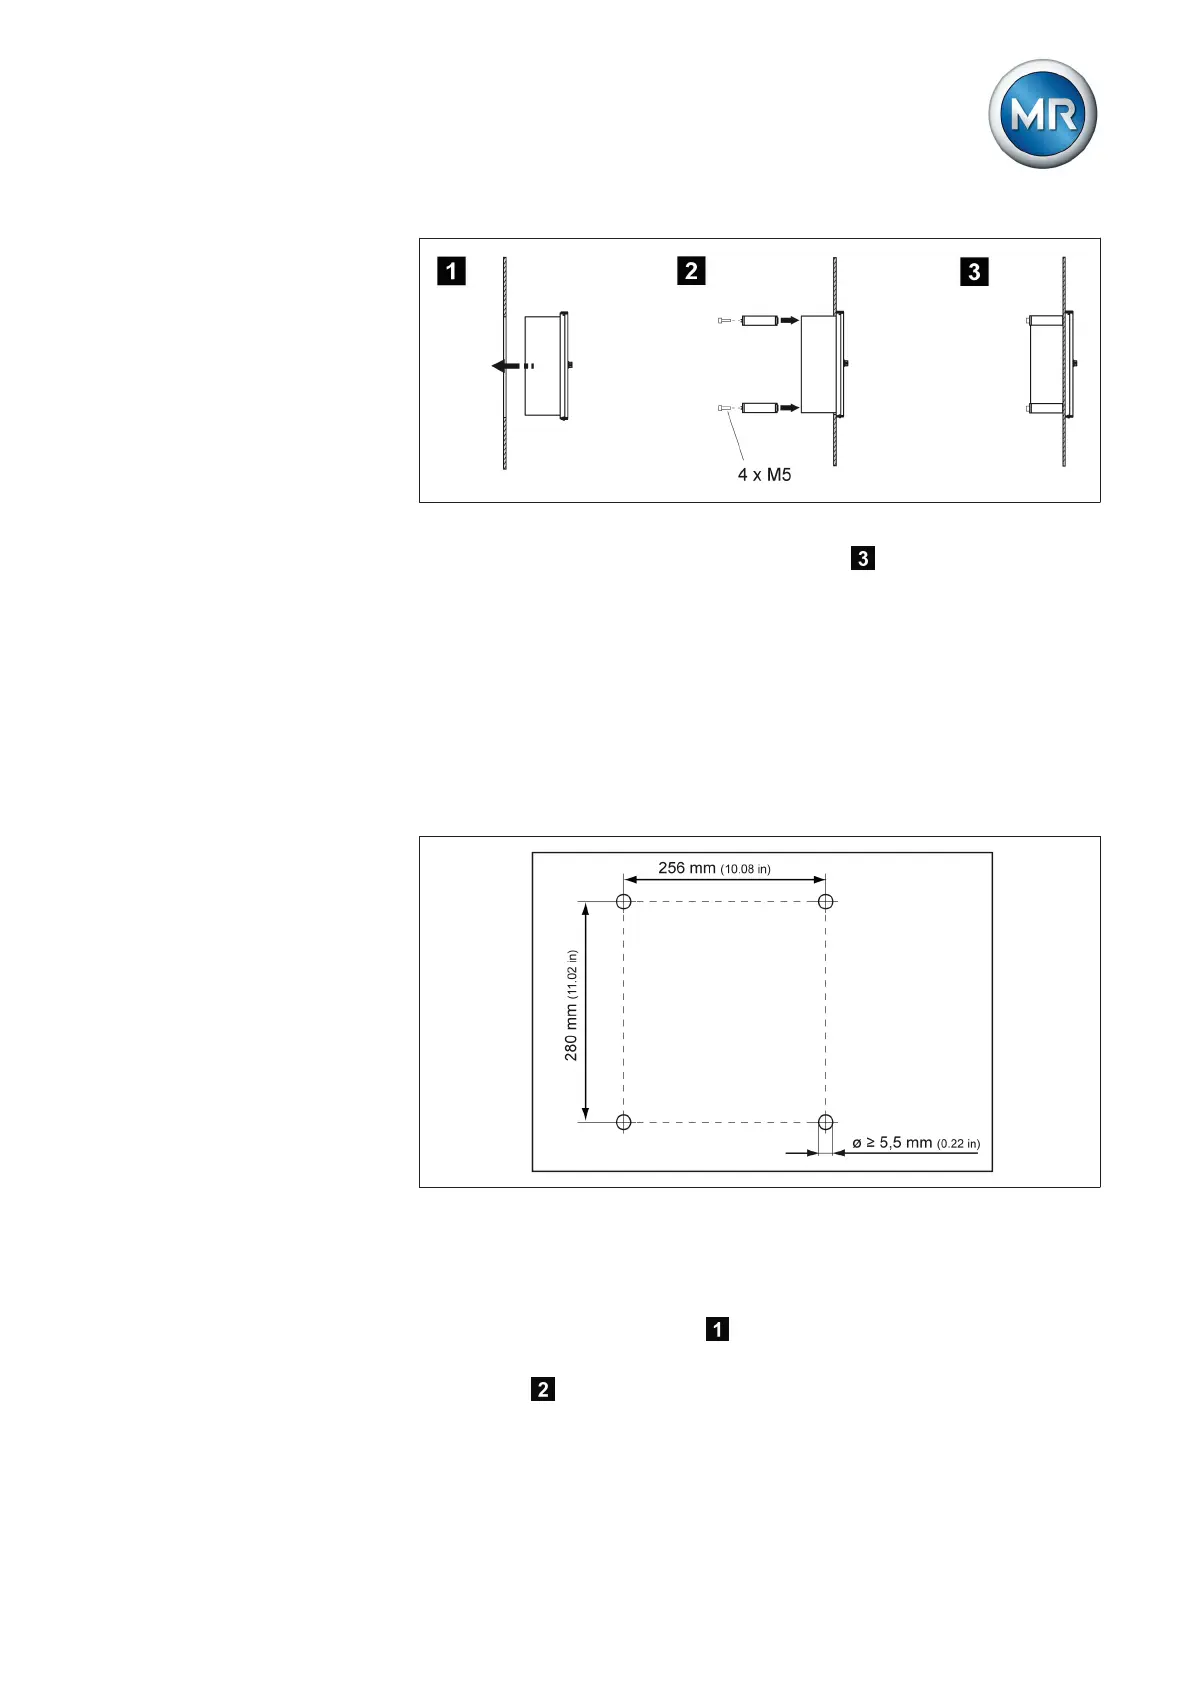
Figure 17: Flush panel mounting
ð The device is mounted and can be wired up .
Proceed with wiring as shown in the connection diagram and as described in
the Connecting device [► 37] section.
Wall mounting with mounting brackets
As an alternative to mounting the device directly on the wall, it can be fixed
to the wall using the mounting brackets supplied.
Drill 4 holes, each 5.5 mm (0.22 in) in diameter, in the wall as shown in the
drilling template below.
Figure 18: Bores for wall mounting with mounting brackets
To mount the device using the mounting brackets, proceed as follows:
1. Lay the device carefully on the door.
2. Screw the mounting brackets supplied to the back of the device using
the hexagon socket screws .
3. Fix the device on the wall using 4 screws (maximum diameter of 5 mm/
0.22 in) .
5.2.2