5 Mounting
Maschinenfabrik Reinhausen 2014 353550953/00 EN TAPCON® 230 pro
Figure 20: Cap rail mounting
ð The device is mounted and can be wired up .
Proceed with wiring as shown in the connection diagram and as described in
the Connecting device [► 37] section.
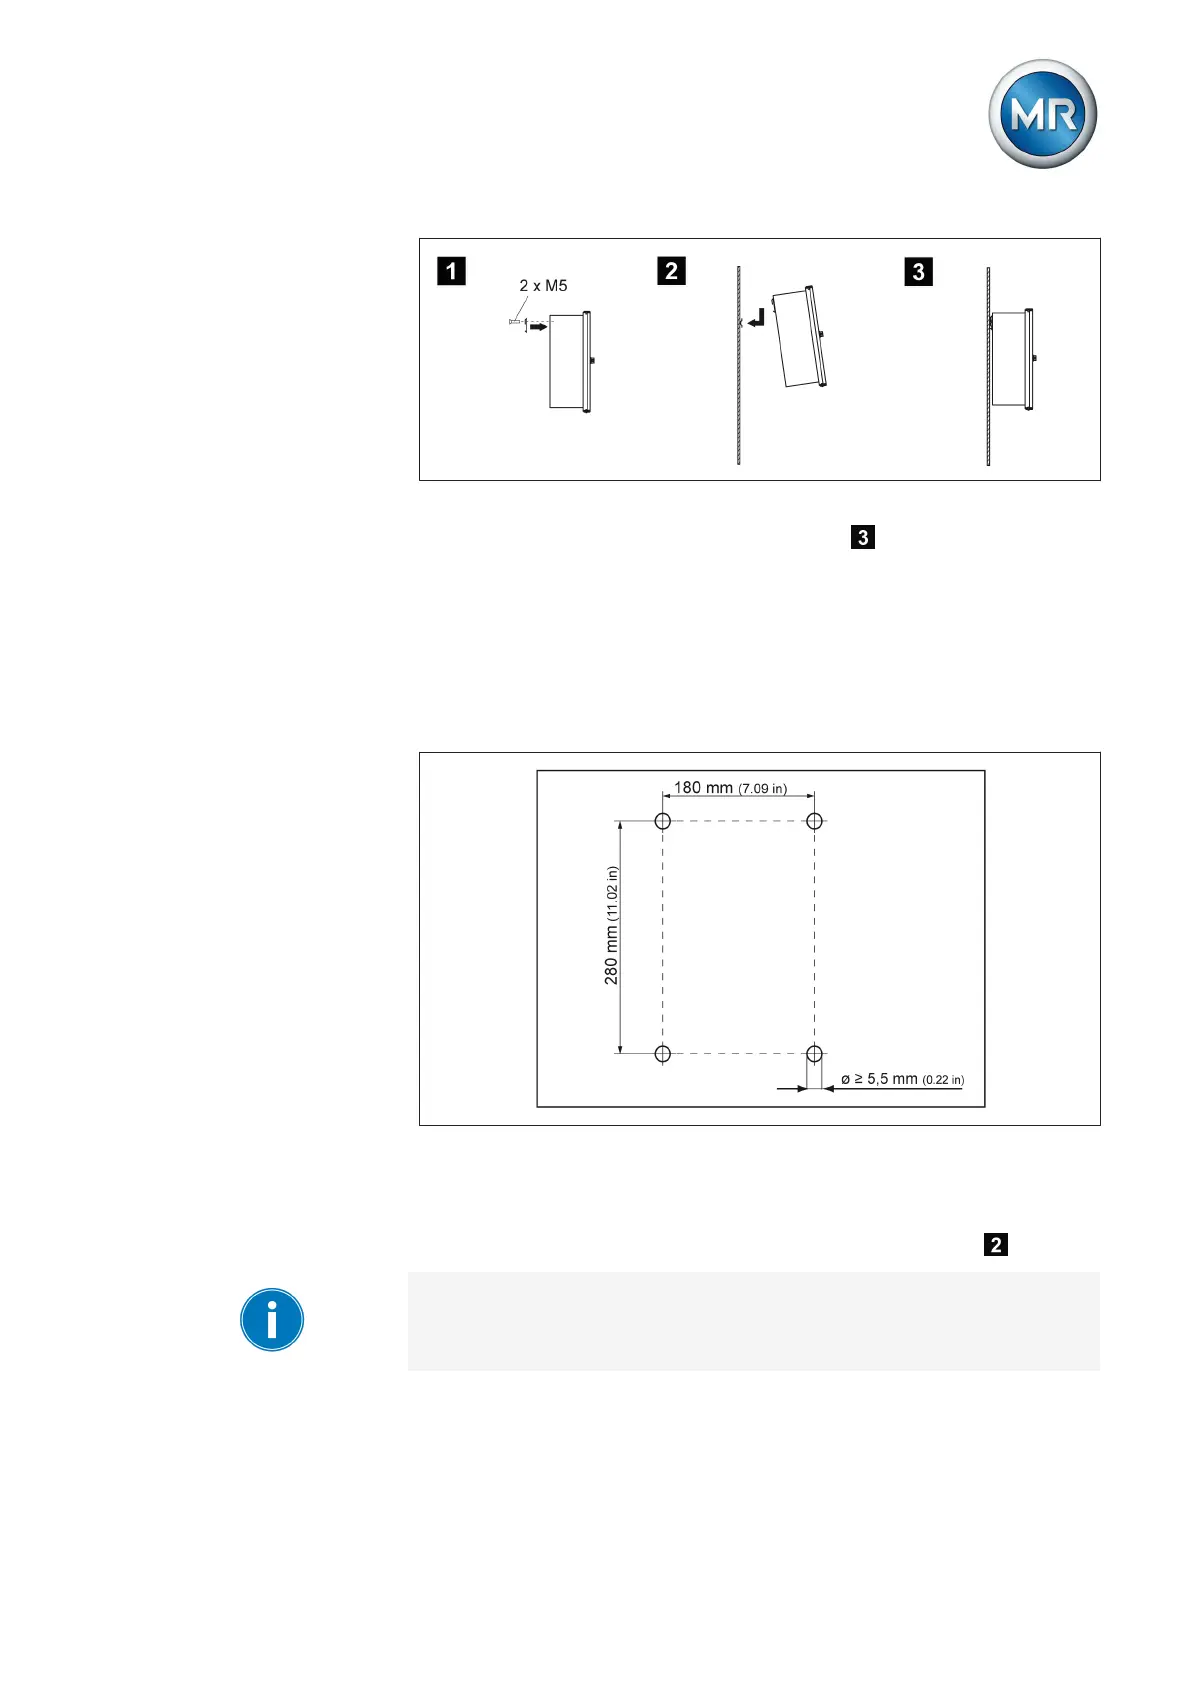
Wall mounting
For wall mounting, , the device is fixed directly to the wall. Drill 4 holes, each
5.5 mm in diameter, in the wall as shown in the drilling template below.
Figure 21: Drilling template for wall mounting
To mount the device directly on the wall, proceed as follows:
ü Close the device's door.
► Fix the device on the wall from behind using 4 screws (M5) .
The screws for wall mounting are not included in the scope of supply. The
screw length required depends on the wall thickness.
5.2.4