7 Functions and settings
Maschinenfabrik Reinhausen 2014112 3550953/00 ENTAPCON® 230 pro
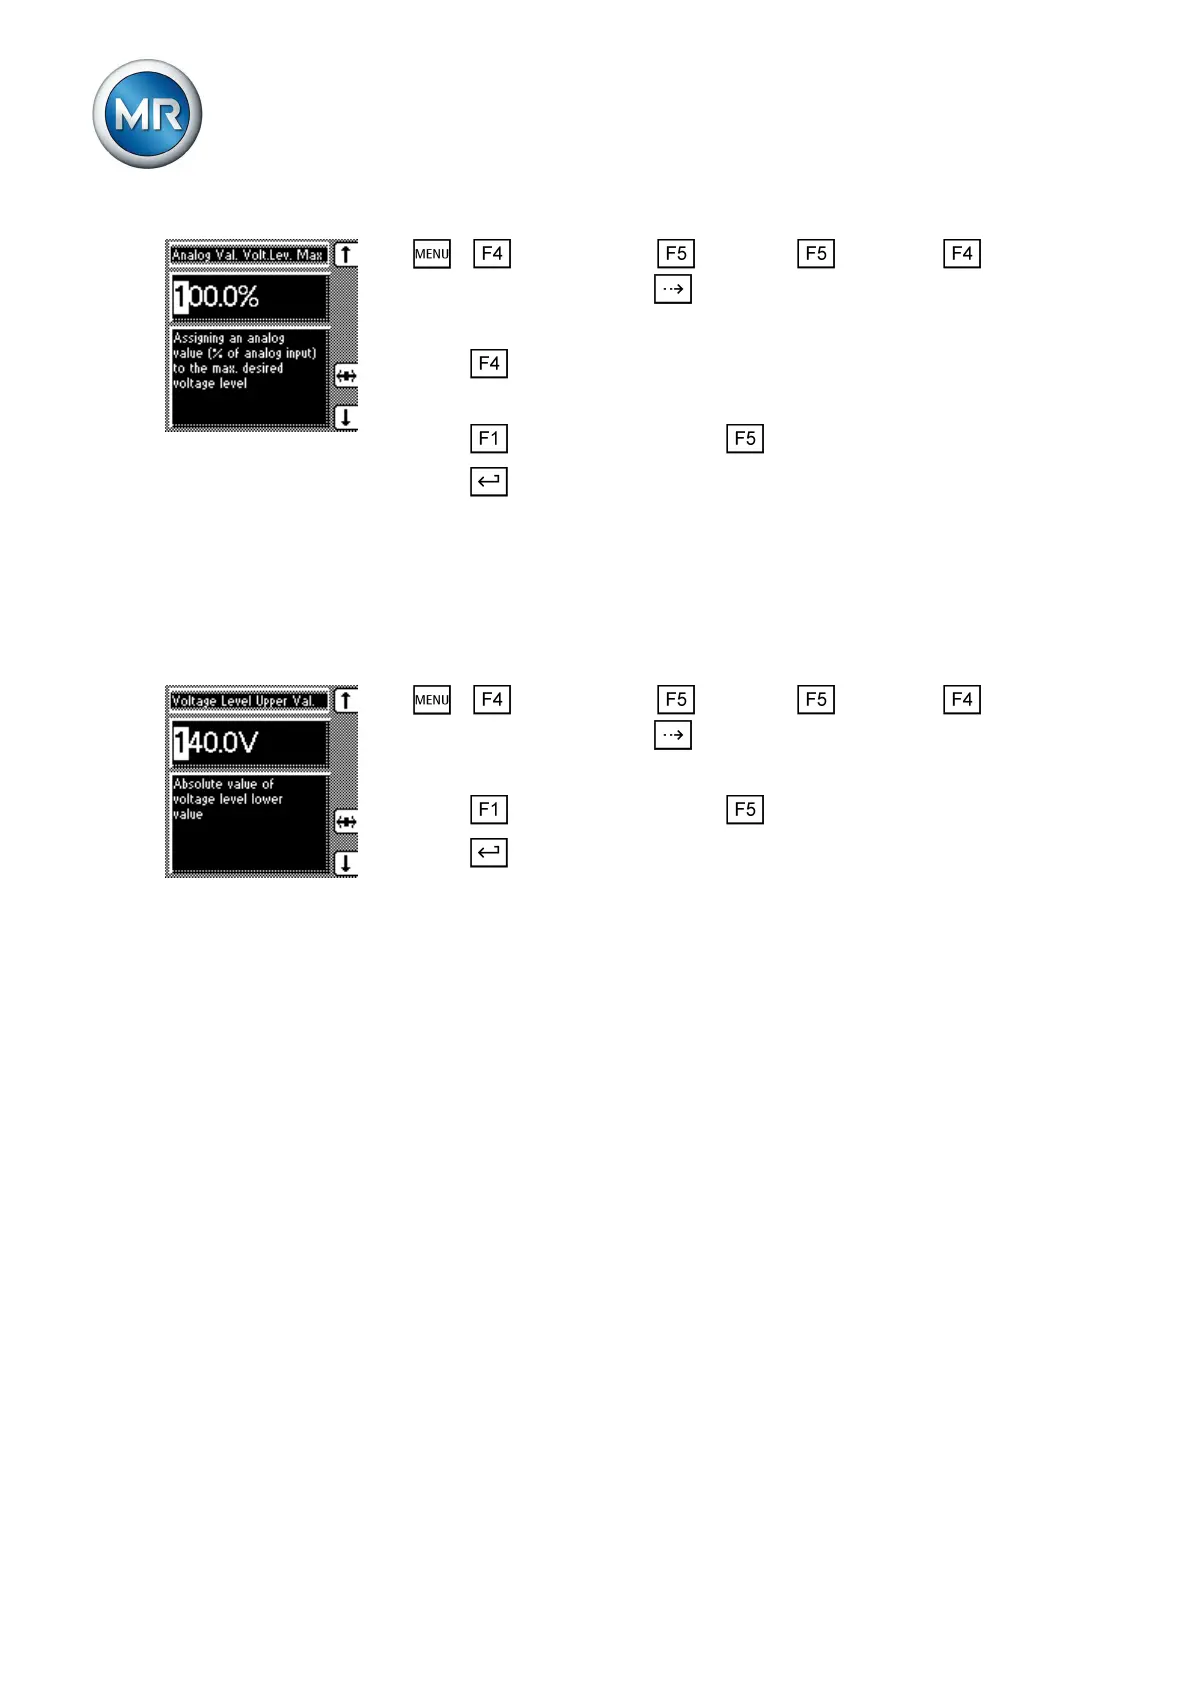
1. > Configuration > Continue > Continue > Remote
Volt. Level Setting > Press until the desired parameter is displayed.
ð Analog value % desired value max
2. Press to highlight a digit.
ð The desired position is highlighted and the value can be changed.
3. Press to increase the value or to reduce it.
4. Press .
ð The analog value for the maximum desired value is set.
To configure the analog input, the maximum desired value must be assigned
to the maximum analog value.
To set the maximum desired value, proceed as follows:
1. > Configuration > Continue > Continue > Remote
Volt. Level Setting > Press until the desired parameter is displayed.
ð Maximum desired value
2. Press to increase the value or to reduce it.
3. Press .
ð The maximum desired value is set.
Configurable inputs and outputs
You can individually configure the digital inputs (GPI ) and outputs (GPO ).
The following digital inputs and outputs are available:
▪ 8 digital inputs (GPI1...8)
▪ 7 digital outputs (GPO1...7)
Linking inputs with functions
You can activate the inputs as follows :
▪ Statically using signal statuses
– The input signal must be continually present (status: high level).
▪ Dynamically using pulses
– A pulse (rising edge) is needed at the input. The input signal must
change its status from "Low" to "High". If you are using a pulsed in-
put, you can trigger the assigned function at the same time as the
keys connected to the inputs also using the control system.
7.11
7.11.1