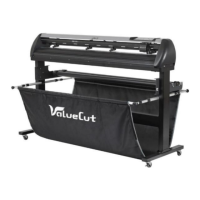
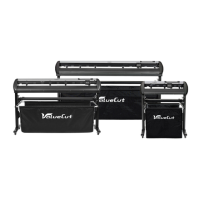
User’s Guide – Ultima cutting plotter
51 AP-75032, Rev 2.2, 20/04/07
4. CUTTER SETTINGS & SPECIAL
FUNCTIONS
4.1. GENERAL PROCEDURE TO CHANGE SETTINGS ON THE
CUTTER
Not only there are keys to directly change or control some values of the Ultima cutting plotter, but more
settings are available by following the instructions mentioned below.
Step 1 : Pressing the [ENTER] key, the user enters the setup-menu.
Step 2 : Pressing the [UP] or [DOWN] key, the user can select the parameter he wants to adjust. Confirm
with the [ENTER] key the selection.
Step 3 : The [UP] key will increase the value or select the next parameter. The [DOWN] key will decrease
the value or select the previous parameter. Press the [ENTER] key to confirm the new setting.
After confirmation the display will show the previous menu.
Notes
To cancel the changes of the parameter, press the [CANCEL] key. The display will show the previous
value for the parameter.
When you press the [EXIT] key the changed value will be ignored and you go back to the previous menu.
Step 4 : Press the [EXIT] key to go back to the previous menu and confirm the changed settings.
4.2. OVERVIEW OF GENERAL SETTINGS
The general settings parameter influences the cutter’s reactions to commands given by the computer or
initiated via the control panel. In the general settings menu, several parameters are available:
→
Sheet Off Mode
→
Sheet Off Margin
→
Pre-Feed Length
→
Max Sheet Length
→
Page Mode
→
Laser Speed
→
Tool-Up Speed
→
Cut Quality
→
Factory Default
→
Copies
→
Smoothing
→
Bézier
→
Language
→
Emulation
→
Program Step
→
VS / ZF / AS
→
Communication