User’s Guide – Ultima cutting plotter
82 AP-75032, Rev 2.2, 20/04/07
5.6.8. Test sheet verify epos alignment
5.6.8.1 EPOS Alignment
→
test plot
Verify Automatic EPOS Alignment workflow (From FW V2.00 onwards)
To verify the EPOS alignment, please follow the instructions below.
Step 1 : Power ON the Ultima cutting plotter and install a pen.
Step 2 : Press the [TOOL] key and select ‘pen’.
Step 3 : Make sure levers are up.
Step 4 : Set speed = 30 cm/s, Force = 60 gr
Step 5 : Load media (AP-77010), delivered with the Ultima Cutting Plotter. (with the black arrow in the
upper right corner)
Step 6 : Levers down. Make sure the pressure rollers are located outside your frame
Step 7 : Press the [TEST] key. The display will show the following message.
Testplot :
Quality check
→ SC-850 or SC-1400
Choose testfile
Step 8 : By pressing the [UP] or [DOWN] key select ‘EPOS alignment --> test plot’. The Display on the
Operation Panel will show the following message.
Testplot :
EPOS alignment
→ test plot
Choose testfile
Step 9 : Press the [ENTER] key. The laser of the Ultima cutting plotter will measure the box and will start
(re)drawing the image file.
Step 10 : Verify positioning of contour cutting.
To verify bar code reading, please follow the instructions mentioned below.
Notes
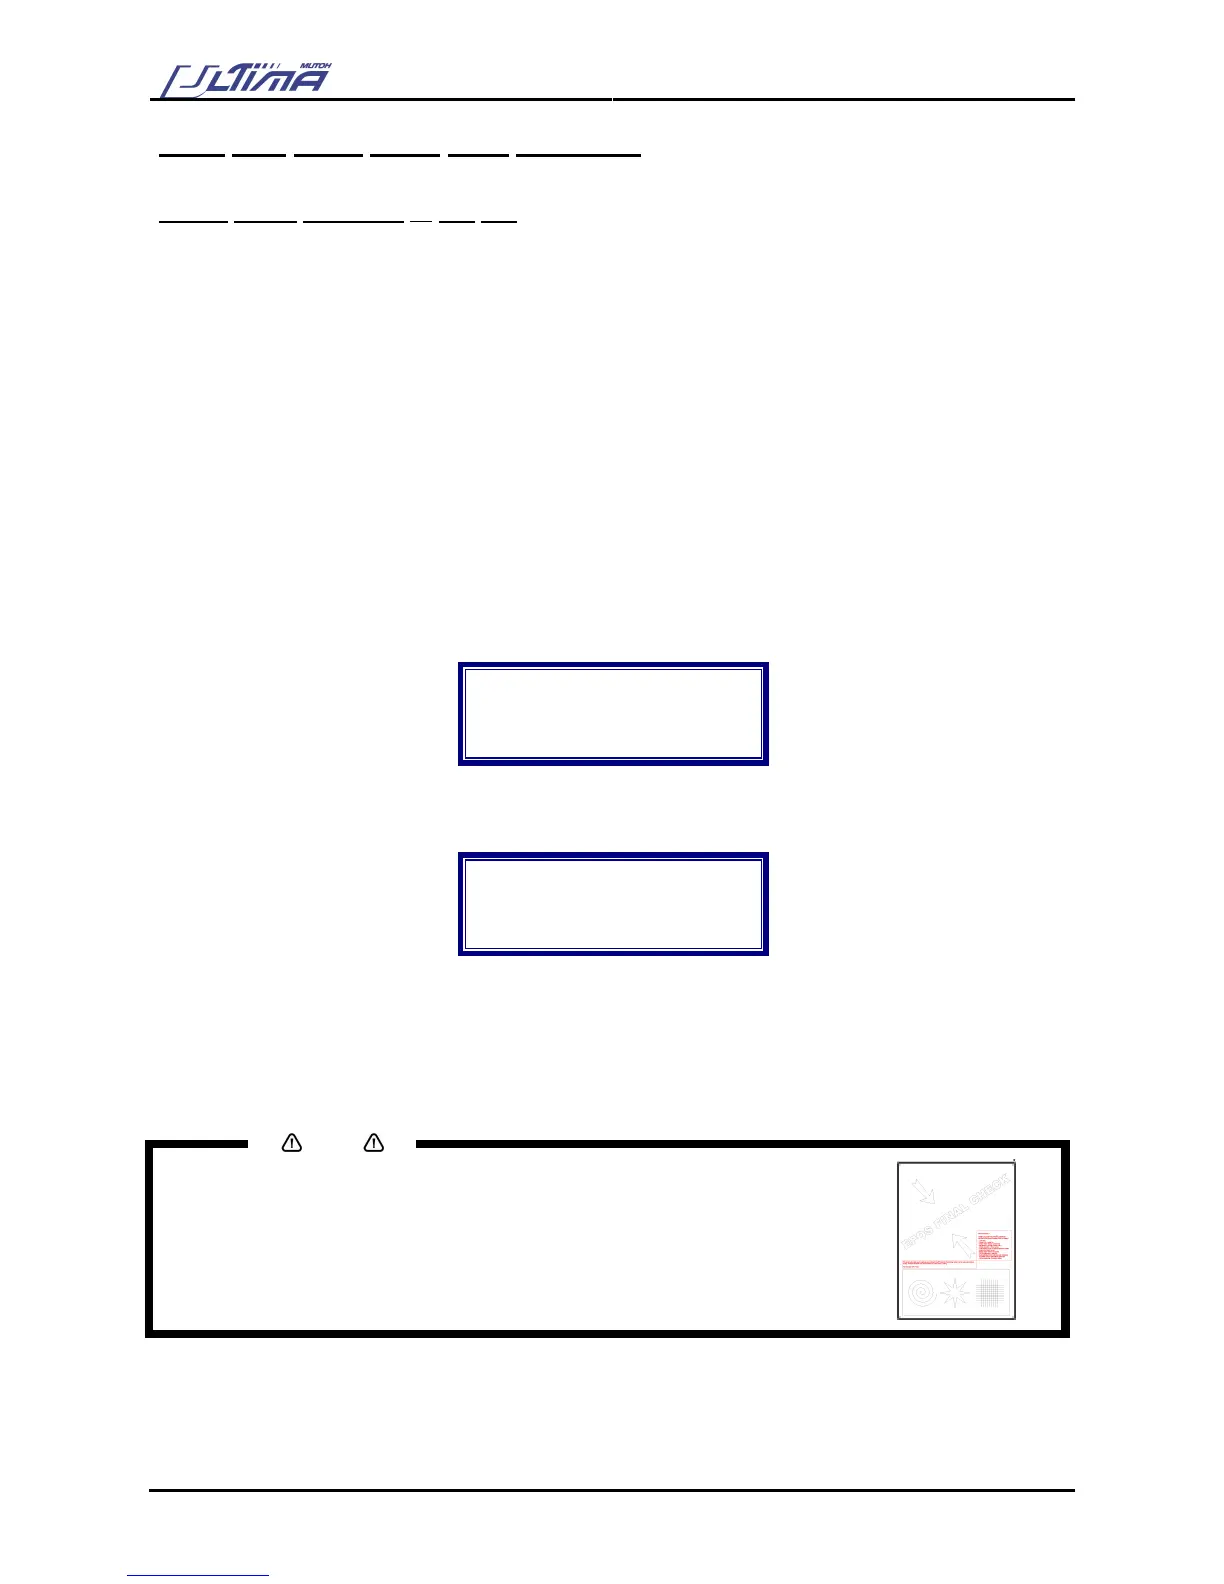
In the box of the Ultima Cutting Plotter, there’s a paper (Test sheet verify epos
alignment) delivered with the pattern on.
You can find the procedure also on the sheet.
Perform this test before you start contour cutting.