Configure Routing
231
XS708T, XS712Tv2, and XS716T Smart Managed Pro Switch User Manual
To configure the ARP table:
1. Connect your computer to the same network as the switch.
You can use a WiFi or wired connection to connect your computer to the network, or
connect directly to a switch that is off-network using an Ethernet cable.
2. Launch a web browser.
3. In the address field of your web browser, enter the IP address of the switch.
If you do not know the IP address of the switch, see Change the Default IP Address of the
Switch on page 10.
The login window opens.
4. Enter the switch’s password in the Password field.
The default password is password.
The System Information page displays.
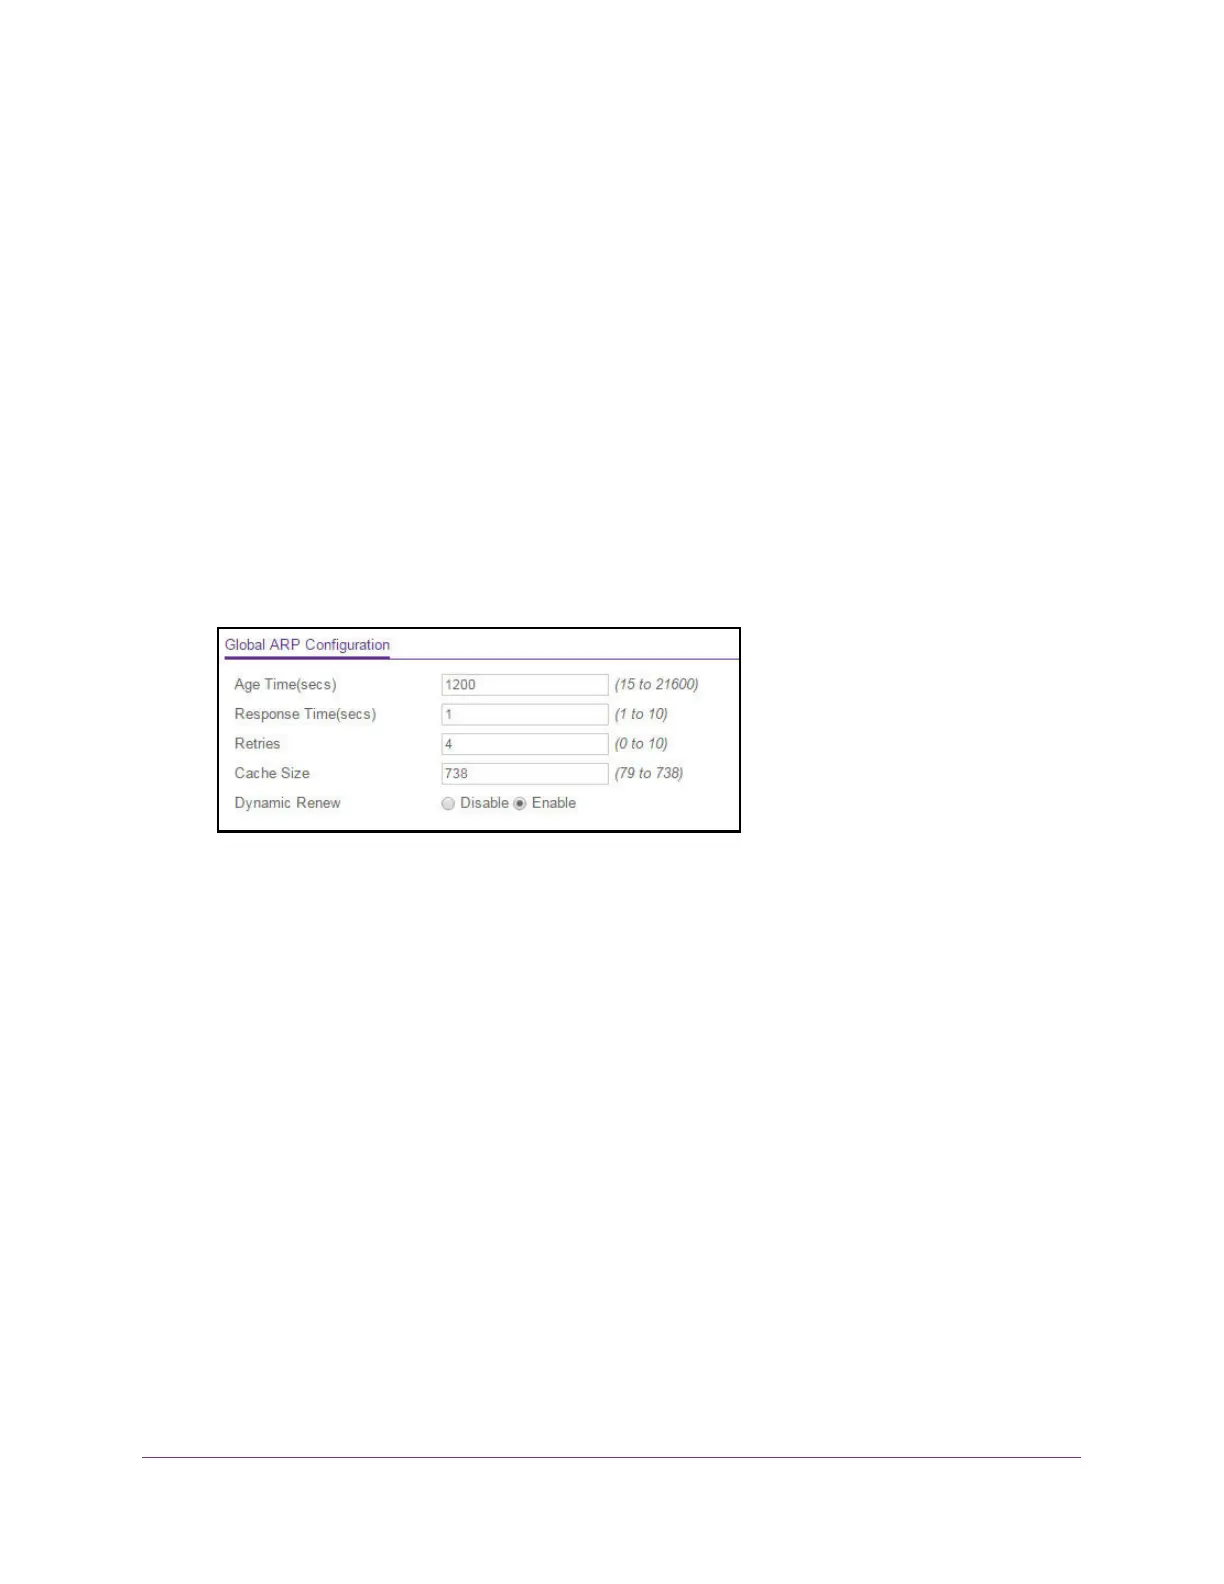
5. Select Routing> ARP > Advanced > Global ARP Configuration.
6. In the Age Time field, enter the time, in seconds, that a dynamic ARP entry remains in the
ARP table before aging out.
The range is 15 to 21600 seconds. The default value is 1200 seconds.
7. In the Response Time field, enter the time, in seconds, that the device waits for an ARP
response to an ARP request that it sends. The range for this field is 1 to 10 seconds. The
default value is 1 second.
8. In the Retries field, enter the maximum number of times an ARP request is retried after an
ARP response is not received.
The number includes the initial ARP request. The range for this field is 0 to 10. The
default value is 4.
9. In the Cache Size field, specify the maximum number of entries allowed in the ARP table.
This number includes all static and dynamic ARP entries.The range for this field is 79 to
738. The default value is 738.
10. Select the Dynamic Renew Enable or Disable radio button.
When enabled, the ARP component automatically attempts to renew dynamic ARP
entries when they age out. The default setting is Enable.
11. Click the Apply button.

 Loading...