Manage Device Security
292
XS708T, XS712Tv2, and XS716T Smart Managed Pro Switch User Manual
The System Information page displays.
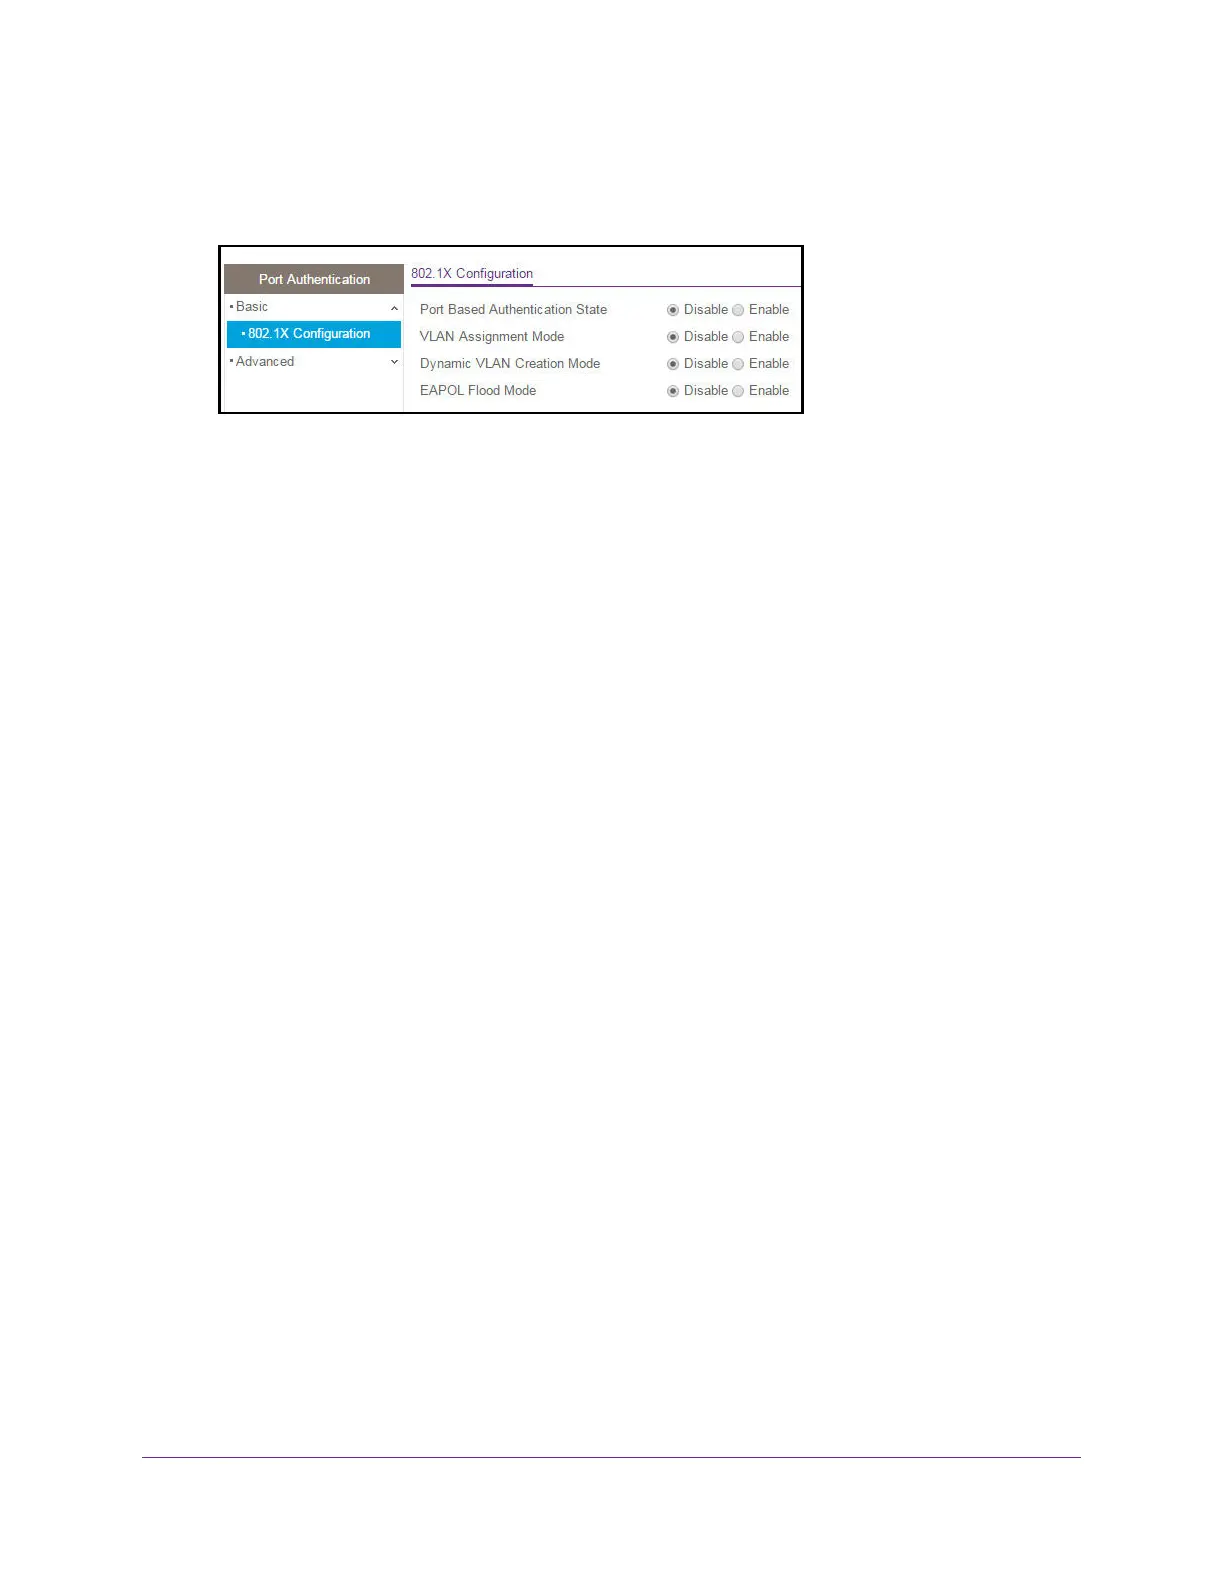
5. Select Security > Port Authentication > Basic > 802.1X Configuration.
6. Next to Port Based Authentication State, select the Enable radio button.
This enables or disables 802.1X administrative mode on the switch.
Note: If 802.1X is enabled, authentication is performed by a RADIUS server.
This means that the primary authentication method must be RADIUS. To
set the method, select Security > Management Security >
Authentication List and select RADIUS as method 1 for defaultList. For
more information, see Authentication List Configuration on page 277.
When port-based authentication is globally disabled, the switch does not check for
802.1X authentication before allowing traffic on any ports, even if the ports are configured
to allow only authenticated users.
7. In the VLAN Assignment Mode field, select the Enable radio button.
The default value is Disable.
When enabled, this feature allows a port to be placed into a particular VLAN based on the
result of the authentication or type of 802.1X authentication a client uses when it
accesses the device. The authentication server can provide information to the device
about which VLAN to assign the supplicant.
8. Next to Dynamic VLAN Creation Mode, select the Enable radio button.
The default value is Disable.
If RADIUS-assigned VLANs are enabled, the RADIUS server is expected to include the
VLAN ID in the 802.1X tunnel attributes of its response message to the device. If dynamic
VLAN creation is enabled on the device and the RADIUS-assigned VLAN does not exist,
then the assigned VLAN is dynamically created. This implies that the client can connect
from any port and can get assigned to the appropriate VLAN. This feature gives flexibility
for clients to move around the network without much additional configuration required.
9. Next to EAPOL Flood Mode, select the Enable radio button.
The default value is Disable. Extensible Authentication Protocol (EAP) over LAN
(EAPoL) flood support is enabled on the switch.
10. Click the Apply button.
The updated configuration is sent to the switch. Configuration changes take effect
immediately.

 Loading...