Configure System Information
49
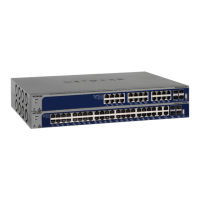
XS708T, XS712Tv2, and XS716T Smart Managed Pro Switch User Manual
3. In the address field of your web browser, enter the IP address of the switch.
If you do not know the IP address of the switch, see Change the Default IP Address of the
Switch on page 10.
The login window opens.
4. Enter the switch’s password in the Password field.
The default password is password.
The System Information page displays.
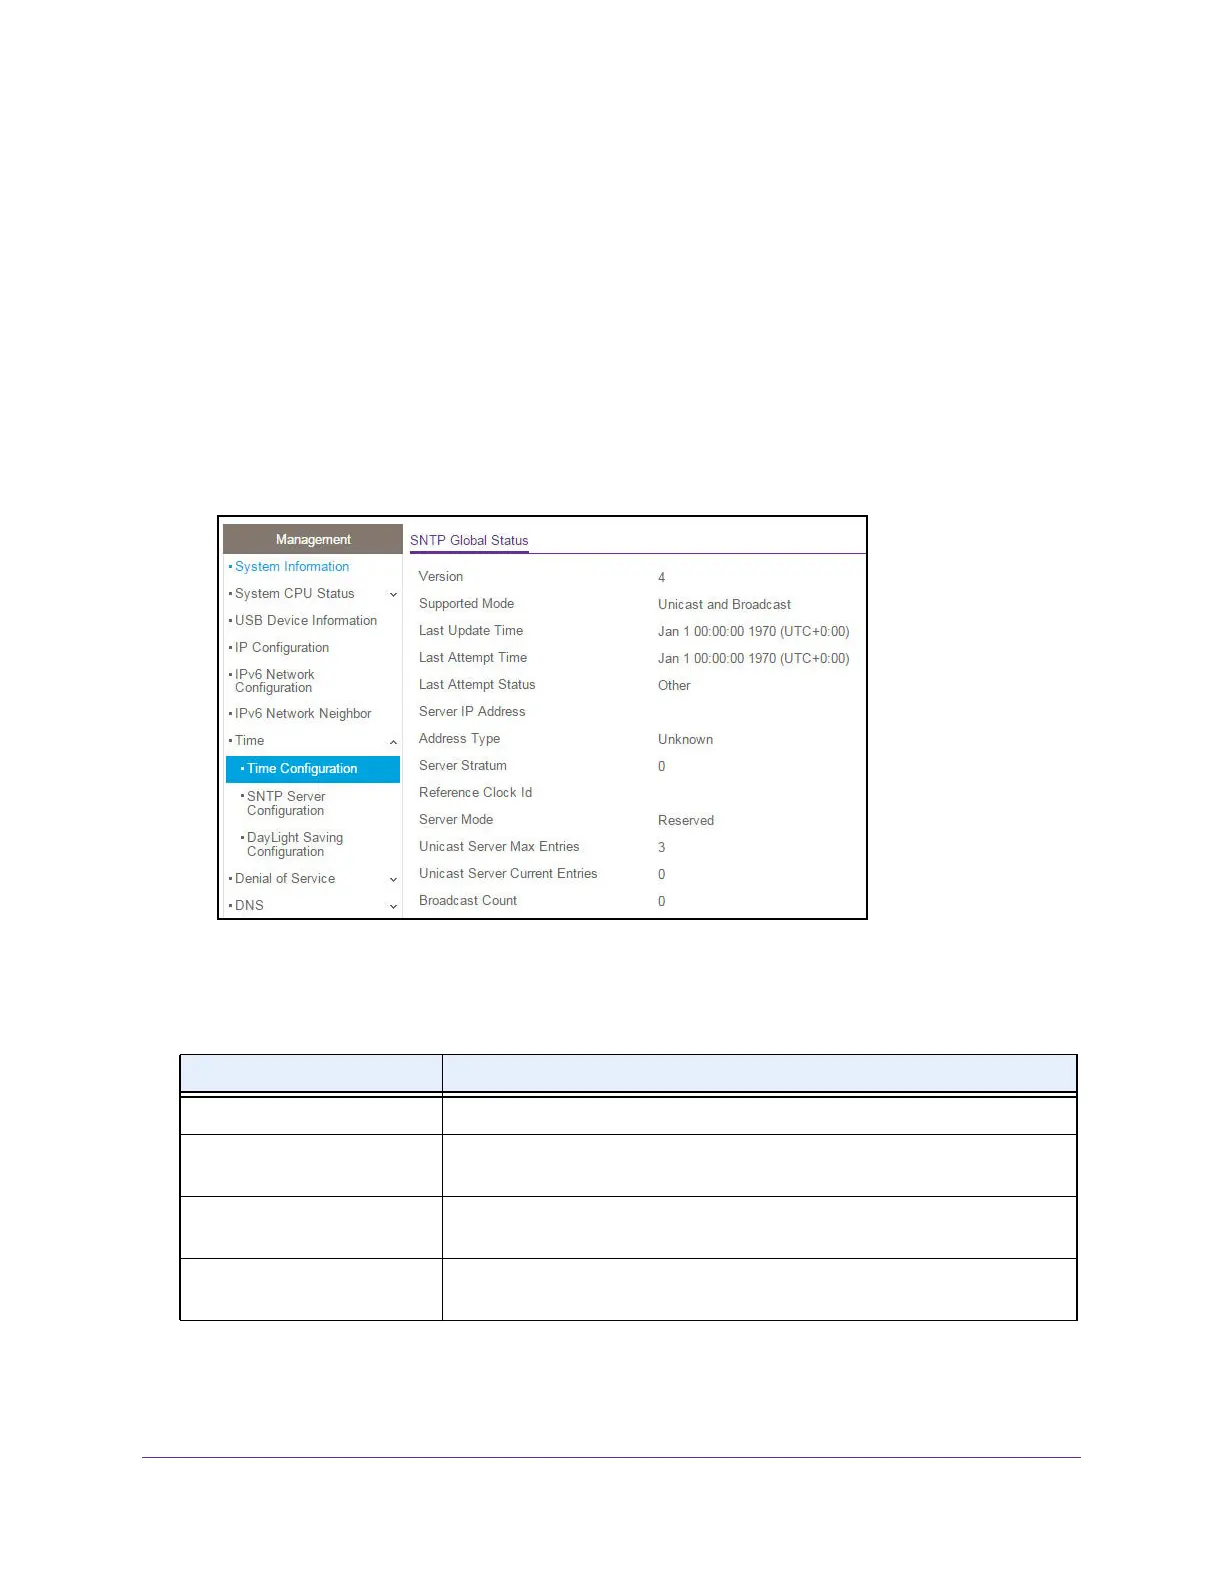
5. Select System > Management > Time > Time Configuration > SNTP Global Status.
When you select the SNTP option as the clock source, the SNTP Global Status is
displayed below the SNTP Global Configuration section.
6. Click the Update button to update the page with the latest information about the switch.
The following table displays the nonconfigurable SNTP Global Status information.
Table 13. SNTP Global Status information
Field Description
Version The SNTP version that the client supports.
Supported mode The SNTP modes that the client supports. Multiple modes can be supported by
a client.
Last Update Time The local date and time (UTC) that the SNTP client last updated the system
clock.
Last Attempt Time The local date and time (UTC) of the last SNTP request or receipt of an
unsolicited message.

 Loading...