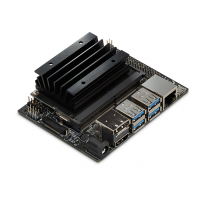
Modular Connector
NVIDIA Jetson Nano DG-09502-001_v2.1 | 10
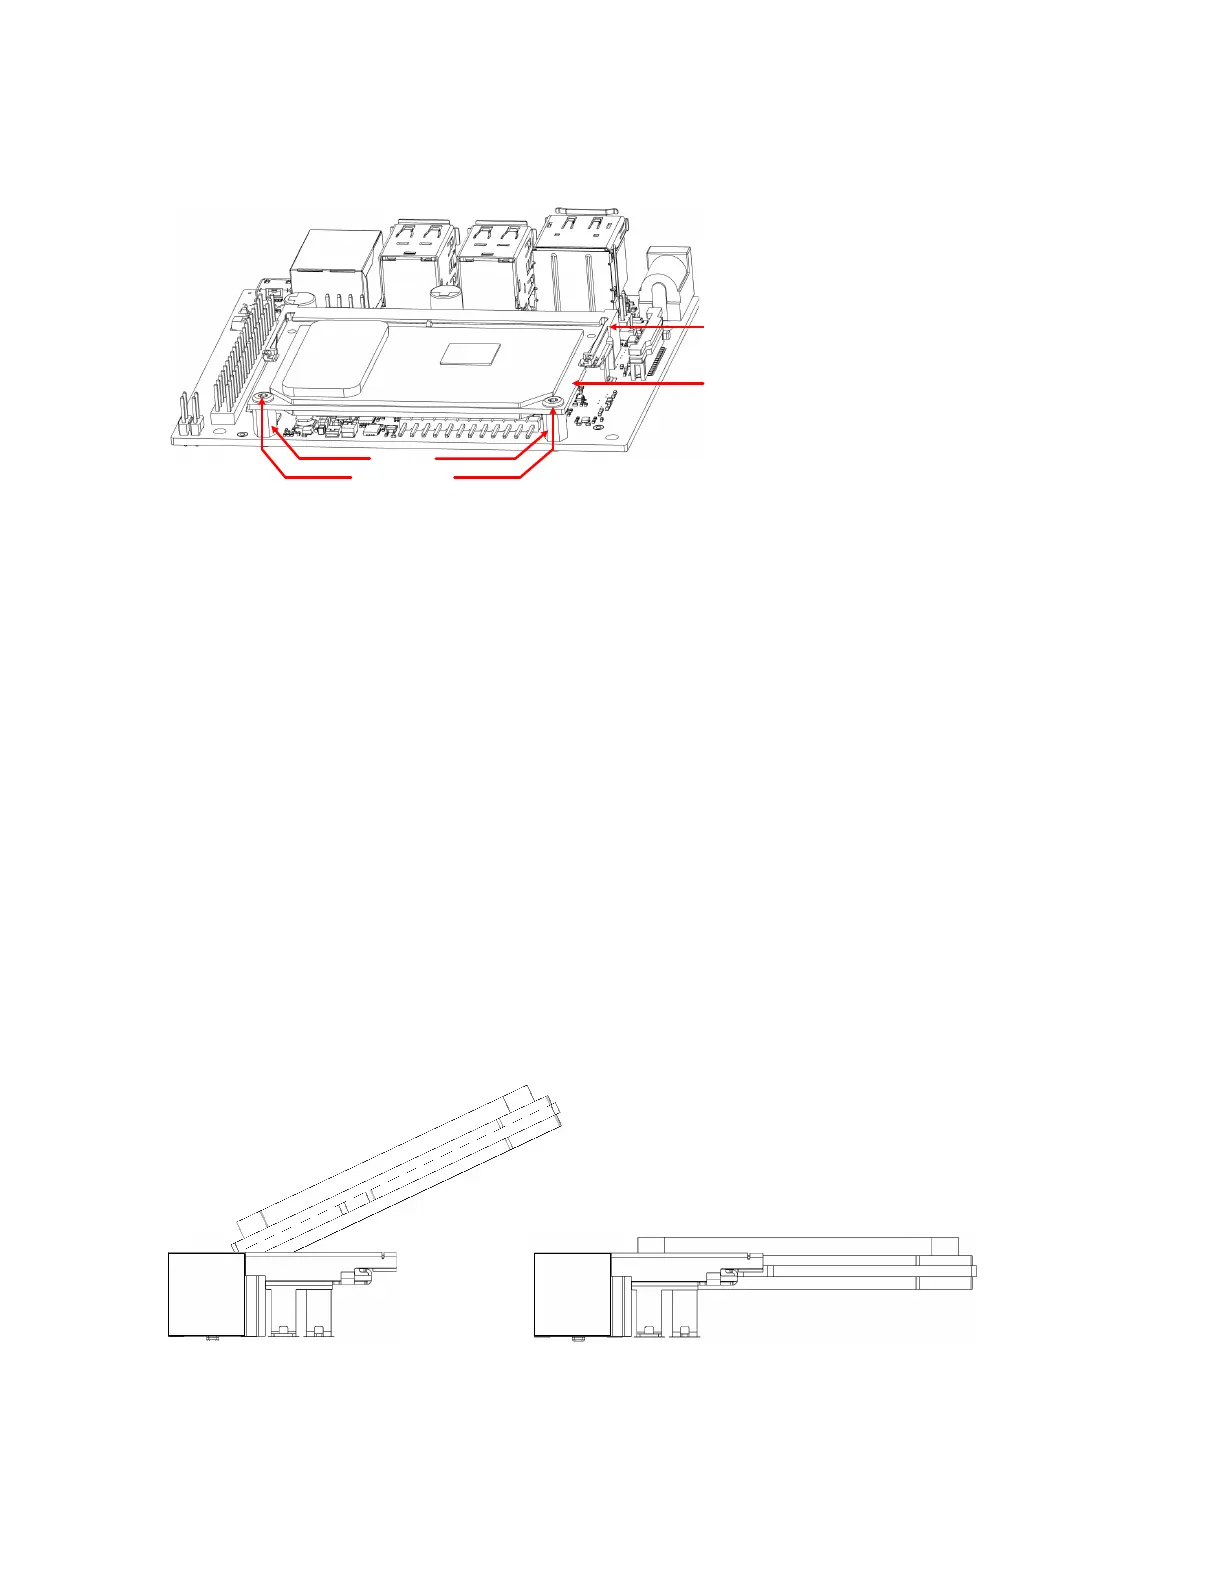
Figure 4-1. Jetson Nano Module Installed in SODIMM Connector
Standoffs
SO-DIMM
Connector
Jetson Nano
Module
(Envelop view)
Mounting Screws
4.3 Module Installation and Removal
To install the Jetson Nano module correctly, follow the sequence and mounting hardware
instructions:
Here are some suggested assembly guidelines.
1. Assemble any required thermal solution on the module.
2. Install the Jetson Nano module
a) Baseboard with suitable standoff for as per SODIMM connector height defined
b) Insert module fully at an angle of 25-35 degree into the SODIMM connector.
c) Arc down the module board until the SODIMM connector latch engages.
d) Secure the Jetson Nano module to the baseboard with screws into the standoff/spacer.
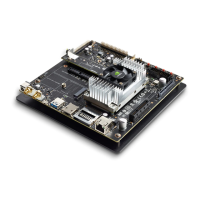
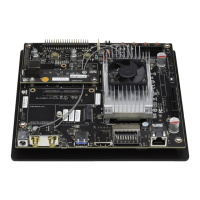
The Developer Kit (shown in Figure 4-2) uses a standoff and screws to secure the
module to the system/base- board.
Figure 4-2. Module to Connector Assembly Diagram
To remove the Jetson Nano module correctly, follow the reverse of the installation sequence.
 Loading...