Chapter 4: Serial Port, Device and User Configuration
68 Console Server & RIM Gateway User Manual
Next, you must register the Public Key as an Authorized Key on the Slave. In the simple case with only one Master with
multiple Slaves, you need only upload the one RSA or DSA public key for each Slave.
Note The use of key pairs can be confusing as in many cases one file (Public Key) fulfills two roles – Public Key and
Authorized Key. For a more detailed explanation refer the Authorized Keys section of Chapter 15.6. Also refer to
this chapter if you need to use more than one set of Authorized Keys in the Slave
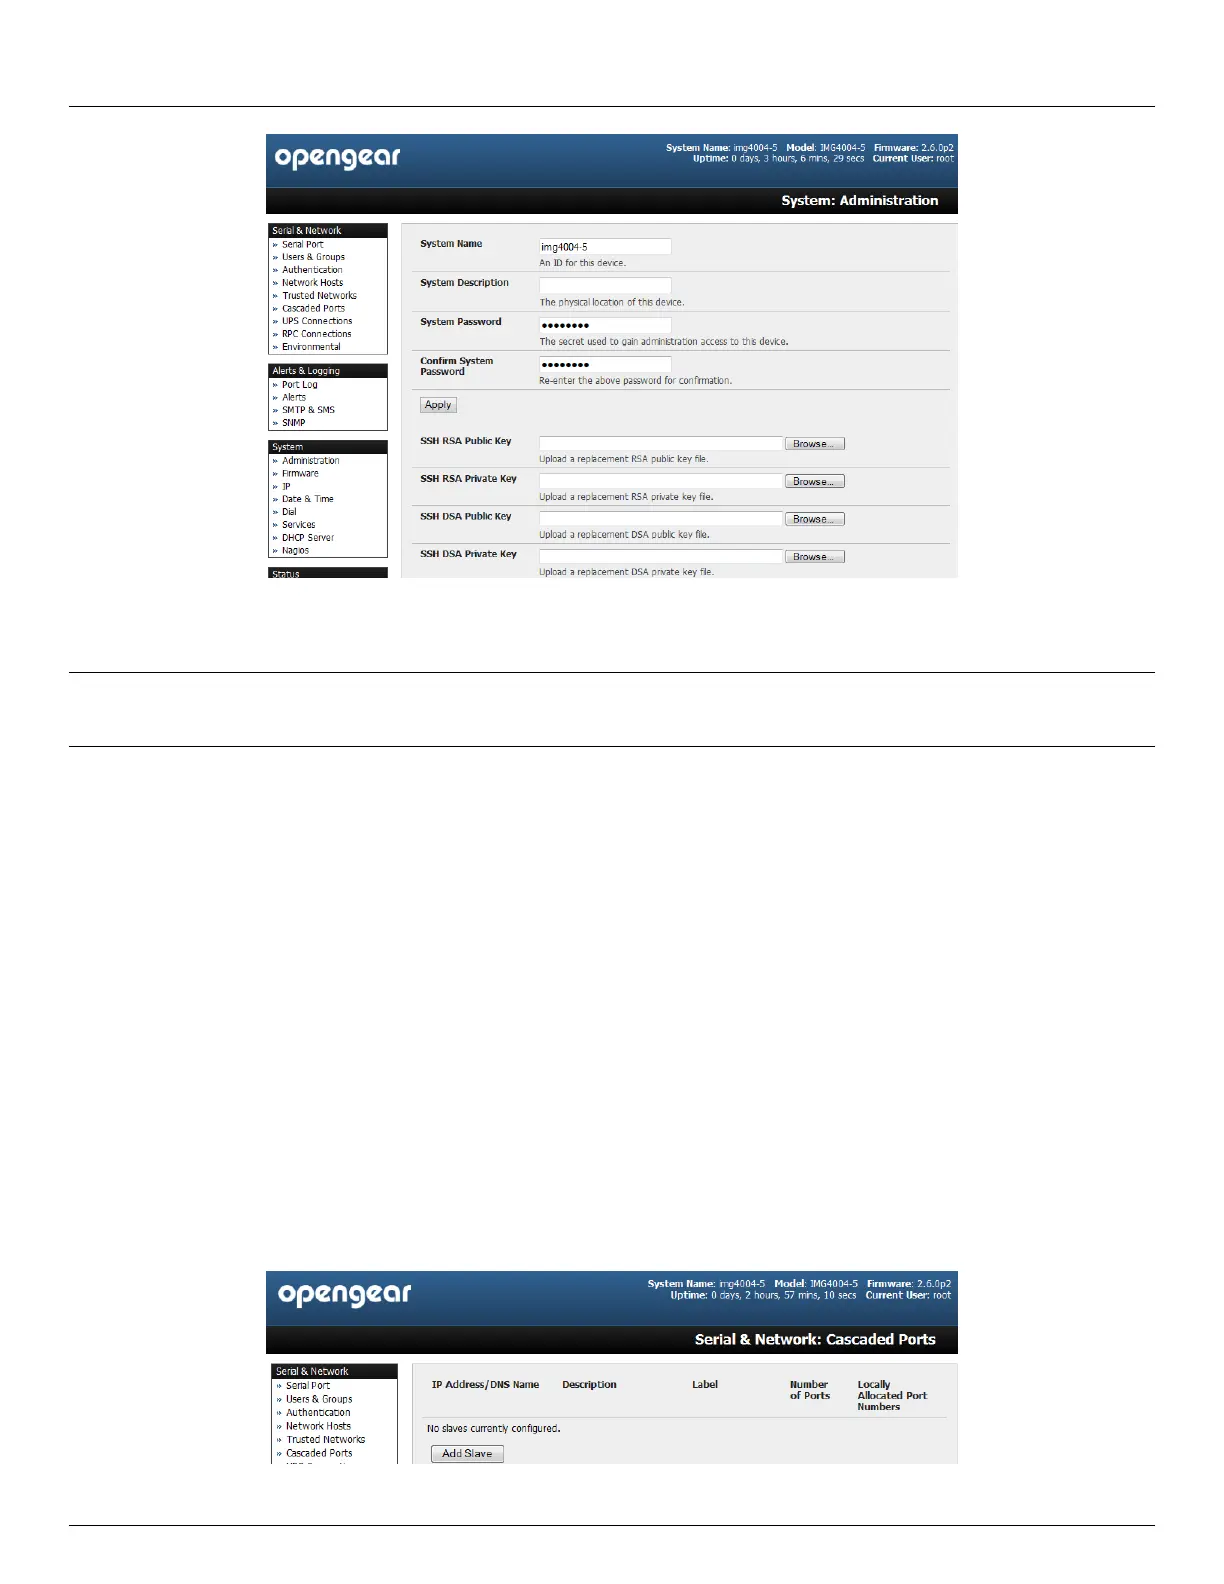
Select System: Administration on the Slave’s Management Console
Browse again to the stored RSA (or DSA) Public Key and upload it to Slave’s SSH Authorized Key
Click Apply
The next step is to Fingerprint each new Slave-Master connection. This once-off step will validate that you are
establishing an SSH session to who you think you are. On the first connection the Slave will receive a fingerprint from the
Master which will be used on all future connections:
To establish the fingerprint first log in the Master server as root and establish an SSH connection to the Slave
remote host:
# ssh remhost
Once the SSH connection has been established you will be asked to accept the key. Answer yes and the fingerprint will
be added to the list of known hosts. For more details on Fingerprinting refer Chapter 15.6
If you are asked to supply a password, then there has been a problem with uploading keys. The keys should
remove any need to supply a password
4.6.3 Configure the slaves and their serial ports
You can now begin setting up the Slaves and configuring Slave serial ports from the Master console server: