Console Server & Router User Manual 287
Enter file in which to save the key (/home/user/.ssh/id_rsa): /home/user/keys/control_room
Enter passphrase (empty for no passphrase):
Enter same passphrase again:
Your identification has been saved in /home/user/keys/control_room
Your public key has been saved in /home/user/keys/control_room.pub.
The key fingerprint is:
28:aa:29:38:ba:40:f4:11:5e:3f:d4:fa:e5:36:14:d6 user@server
$
You must ensure there is no password associated with the keys. If there is a password, then the Opengear devices will
have no way to supply it as runtime.
Full documentation for the ssh-keygen command can be found at http://www.openbsd.org/cgi-bin/man.cgi?query=ssh-
keygen
15.6.3 Installing the SSH Public/Private Keys (Clustering)
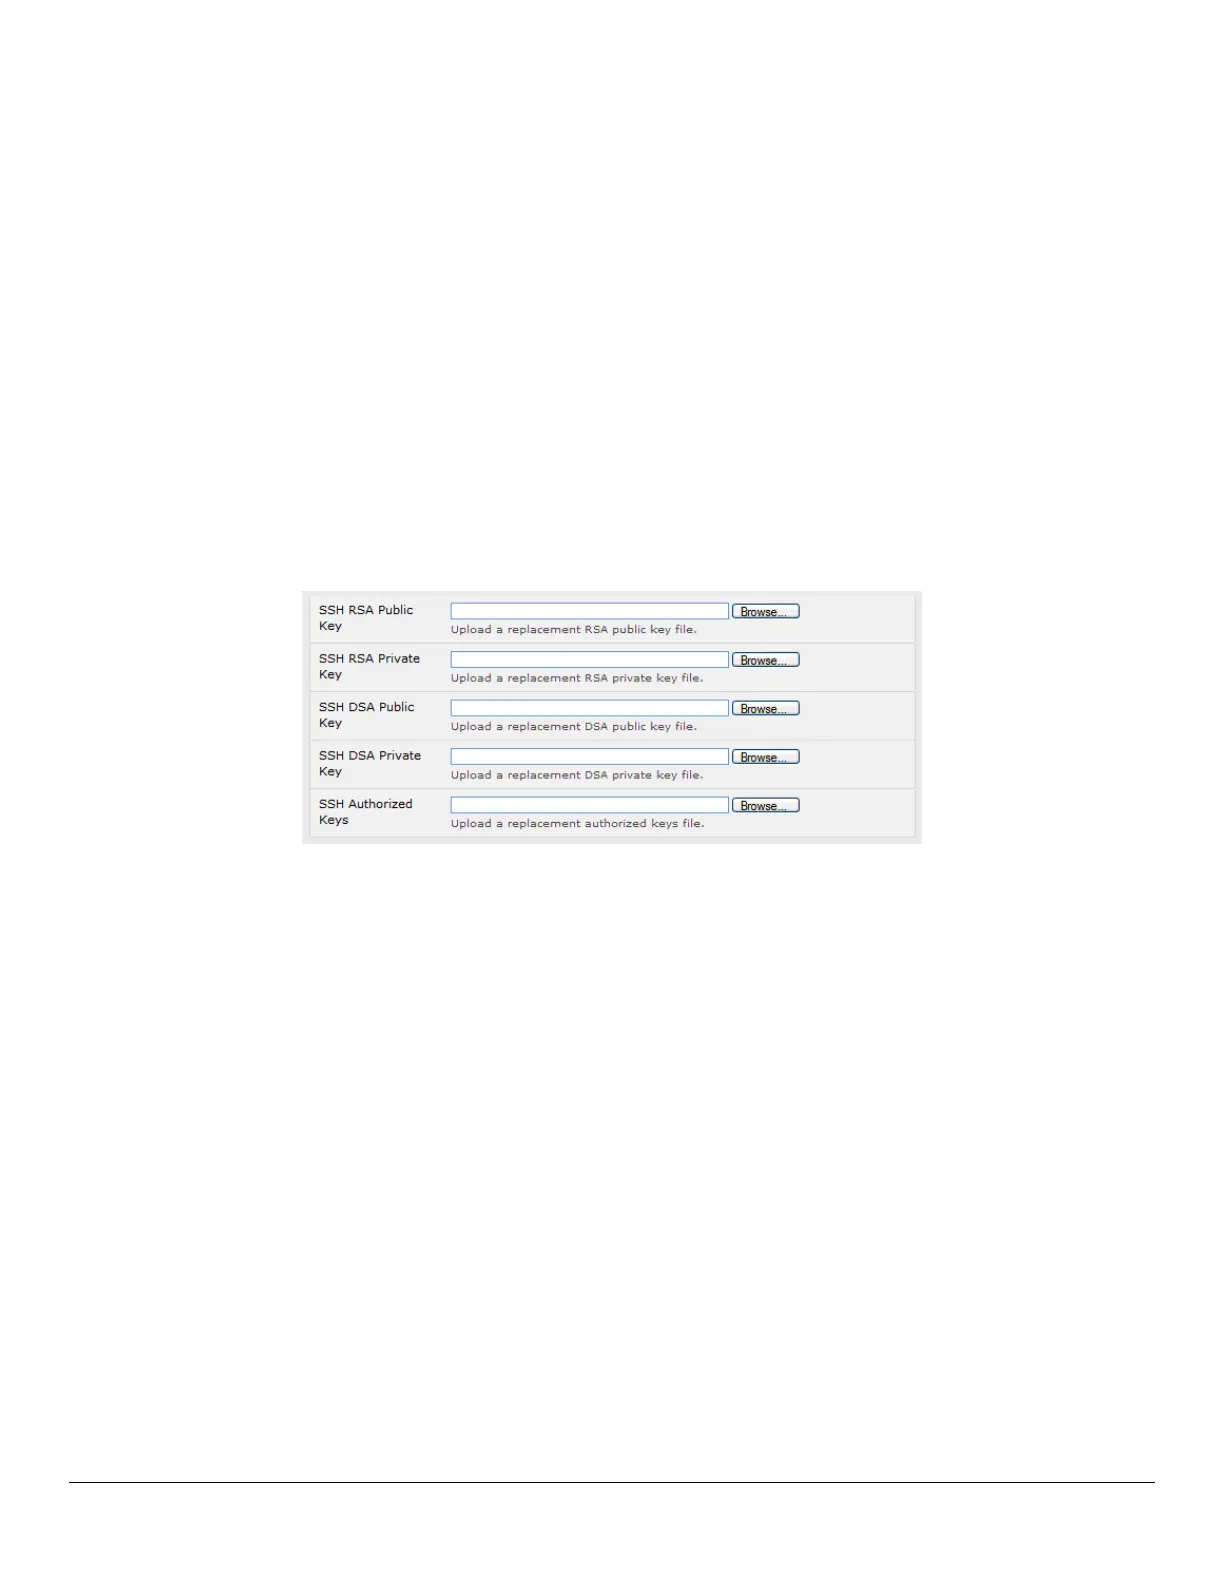
For Opengear console servers the keys can be simply uploaded through the web interface, on the System:
Administration page. This enables you to upload stored RSA or DSA Public Key pairs to the Master and apply the
Authorized key to the slave and is described in Chapter 4. Once complete you then proceed to Fingerprinting as
described below.
15.6.4 Installing SSH Public Key Authentication (Linux)
Alternately the public key can be installed on the unit remotely from the linux host with
the scp utility as follows.
Assuming the user on the Management Console is called "fred"; the IP address of the console server is 192.168.0.1
(default); and the public key is on the linux/unix computer in ~/.ssh/id_dsa.pub. Execute the following command on the
linux/unix computer:
scp ~/.ssh/id_dsa.pub \
root@192.168.0.1:/etc/config/users/fred/.ssh/authorized_keys
The authorized_keys file on the console server needs to be owned by "fred", so login to the Management Console as root
and type:
chown fred /etc/config/users/fred/.ssh/authorized_keys

 Loading...