169
4-2-6
Check Connection
Check whether the laser marker is connected to the external control device properly or not in accordance with
the following procedures.
■ Flow
*Check sum
With this check sum, add the character from the start code to the end of the data by converting the data into
hexadecimal (representing into binary value) using the ASCII code table.
02
(HEX) + 46(HEX) + 4E(HEX) + 4F(HEX) + 53(HEX) + 30(HEX) + 30(HEX) + 31(HEX)=1C9(HEX)
↓
Character at lower 2 digits (lower 1 byte) is C9
(HEX)
↓
When converting this data into 2 characters, it
becomes 43 39
(HEX).
2. Turn ON the power supply of the external device.
3. Turn ON the power supply of the laser marker.
Turn the key switch of the power supply BOX clockwise.
The laser marker starts-up in the remote mode.
*Open the manual shutter.
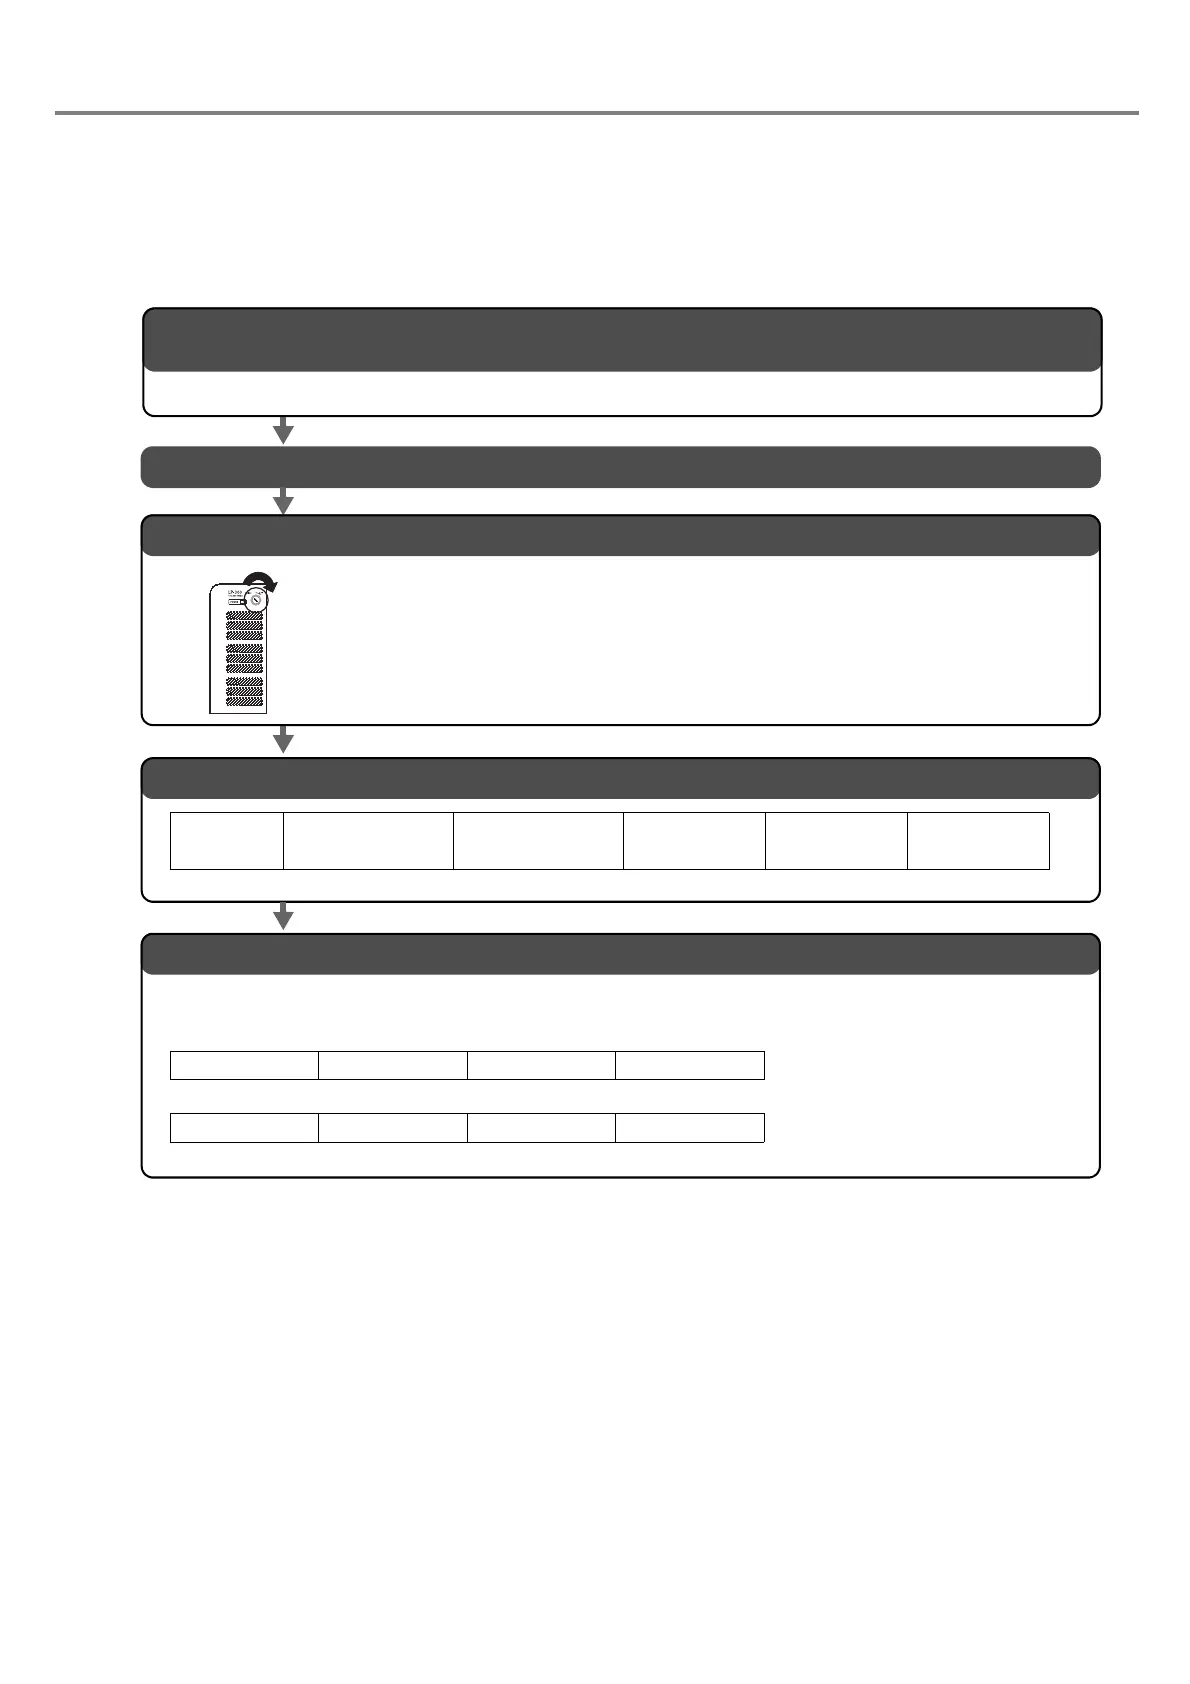
4. Transfer “File No. Change (Code: FNO)” command.
Start Code
(Fixed)
STX
5. Check the response from the laser marker.
If the connection is performed properly, the laser marker sends back the response data of either
ACK or NAK.
Command Code
File No. Change
FNO
Subcommand Data
Setting or Operation
S
Data
File No.
001
Delimiter
Data End Recognition
Code
CR + LF
Check sum
(Refer to “*” below)
02 46 4E 4F 53 30 30 31 43 39 0D 0A (HEX)
ACK
06
00
30 30
Check sum
36 36
Delimiter
0D 0A
(HEX)
NAK
15
Response code
Check sum Delimiter
0D 0A
(HEX)
“Response Data” (P.174)
1. Accommodate the setting of the laser marker and that of the communication condition of the connected
external device.
Refer to “4-2-4 Setting of Communication Condition” (P.168) for details.