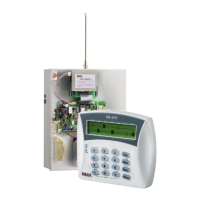
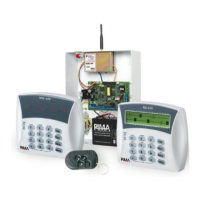
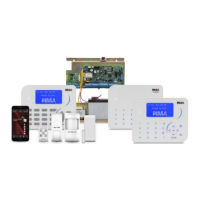
Hunter-Pro Series & Captain 8 Installation Guide
When setting to “+” this zone…
Will sound a different siren tone (AC sirens only)
Is automatically bypassed if opened 3 times, while it is armed.
The zone is reset automatically while the panel is disarmed.
Will trigger an audio module (VU-20N/U or MIC-200) when
opened
1
Press [ENTR] to save settings.
6.4.3 Zone Sensitivity
Set the zone's sensitivity in milliseconds. The number entered is multiplied by 50, e.g.,
entering 8 means a sensitivity of 8 times 50, that is 400 milliseconds.
6.4.4 Zone Name
Set the zone’s name. A name can have up to 13 characters.
See section 8.1, on page 79 on how to enter characters.
6.4.5 Partitioning
For each zone, set the to “+” the partition/s it will be allocated to. This will set the alarm
system as a partitioned/split one.
In the Hunter-Pro Series as much as 16 partitions can be used; in Captain 8, only four.
For more details on partitions, refer to section 8.4, on page 80.
6.4.6 Partition’s name
Set names to the partitions. The name will be displayed on every keypad that is allocated to
the partition.
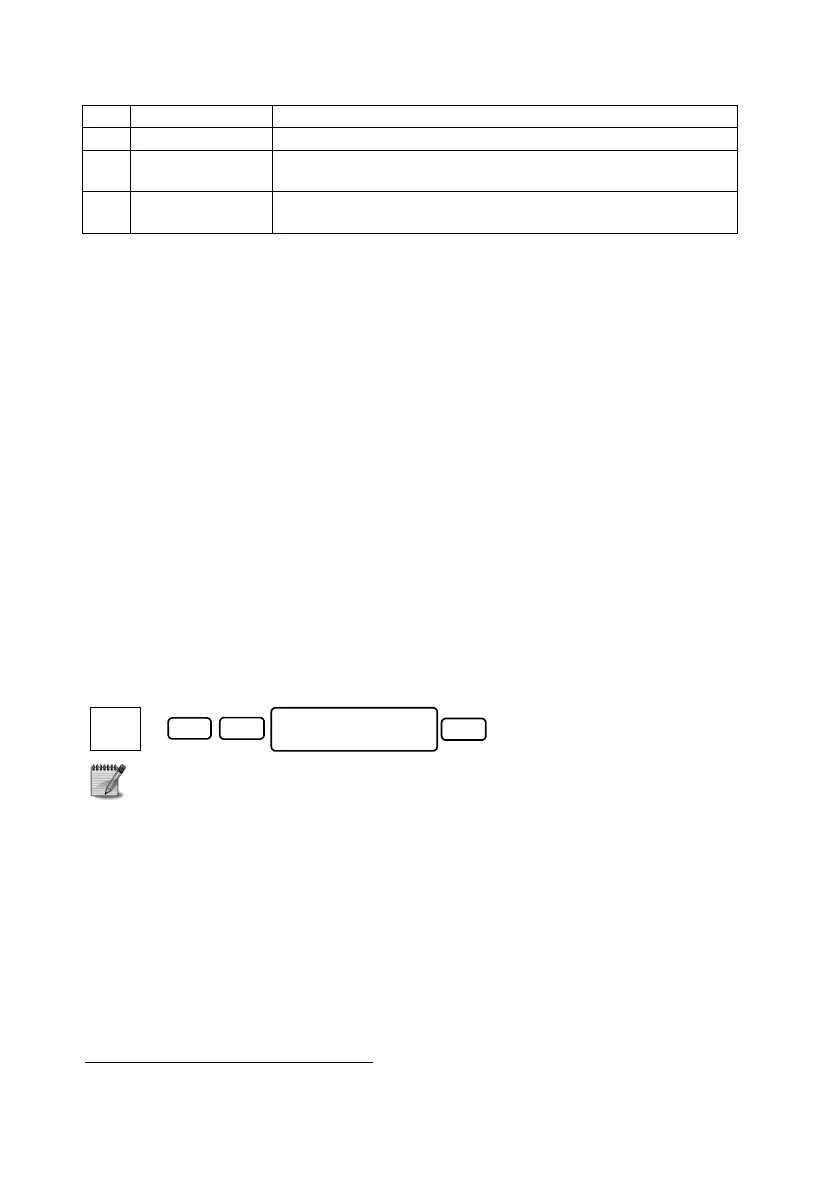
To enable the displaying of partition names, enter the User menu “Display Type” menu and
press [ENTR] in the “Show Part Name” option, as follows :
Partition name are displayed only on supervised keypads
6.4.7 Copy zone
With this feature you can copy a zone's settings to other zones. It is very useful during the
installation process: once programming a single zone, you can save time by copying its
characteristics to any other zone.
1. To copy a zone, first select the “Source” zone, i.e., the zone from which the settings will
be copied.
2. Then, select the “Target” zones, to which the settings will be copied.
3. Then select what to copy in the T-C-P screen; see the next sub-section for details.
4. When copying finishes successfully, the message displayed is “Copying Finished. Press
END”; Press [END].
1
Together with enabling “V” in “Communication” menu (see page 45), for VU-20N/U only.
5
ENTR
Display Type:
Show Part Name
BACK
Enter
Master
Code

 Loading...