3.124
9928487 R01 - 2018 RANGER XP 1000 Service Manual
© Copyright Polaris Industries Inc.
6. Install the upper and lower dash panels. Refer to
Dash Panels / Glove Box Removal, page 10.31
7. Fill and bleed the cooling system. Refer to Cooling
System Bleeding Procedure, page 3.91
8. Recharge the A/C system. Refer to Refrigerant, page
3.110 for capacity and Reclamation and Charging
with Recovery / Charging Unit, page 3.111 for
procedure.
WARNING
In the event of a leak, wear safety goggles. Escaping
refrigerant can cause severe injuries to eyes. In contact
with a flame, R-134a refrigerant gives a toxic gas.
HEATER COIL REPLACEMENT
1. Remove the refrigerant from the A/C system.
WARNING
In the event of a leak, wear safety goggles. Escaping
refrigerant can cause severe injuries to eyes. In contact
with a flame, R-134a refrigerant gives a toxic gas.
2. Remove the heater / evaporator unit from the vehicle.
Refer to Heater / Evaporator Unit Replacement
procedure.
3. Remove the evaporator coil. Refer to “Expansion
Valve / Evaporator Replacement”, page 3.121
procedure.
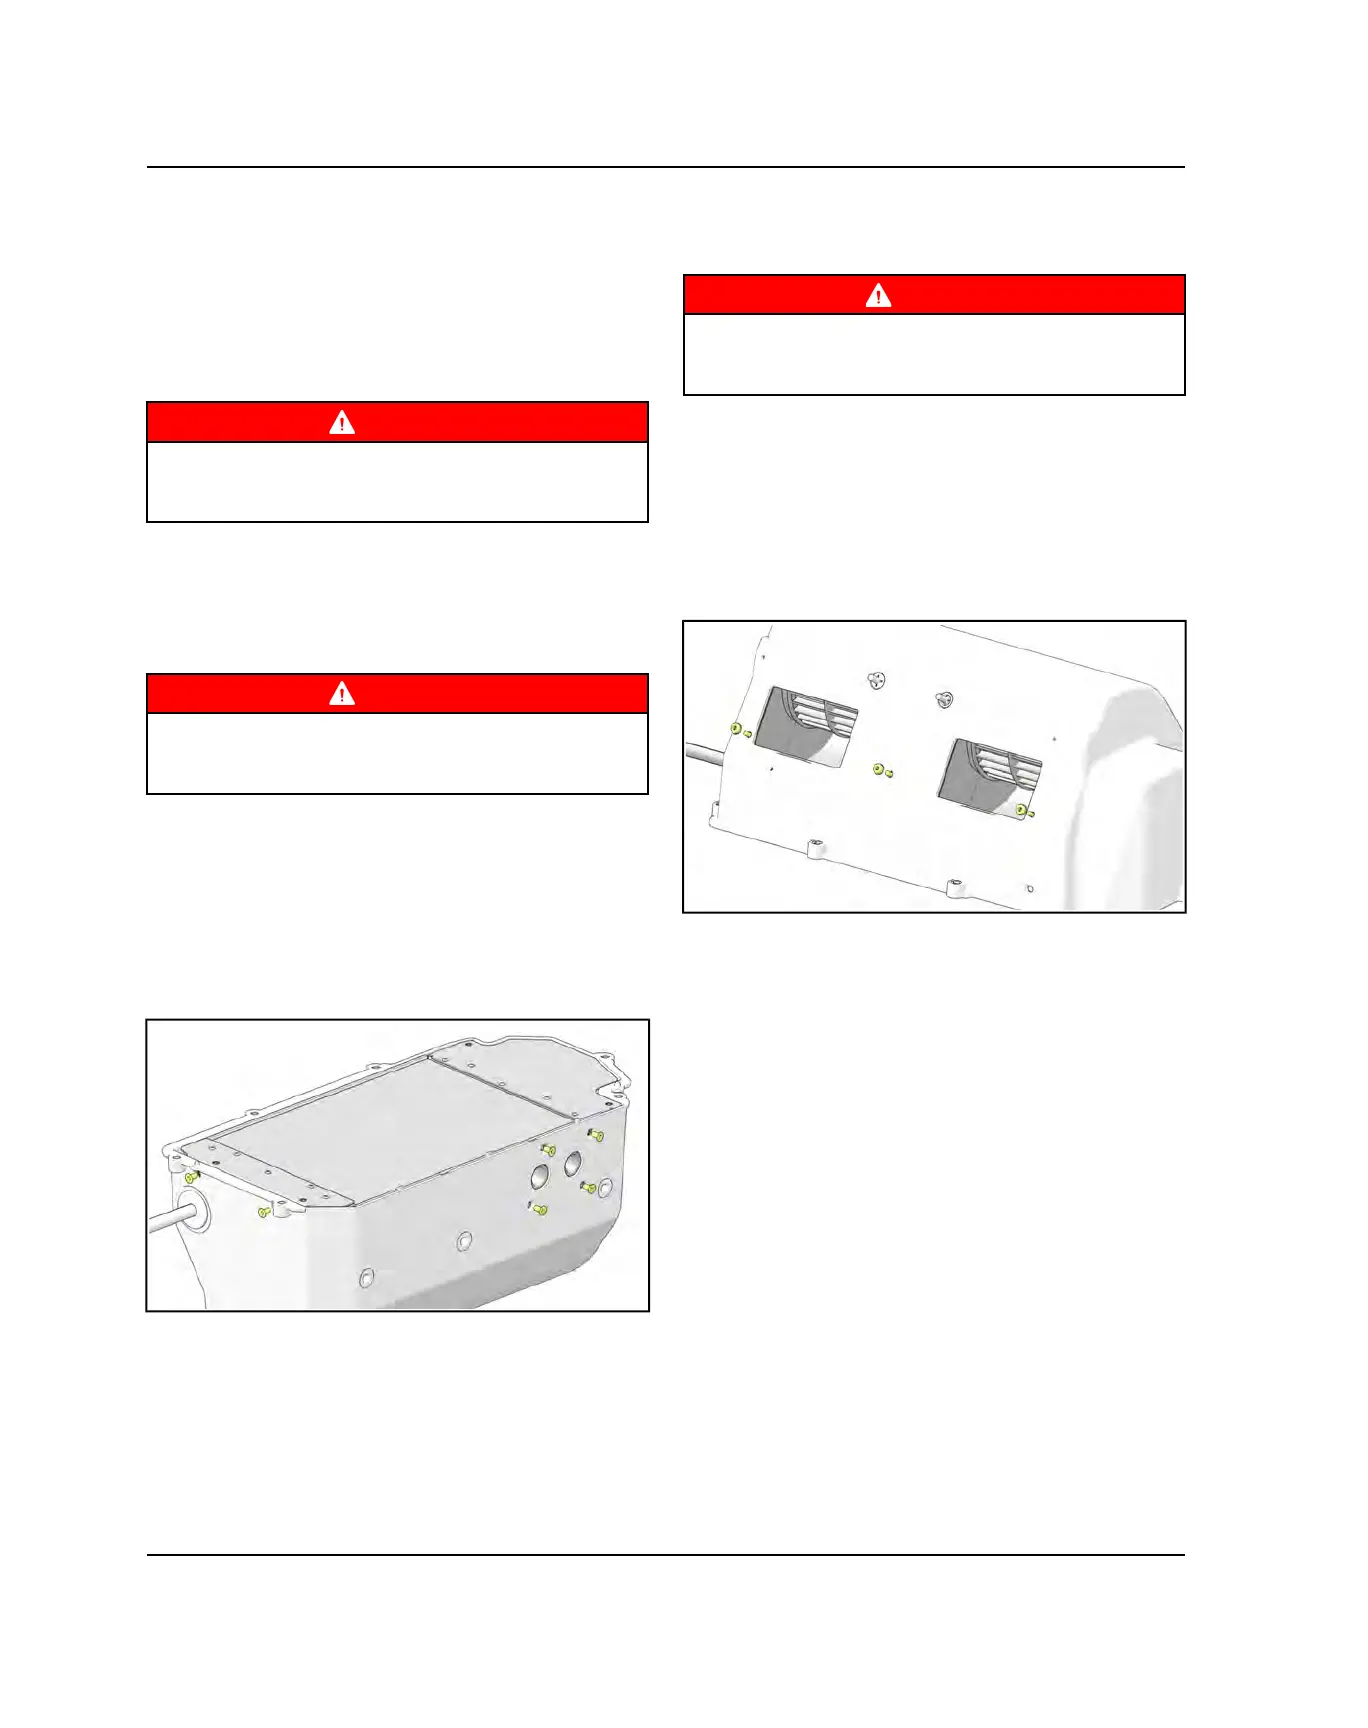
4. Remove the fasteners holding the heater coil to the
sides of the heater / evaporator unit top cover.
5. For installation, reverse removal procedure. Tighten
heater coil mounting fasteners until fully secure.
6. Recharge the A/C system.
BLOWER UNIT REPLACEMENT
1. Remove the refrigerant from the A/C system.
WARNING
In the event of a leak, wear safety goggles. Escaping
refrigerant can cause severe injuries to eyes. In contact
with a flame, R-134a refrigerant gives a toxic gas.
2. Remove the heater / evaporator unit from the vehicle.
Refer to Heater / Evaporator Unit Replacement
procedure.
3. Remove the heater coil from the heater / evaporator
unit. Refer to “Heater Coil Replacement”, page
3.124 procedure.
4. Remove the fasteners holding the heater coil to the
heater / evaporator unit top cover.
5. For installation, reverse removal procedure. Tighten
blower motor mounting fasteners until fully secure.
6. Recharge the A/C system.
ENGINE / COOLING / EXHAUST

 Loading...