RealPresence Collaboration Server (RMX) 1500/1800/2000/4000 Getting Started Guide
Polycom®, Inc. 39
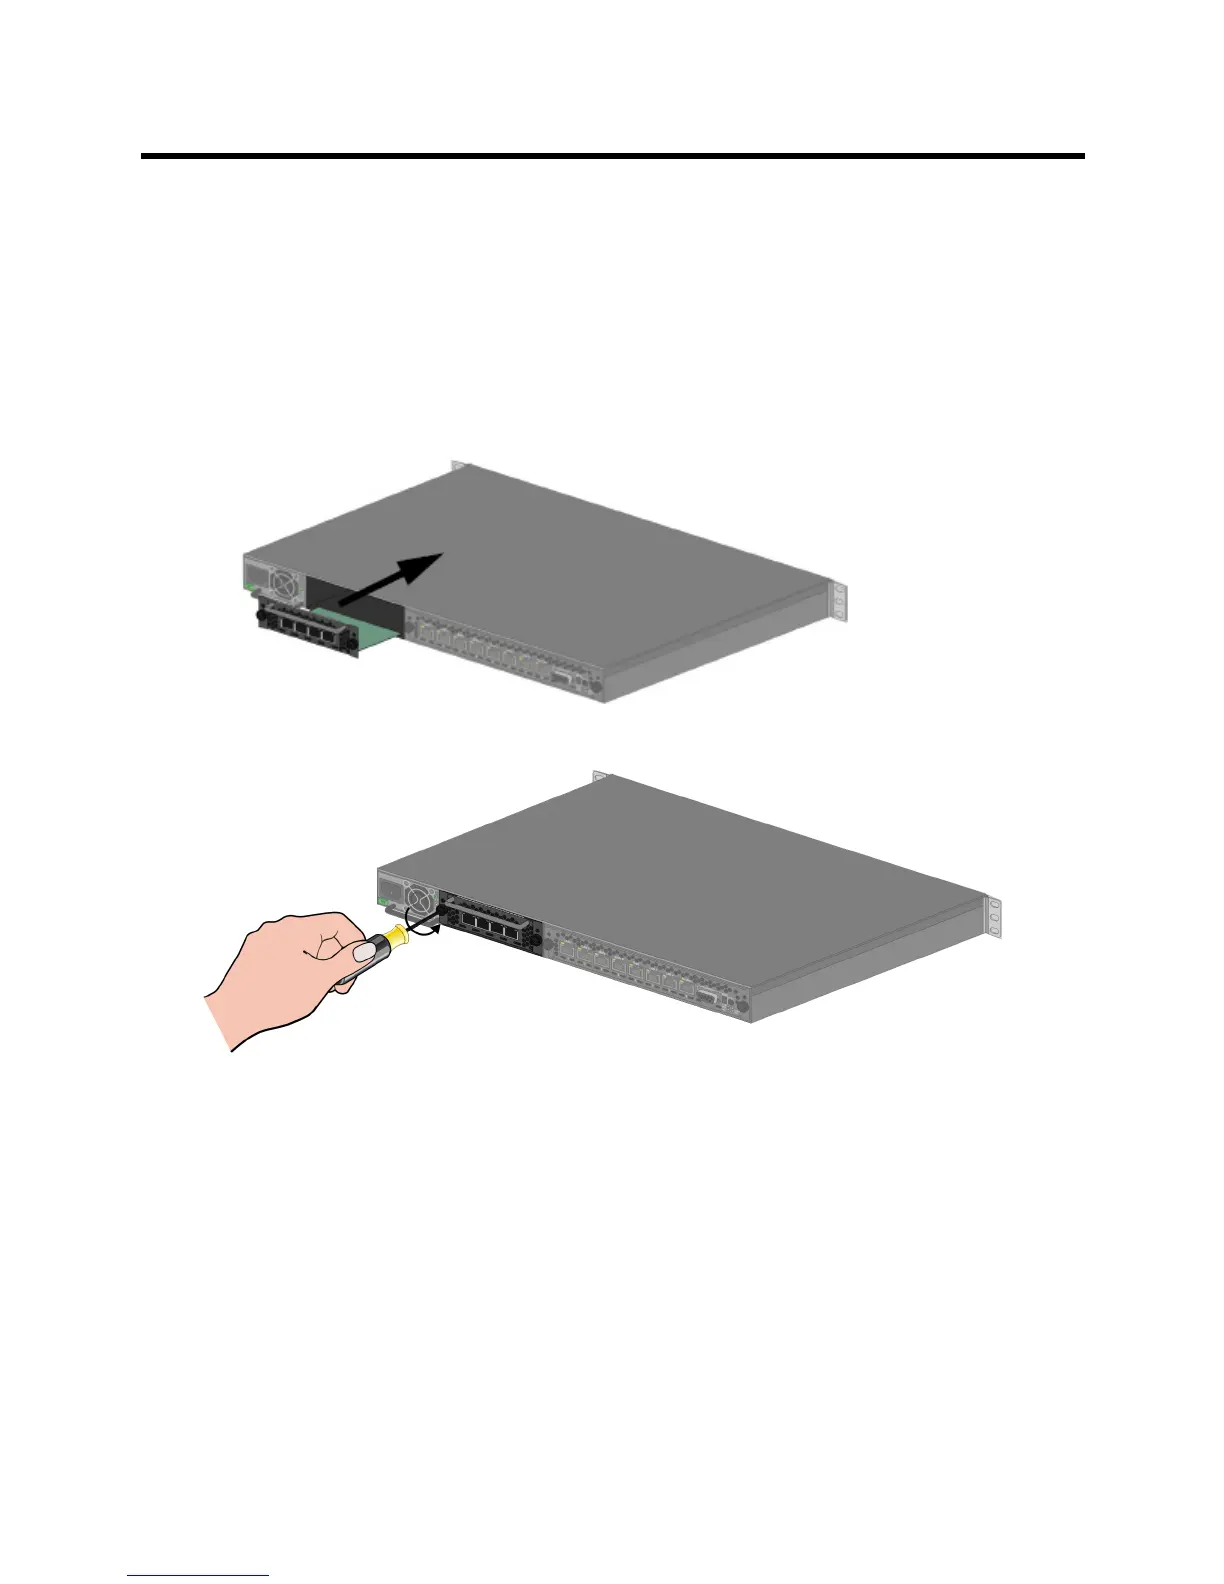
Removing the blank cover from the rear of the RealPresence Collaboration Server
(RMX) 1500
1 Ensure that the power switch on the Collaboration Server is turned OFF (O).
2 Remove the cover or RTM ISDN 1500 card by unscrewing the captive screws that fasten the card to
the MCU.
3 Slide out the cover or RTM ISDN 1500 card.
Installing the RTM ISDN 1500 Card
1 Slide in the RTM ISDN 1500 card.
2 Insert the card into the slot and tighten the captive screws on each side of the rear panel of the card,
securing the RTM ISDN card to Collaboration Server.
A Software License is included with the ISDN card. This license must be registered as part of the Product
Registration and Product Activation process.
Mounting the RealPresence Collaboration Server (RMX) 1500 in a Rack
There are two methods for installing the Collaboration Server in a 19” rack:
● Using the rack rail runners on the RealPresence Collaboration Server (RMX) 1500
Install the telescopic rail runners, as described in Installing the Telescopic Rail Runners on the
Rack .
Mount the RealPresence Collaboration Server (RMX) 1500 on top of the rail runners.