RealPresence Collaboration Server (RMX) 1500/1800/2000/4000 Getting Started Guide
Polycom®, Inc. 41
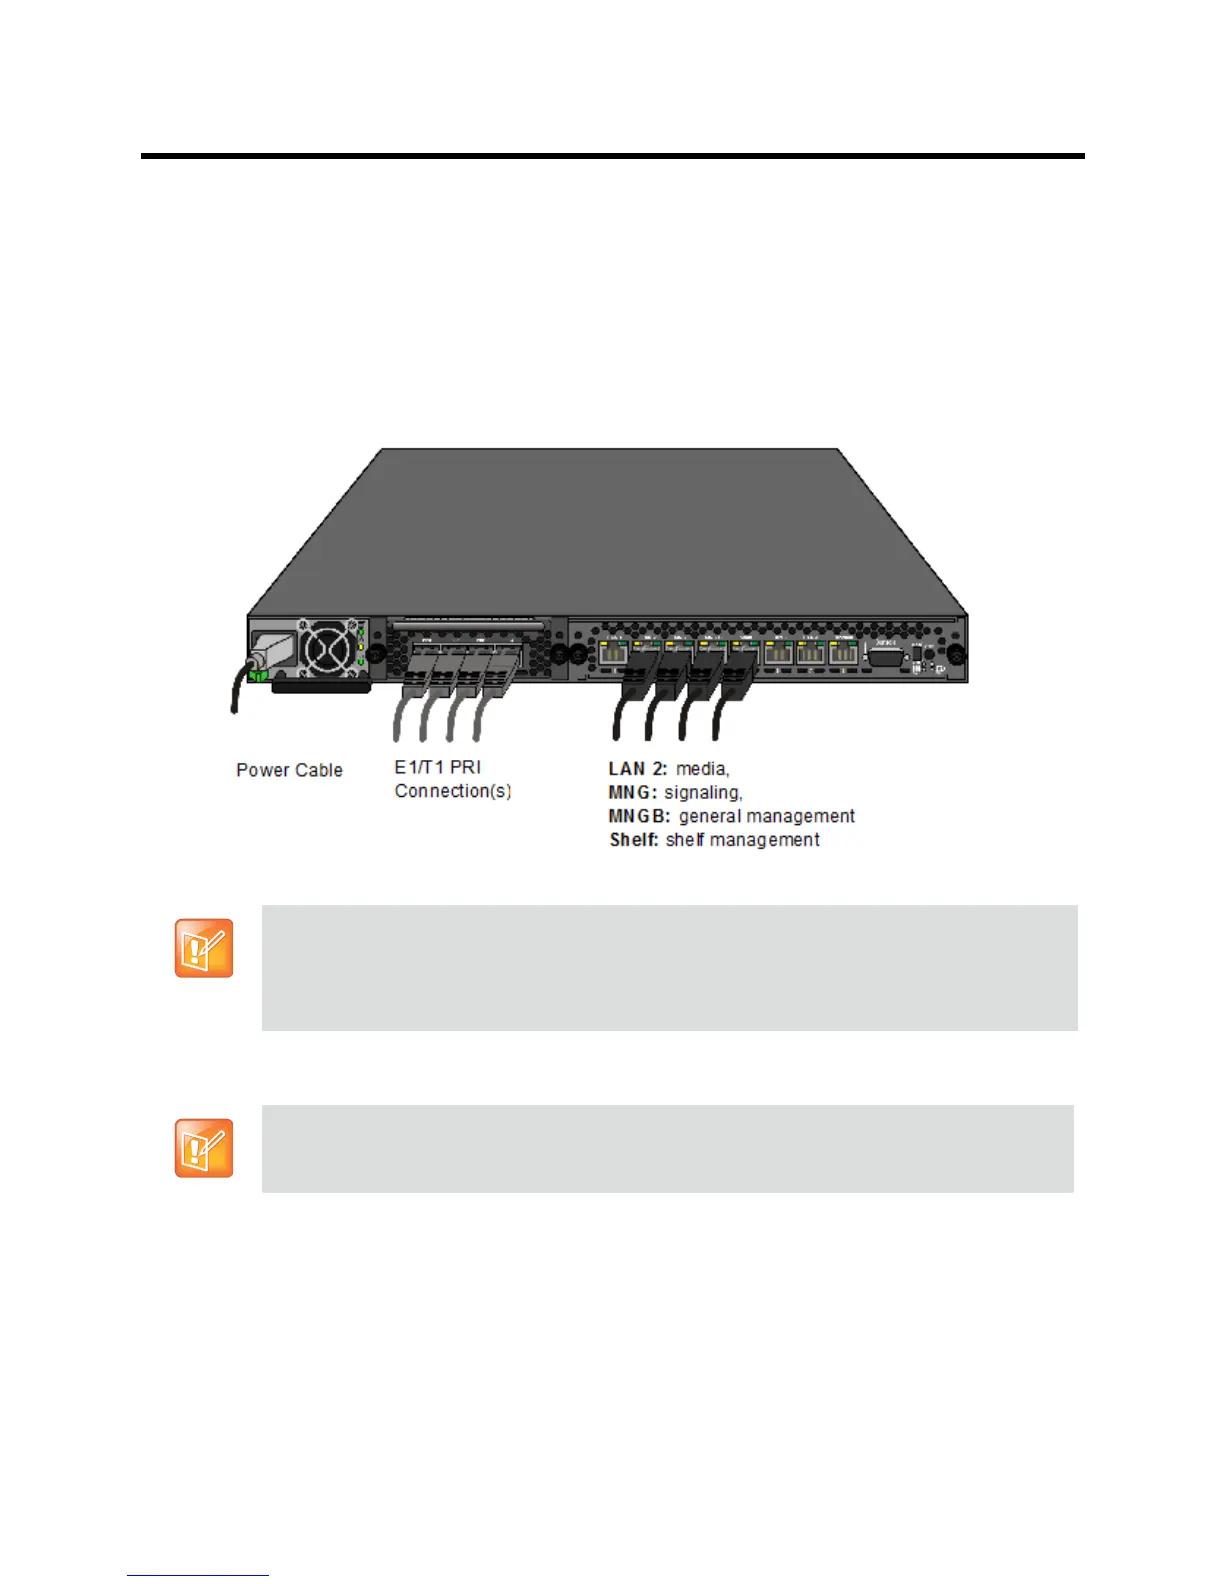
Optional. If LAN Redundancy or Multiple Networks options are used, connect the LAN cable to
LAN 1. For more information, see the RealPresence Collaboration Server 800s Administrator’s
Guide,
LAN Redundancy and Multiple Network Services .
● Connect the Network cables to:
the MNG (Signaling) port
the MNGB (Management Network) port.
● Optional. Connect the Shelf Management cable to the Shelf port.
● Optional. For ISDN/PSTN connections, connect the E1/T1 cables to their PRI (1-4) ports.
Installing the RealPresence Collaboration Server (RMX) 2000
The following procedures have to be performed to install the RealPresence Collaboration Server
(RMX) 2000 in your site:
● Optional. Installing the RTM ISDN card on the Collaboration Server (Optional)
● Installing the Collaboration Server in a rack or as a standalone
● Connecting the Collaboration Server to the power source
● Connecting the network (LAN and ISDN) cables to the Collaboration Server
The LAN 1*, LAN3, LAN4 and Modem ports are not be used and the plastic caps covering those
ports should not be removed.
* With Multiple Networks and LAN Redundancy configurations, LAN 1 port is used. For more
information, see the Polycom® RealPresence Collaboration Server (RMX) 1500/1800/2000/4000
Administrator’s Guide
, LAN Redundancy and Multiple Network Services .
For detailed instructions, precautions and requirements for installing the RealPresence
Collaboration Server (RMX) 2000 refer to the Polycom RealPresence Collaboration Server
(RMX) 2000 Hardware Guide.