RealPresence Collaboration Server (RMX) 1500/1800/2000/4000 Getting Started Guide
Polycom®, Inc. 47
.
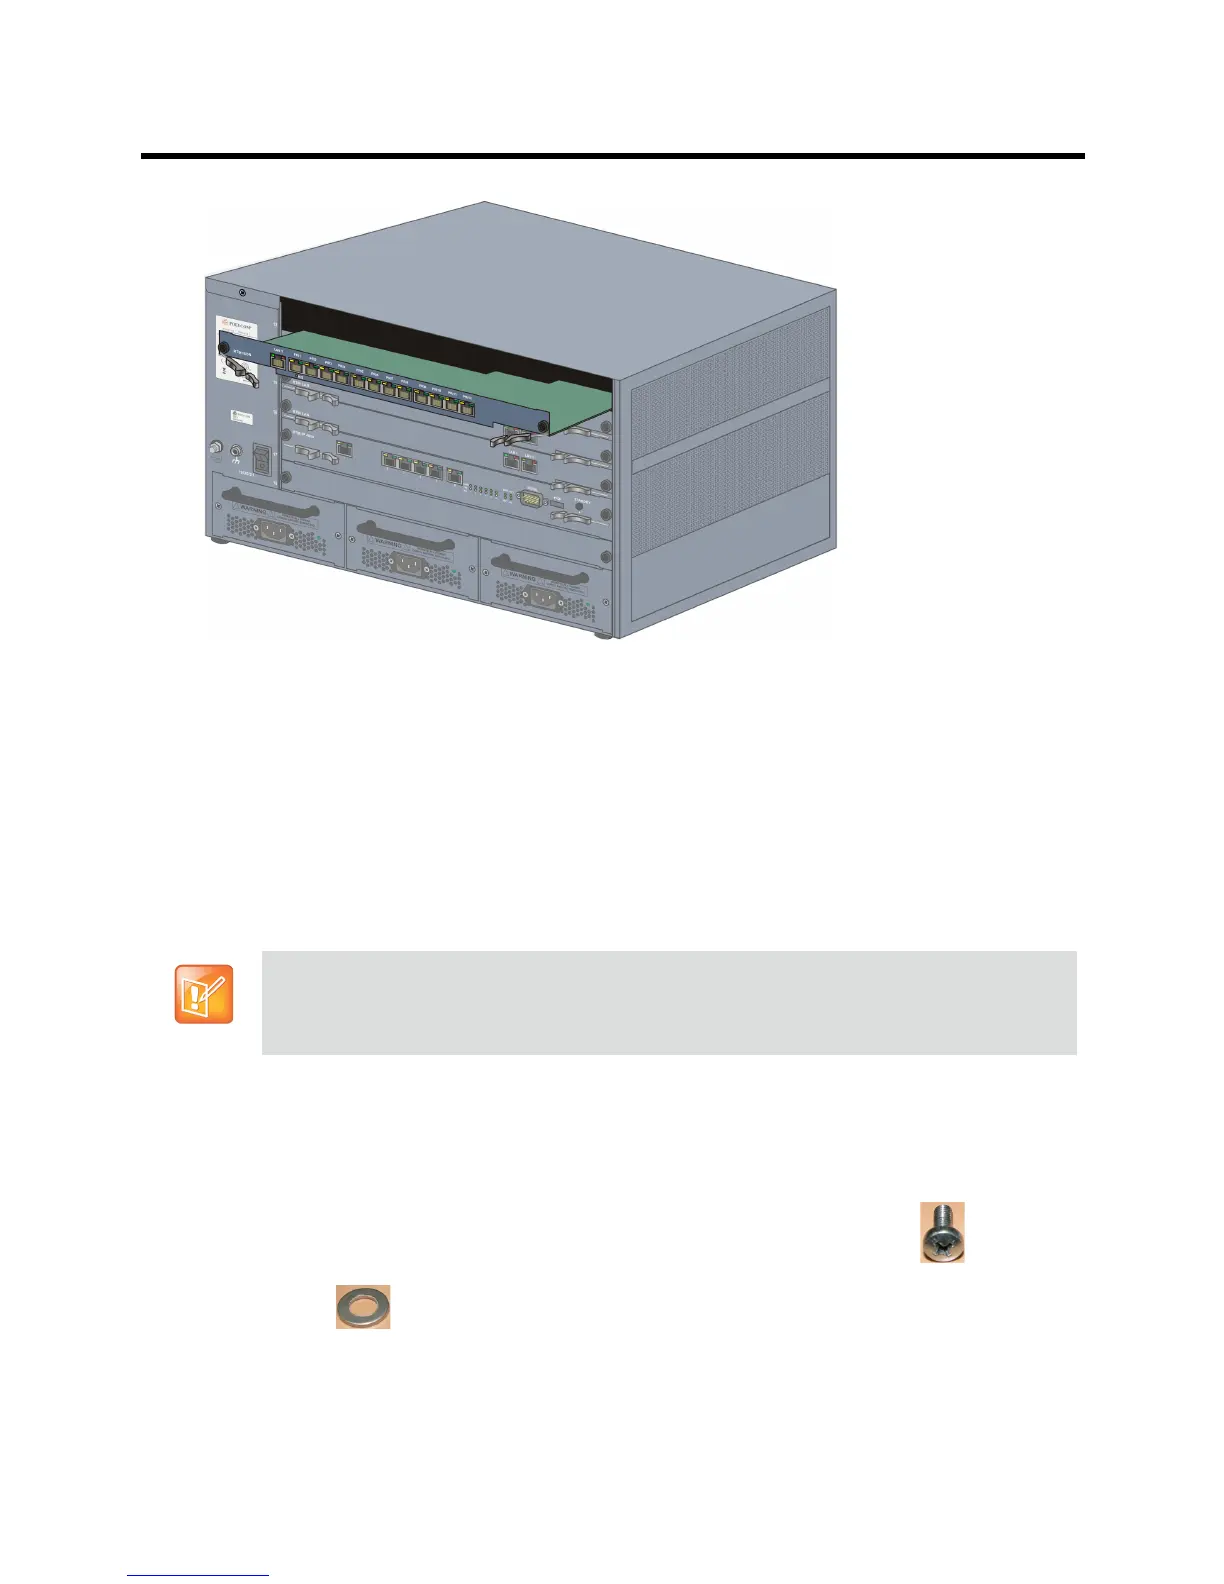
2 Push the card into the slot until the ejector levers touch the front edge of the card cage. Push the
ejector levers to their fully closed position.
3 Tighten the captive screws on each side of the rear panel of the card, securing the RTM ISDN card
to the MCU.
A Software License is included with the ISDN card. This license must be registered as part of the Product
Registration and Product Activation process.
Mounting the RealPresence Collaboration Server (RMX) 4000 in a Rack
Either place the RealPresence Collaboration Server (RMX) 4000 on a hard, flat surface such as a desktop
or mount it on a 19” rack
.T install the RealPresence Collaboration Server (RMX) 4000 in a 19”rack:
● Using rack rail runners on the RealPresence Collaboration Server (RMX) 4000
Install the telescopic rail runners, as described in Installing the Telescopic Rail Runners on the
Rack .
Mount the RealPresence Collaboration Server (RMX) 4000 on top of the rail runners.
Fasten the Collaboration Server to the rack spacers using the flat head screw
(item 8) with
flat washer
(item 9) through the two holes in the Collaboration Server’s front mounting
brackets.
For a detailed description of the safety requirements and precautions and the installation of the
RealPresence Collaboration Server (RMX) 4000 as a standalone, or reverse mounting the
RealPresence Collaboration Server (RMX) 4000 on a 19” rack, see the RealPresence Collaboration
Server (RMX) 4000 Hardware Guide.