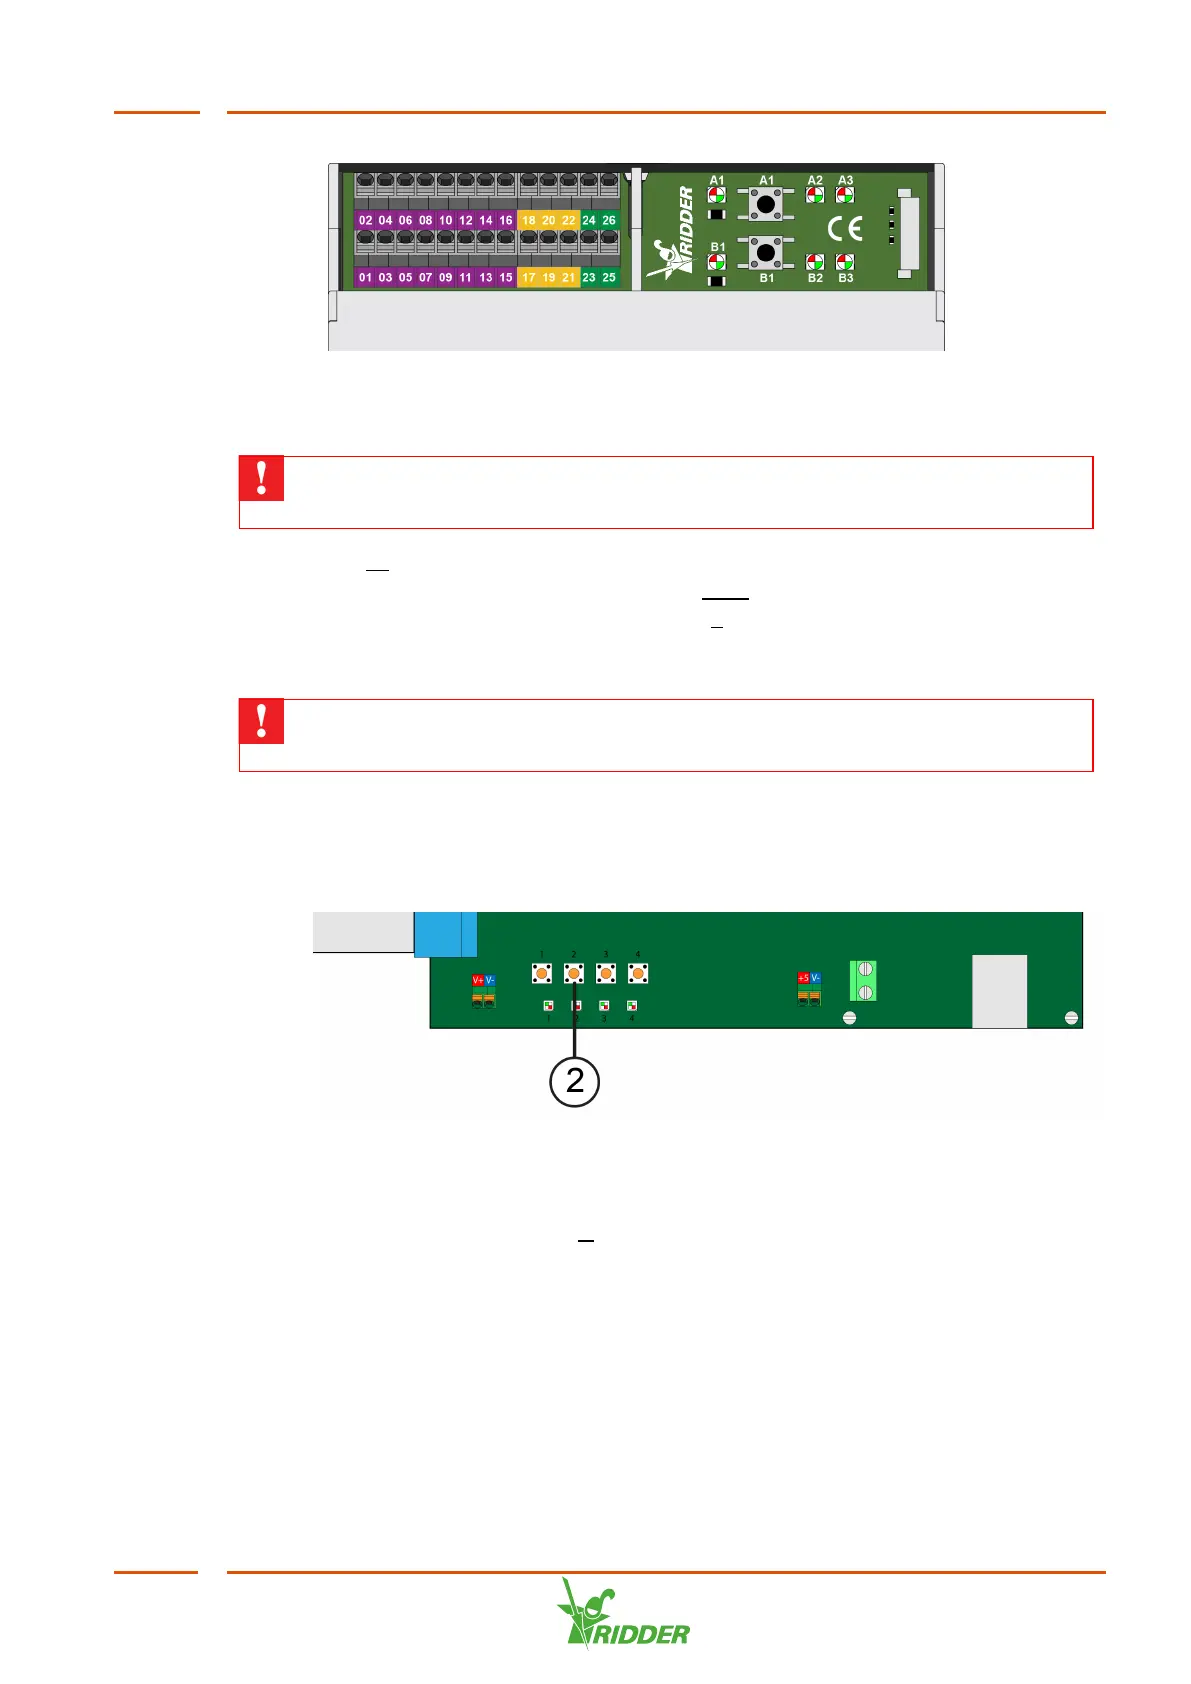
2. Press and hold down either of the push buttons again for two seconds; the four
LEDs on the right-hand side of the push buttons will light up continuously. This
means that the module has been reset and connected to the bus.
Only one module may be in this mode at the same time. The ID that you wish
to assign may not be in use by another module.
3. Go to: M Settings / General / I/O / Modules.
4. Select the module in question (using the right arrow button).
5. Select the line Assign ID and then press E. The result will appear on the
display. On the module, the four red LEDs on the right-hand side of the push
buttons will switch off.
The module's readout status will remain 'unreliable' until the controller has
restarted, see point 7 below.
6. Repeat this procedure for the other modules.
7. Next, shut down the VitaLite-E and C in the correct manner. To do this, press
and hold down push button 2 on the display board for three seconds. Wait until
LED 2 on the display board lights up orange.
8. Switch the system off and back on with the main switch.
2.3.2 Removing I/O modules
1. On the unit's display, go to: M Settings / General / I/O Modules.
2. Select the module that you wish to remove permanently using the left/right
arrow buttons.
3. From this menu, select: Remove module.
4. Next, the VitaLite-E and C should be shut down correctly. To do this, press and
hold down push button 2 on the display board for three seconds. Wait until LED 2
on the display board lights up orange. The controller is now switched off.
VitaLite
11