105
P.E.1= Z12
P.S.1 = Z22
P.E.1= Z 22
P. S.1= Z12
Fig. 6.144
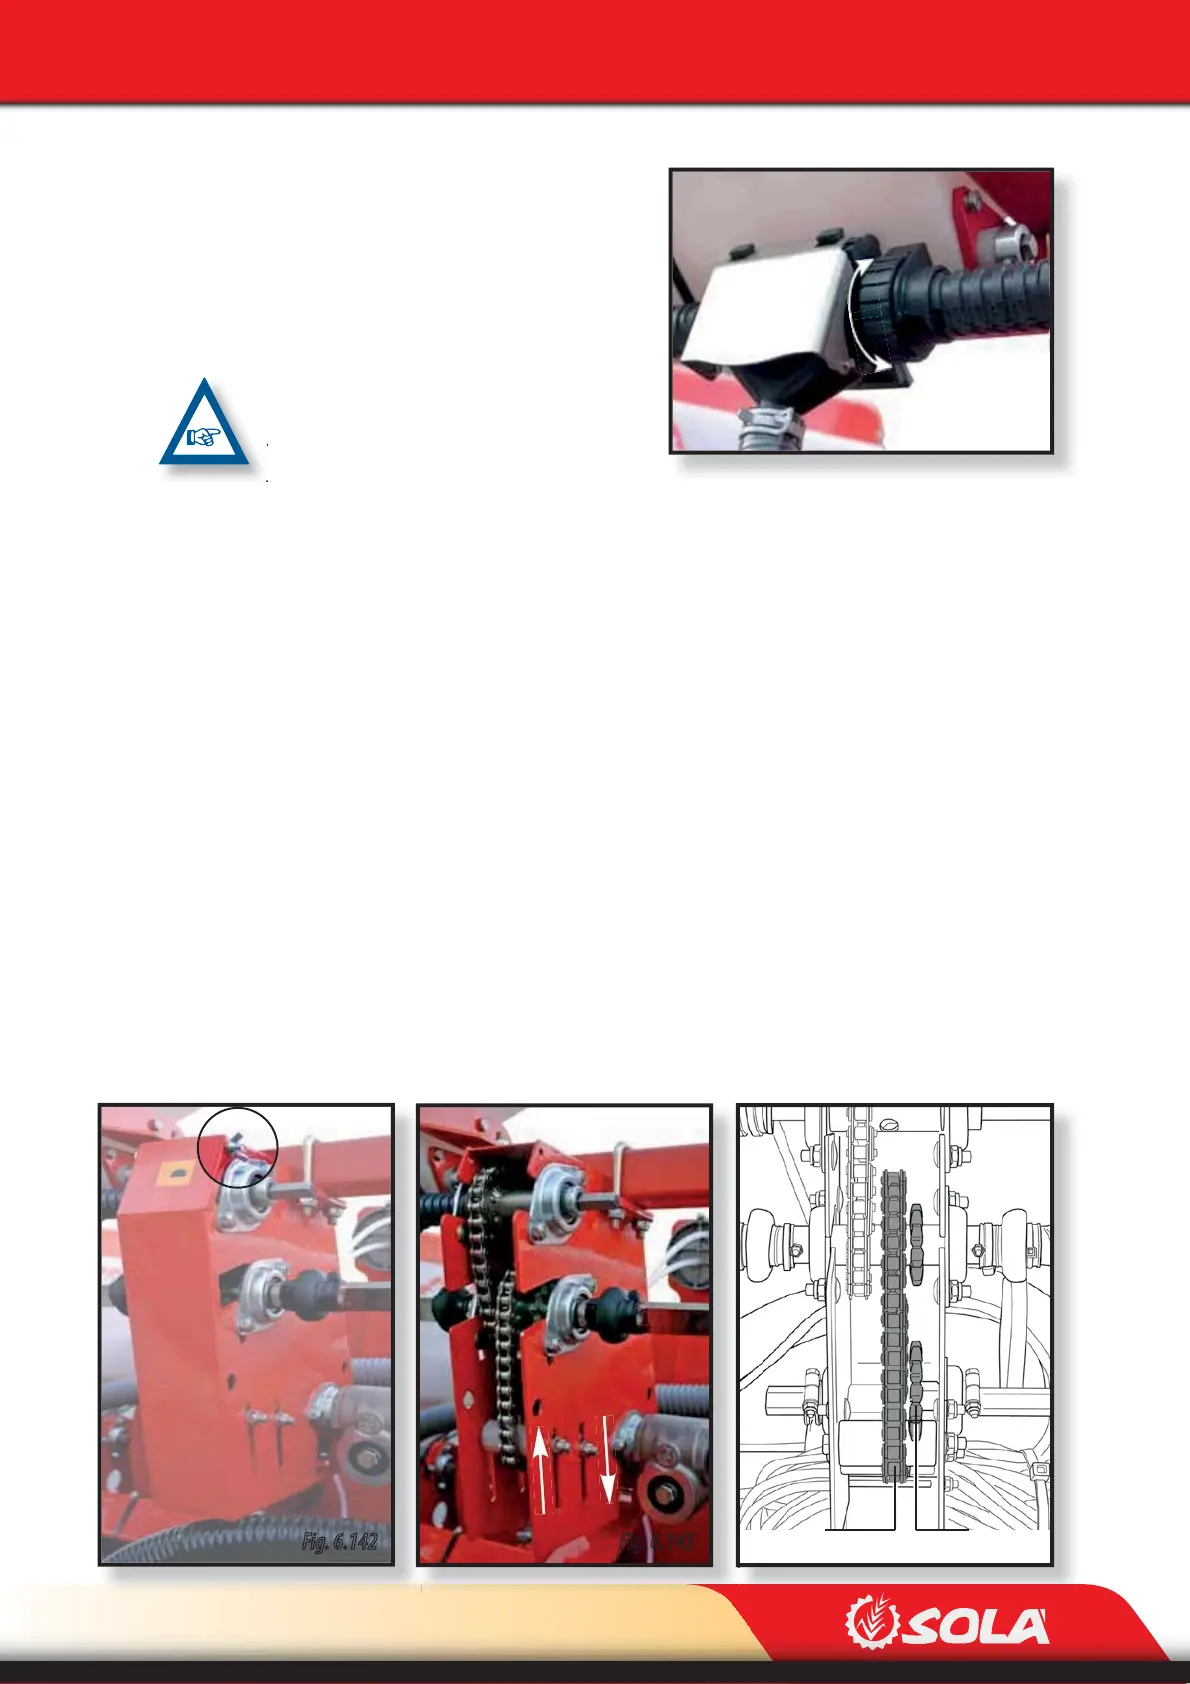
Fig. 6.142 Fig. 6.143
Fig. 6.141
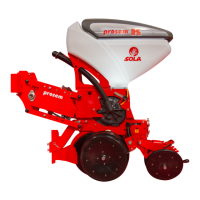
ADJUSTMENTS
Next to each dosing device, there is an adjus-
ting wheel (Fig. 6.141). Turn it to adjust the in-
secticide distribution.
The spindle has a adjusting scale marked from
A to E, and the nut has 10 numbers for each
letter. For each dosing device adjust the rat-
chet’s letter to the nut’s number (Fig. 6.141).
IT IS NOT RECOMMENDED USE POSITIONS
LOWER THAN B/0 SINCE THEY MAY RESULT IN
AN IRREGULAR DISTRIBUTION.
To empty the hoppers of the insecticide micro granulator and the helicide micro granulator,
see sections 8.3 INSECTICIDE MICRO GRANULATOR’S AND/OR HELICIDE MICRO GRANULATOR’S
HOPPERS
6.21.1 CHANGING THE TRANSMISSION OF THE INSECTICIDE MICRO
GRANULATOR WITH DOUBLE HOPPER.
The INSECTICIDE MICRO GRANULATOR is equipped with A DOUBLE COG WHEEL. The insecticide
dose to be distributed by the dosing devices can be adjusted by means of:
- The INSECTICIDE MICRO GRANULATOR’S TRANSMISSION (cogs P.E.1 and P. S .1).
To change the insecticide micro granulator’s transmission, follow these steps:
1- Remove the wing nut and the upper screw of the drive’s lid (Fig. 6.142).
2- Turn the lid downwards.
3- Using two wrenches, loosen the tensioners (Fig. 6.143).
4- Push the tensioner downwards to loosen the chain.
5- Change the chain’s position (Fig. 6.144).
6- Tighten the chain using the 2 tensioners.
7- Lock the tensioner’s position using the securing nuts.
8- Finally, close the lid and x it using the screw and the wing nut.