61
Copyright 2017 SolarCity Corporation. All rights reserved.
Chapter 1 - Welcome
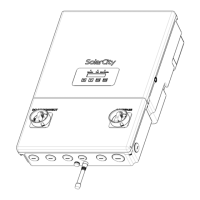
3. Use a 5mm Allen ratchet screwdriver to install the four (4) cover screws (see
Figure 5-3
).
Torque the screws until the cover is tight and securely fastened. Do not over-tighten the
screws.
4. Turn the inverter output AC circuit to the ON position.
5. Place the DC Disconnect Switch in the ON position.
6. Proceed as follows:
- If you are installing the inverter, then continue with the installation/connections
beginning with
“Conduit Plugs and Fittings” on page 61
.
- If the SolarCity H6 inverter is already installed and operating, then power it ON as
described in
“Powering On the Inverter” on page 85
.
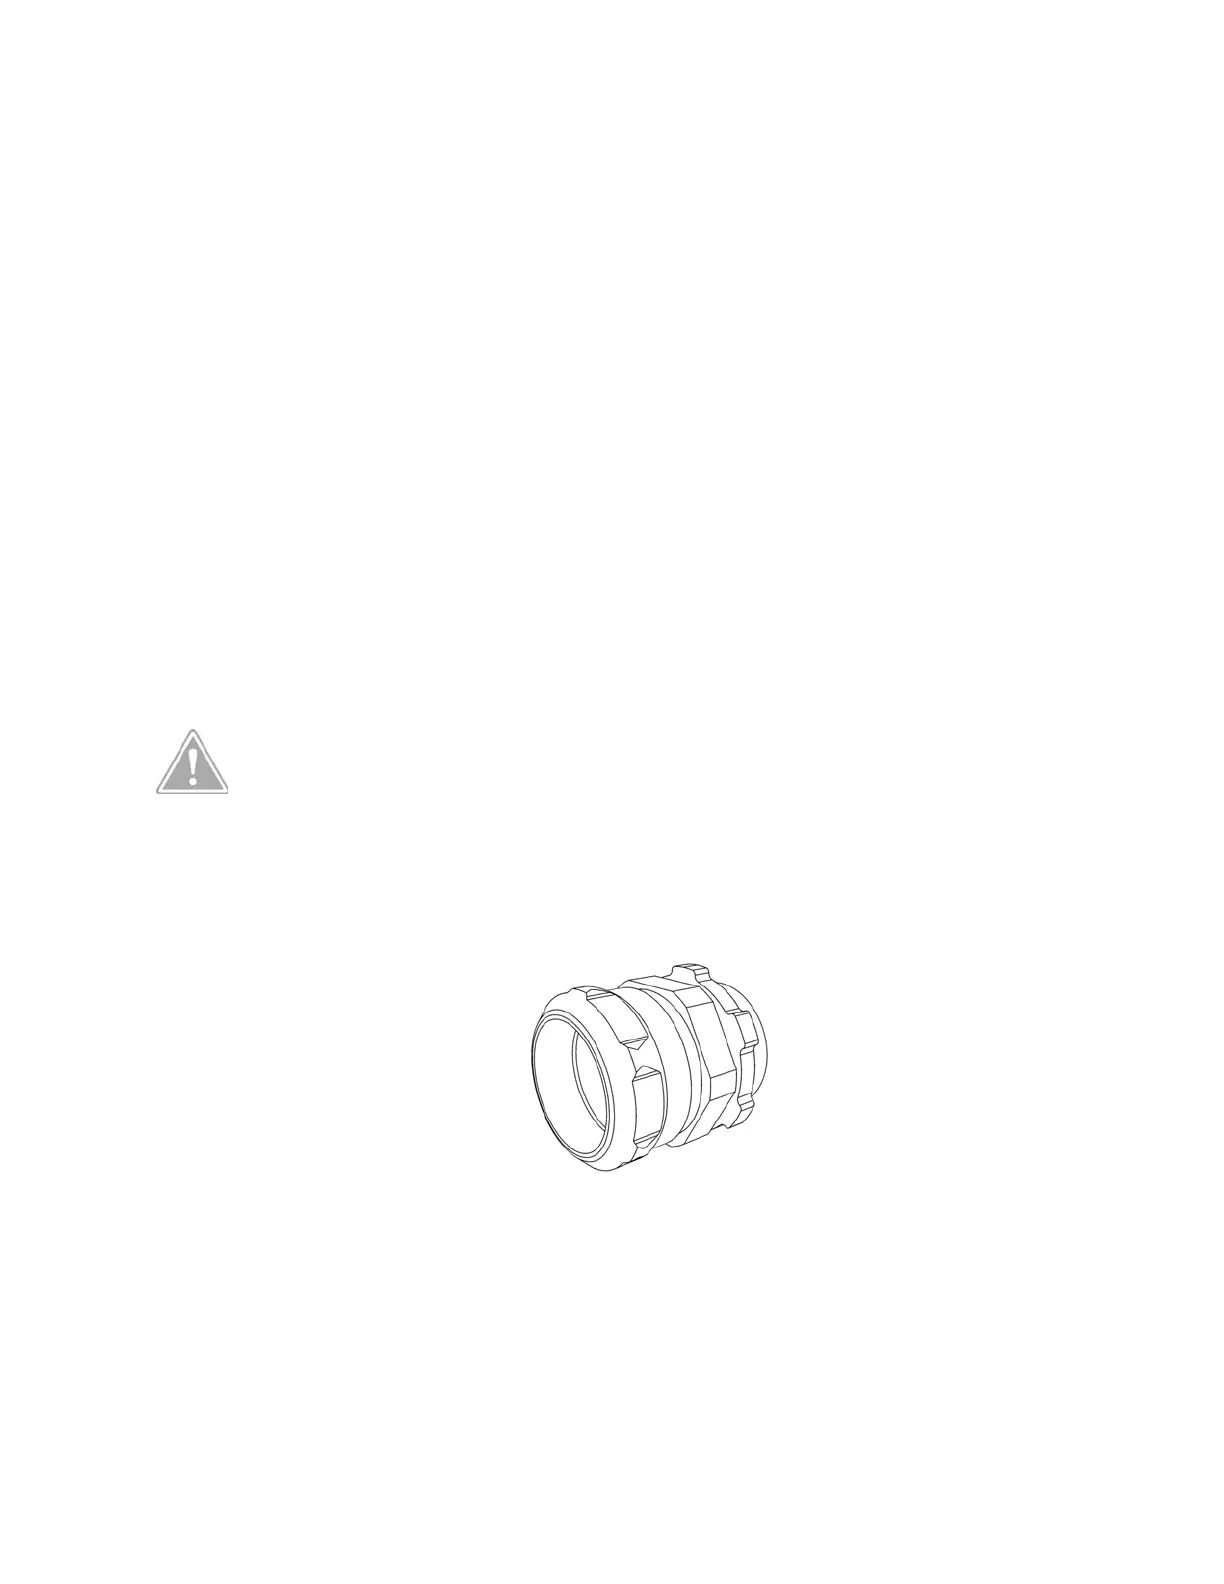
5.3 - Conduit Plugs and Fittings
The SolarCity H6 inverter includes pre-installed conduit plugs for all 1”, 3/4” and 1/2”
conduit fittings. To remove the conduit plugs, use a large-bladed flat screwdriver, coin, or
similar implement and turn counterclockwise.
Use rain-tight compression connectors or other approved connectors to ensure a
weatherproof connection between the conduits and the wiring box.
Figure 5.4
displays an
example of such a connector.
Figure 5-4: Rain-tight compression connector
CAUTION: ATTEMPTING TO ENLARGE THE WIRING COMPARTMENT
CONDUIT OPENINGS WILL DAMAGE THE WIRING BOX ENCLOSURE AND
VOID THE INVERTER WARRANTY. THIS MAY ALSO DAMAGE ELECTRONIC
COMPONENTS LOCATED NEAR THE CONDUIT OPENINGS.