83
Copyright 2017 SolarCity Corporation. All rights reserved.
7 - Commissioning
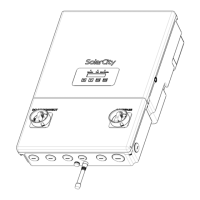
This section describes how to commission the SolarCity H6 inverter:
1. Check all connections and cables for damage and correct seating. Correct any issues
found.
2. Power ON the inverter as described in
“Powering On the Inverter” on page 85
.
- The SolarCity H6 inverter begins powering up and performs an automatic self-test.
The LCD screen displays the normal menu options once this process is complete.
Inverter startup normally takes up to five (5) minutes to complete, depending on grid
status, PV voltage, etc.
3. Verify the following items using the System Overview menu as described in
“Push
Buttons” on page 76
and
“System Overview Menu” on page 77
:
- 240VAC grid voltage, frequency, and power
- Riso (array impedance)
- PV voltages, current, and power
- Battery pack voltage, SOE, and power
- Battery pack hardware to software compatibility
- System state
4. Verify the ZigBee communication signal strength using the Xbee Information menu as
described in
“Push Buttons” on page 76
and
“ZigBee (Xbee) Information Menu” on
page 81
.
If the SolarCity H6 inverter detects an AC overload during off-grid operation, it will attempt
to restart up to three times and will then display an alarm message notifying you to remove/
shed some of the loads that may have caused the overload. Resolve the issue and then press
any button to restore normal operation.