Making Measurements: The Generator 1250 Frequency Response Analyzer
4-2 AMK / 1250 / 4
4.1 SIMPLE MEASUREMENTS
As the 1250 is so versatile, very comprehensive measuring sequences can be set up.
Before attempting these however, it is recommended that the user acquire familiarity
with the basic controls by making a few simple measurements first. Refinements such
as Sweep, Recording of Data, Scaling of readings etc. can then be added as experience
is gained.
The simplest way to start is to initialise, then couple the Generator output directly to the
Analyser Channel 1 input. The Generator and Analyser Menus can now be set up for a
single-frequency measurement, and the resulting readings will be shown on the Display
in Cartesian form.
A summary of all menus is given in Chapter 8.
4.2 SETTING THE GENERATOR
4.2.1 INTRODUCTION
Setting up the Generator Menu is explained in detail in the following section. The other
Menus are set in similar fashion, the salient points being explained under the relevant
headings. For quick reference, all the Menus are listed together in Chapter 8.
The following sections describe the making of measurements by using only the Front
Panel controls. Remote programming is described in Chapter 13.
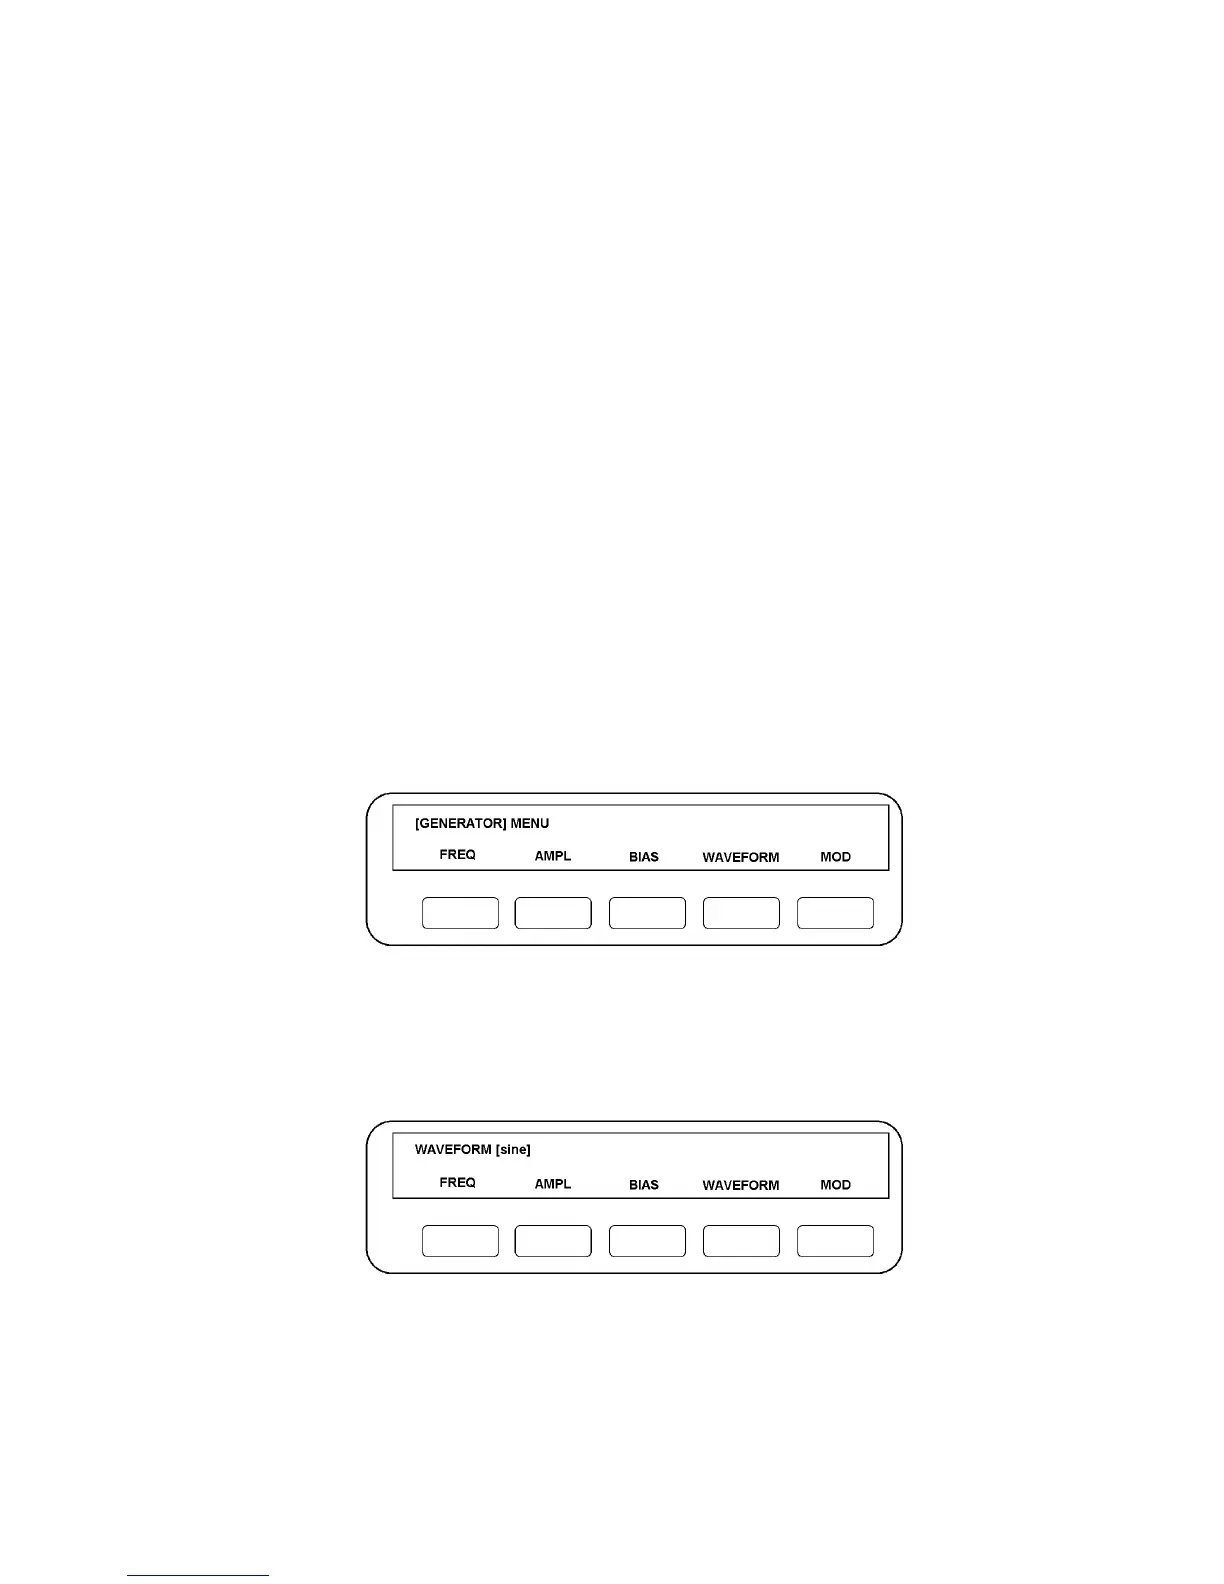
4.2.2 SETTING THE GENERATOR MENU
Press GENERATOR MENU. The five soft keys will be assigned functions as per Fig.
4.1:
Figure 4.1
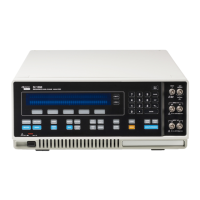
4.2.3 WAVEFORM
For simplicity, start by establishing the required waveform. Press WAVEFORM: the
Display will change to the form shown in Fig. 4.2.
Figure 4.2
The word in the square brackets identifies the waveform currently commanded from the
Generator: [sine] is the default state, [square] and [triangle] are the alternatives. The