7-12 Sun Blade 150 Service Manual • June 2002
Caution – Use proper ESD grounding techniques when handling components. Wear
an antistatic wrist strap and use an antistatic mat. Store ESD-sensitive components in
antistatic bags before placing them on any surface.
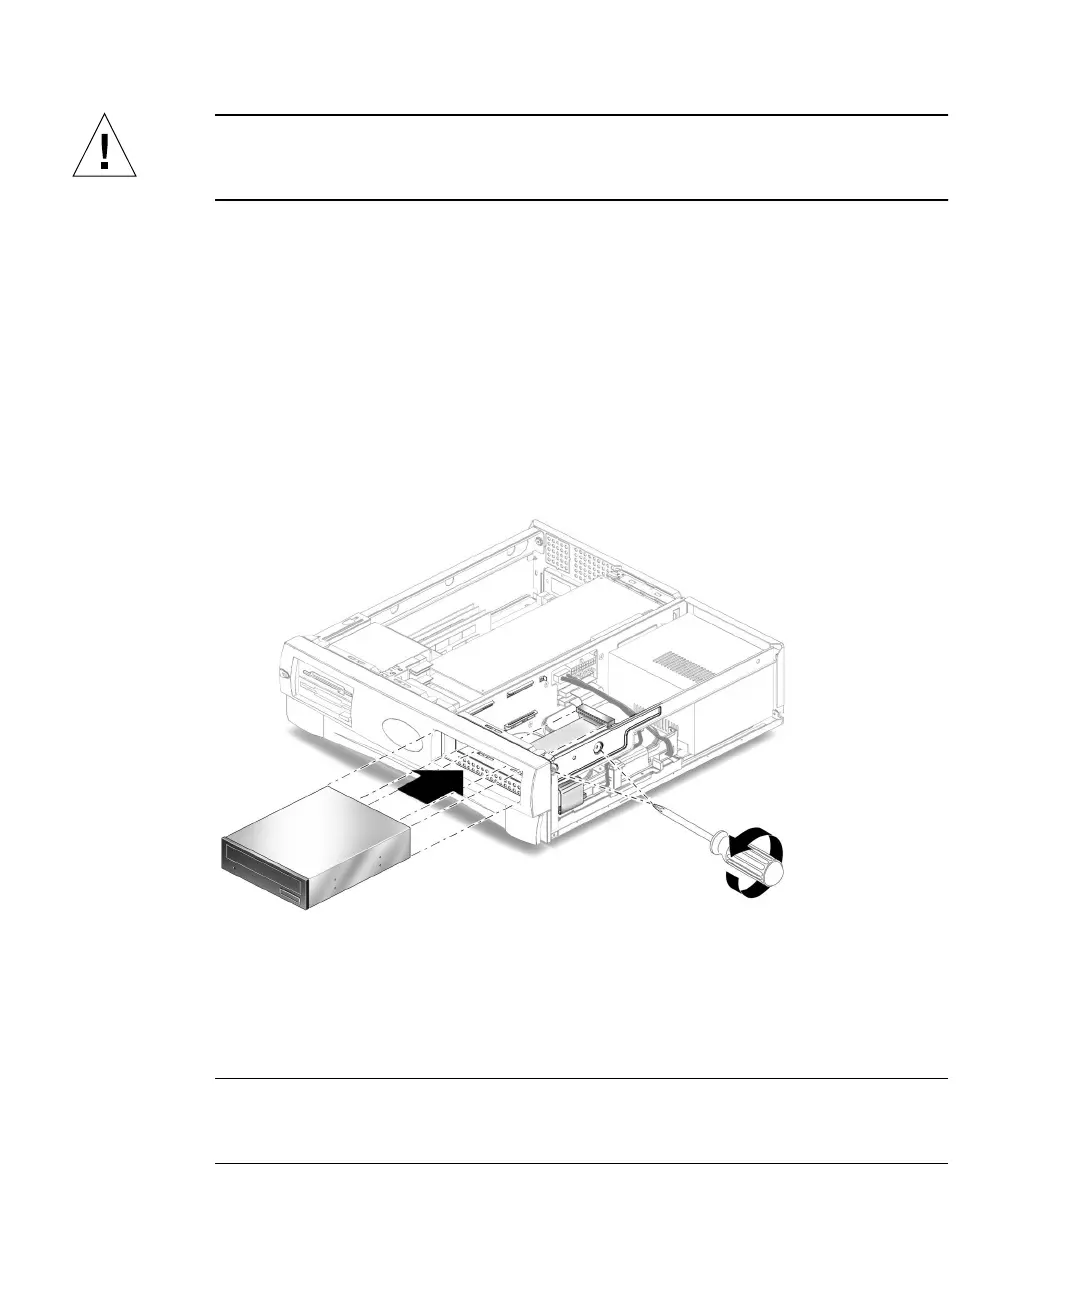
3. Remove the following from the back of the CD-ROM or DVD-ROM drive
(
FIGURE 7-7):
■ CD-ROM or DVD-ROM drive IDE cable connector
■ Power cable connector
4. Using a No. 2 Phillips screwdriver, remove the two screws securing the CD-ROM
or DVD-ROM drive to the chassis.
5. Place your fingers on the back of the CD-ROM or DVD-ROM drive. Push the CD-
ROM or DVD-ROM drive toward the chassis front and remove it.
6. Place the CD-ROM or DVD-ROM drive on an antistatic mat.
FIGURE 7-7 Removing and Replacing a CD-ROM or DVD-ROM Drive
7.4.2 Replacing a CD-ROM or DVD-ROM Drive
Note – Before you replace the CD-ROM or DVD-ROM drive, verify that the drive
back panel mode-select jumper is set to “CS,”“Enable Cable Select,” or “Cable
Select.”