SonixTouch Q+ Service Manual 00.053.204, Revision A Chapter 6: Peripherals and Accessories
6-5
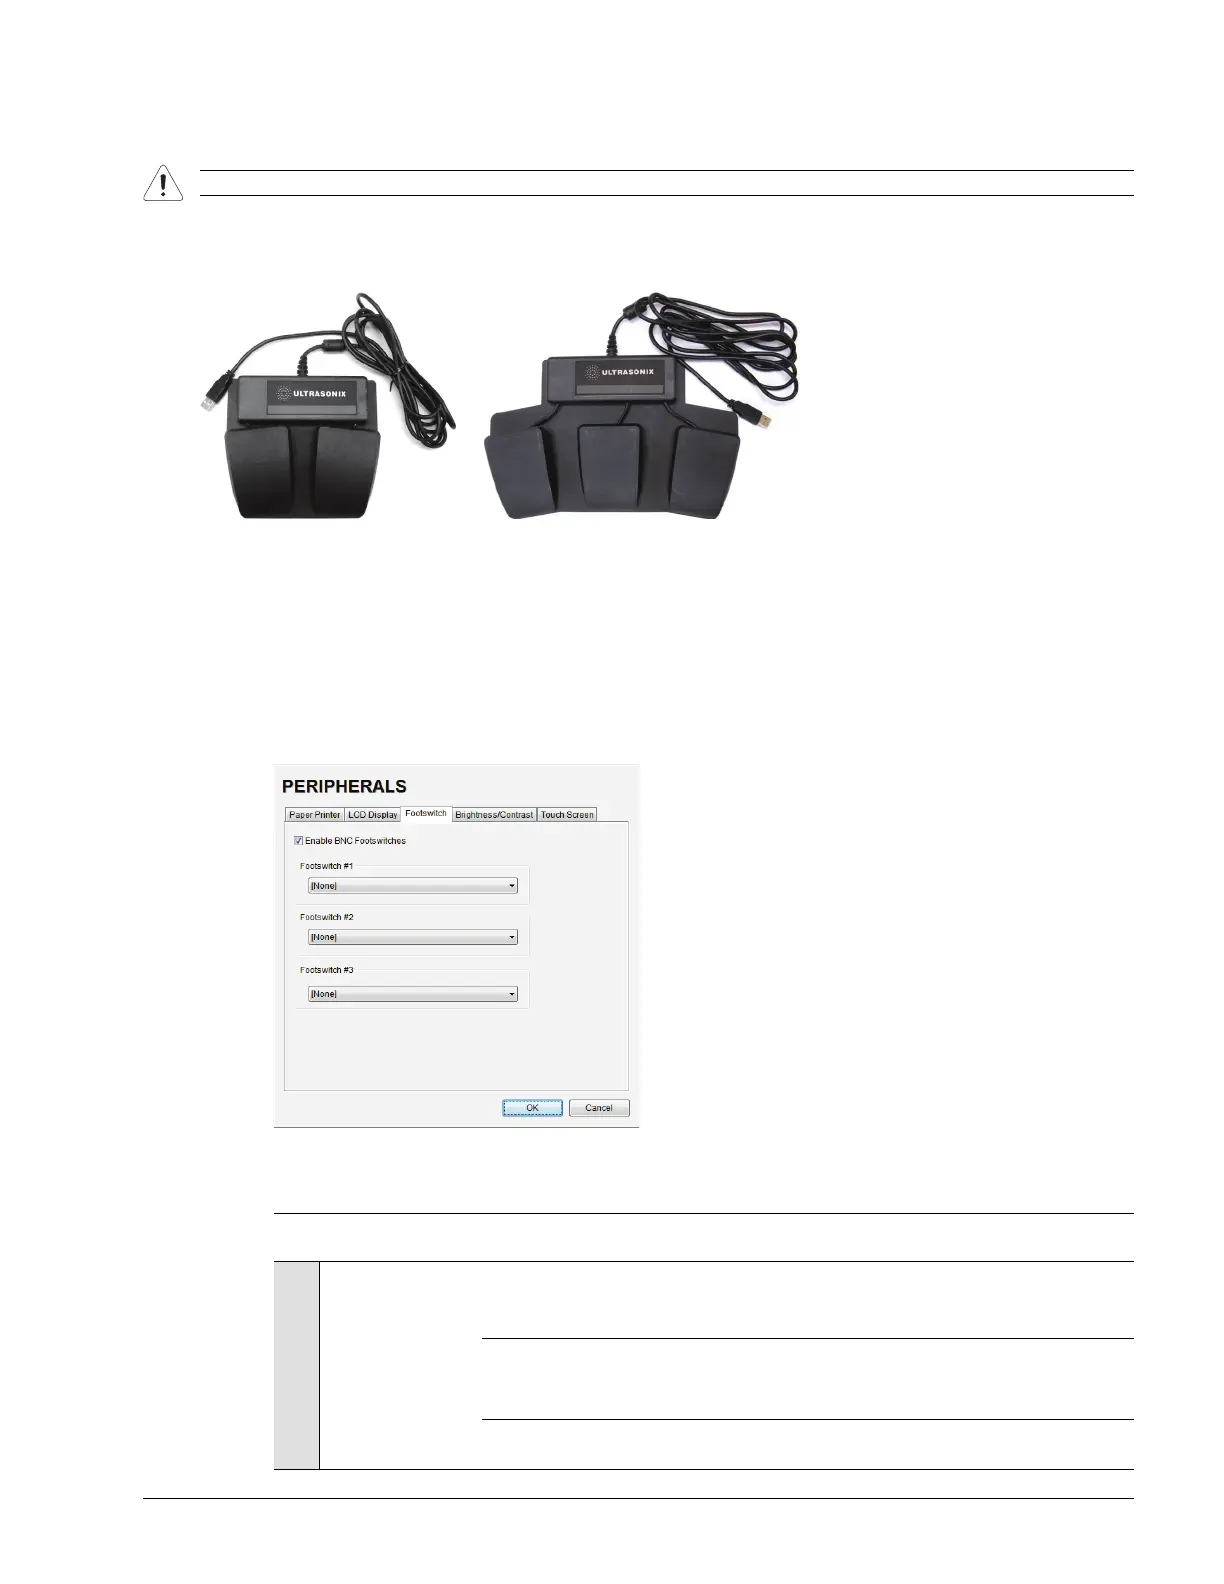
6.4 CONNECTING THE USB FOOTSWITCH (DUAL OR TRIPLE)
Connect the USB footswitch to the Back Connectivity Panel (7.3.3).
Figure 6-2: Dual and Triple USB Footswitches
6.4.1 Footswitch Setup
The Footswitch dialog allows the user to configure the desired operation for as many as three footswitches. There
are ten options: None, Print, Freeze, Quick Cine Record, Exam Management, Measurement, Exam Review,
SonixDVR, Next Transducer and Transducer 1, 2, or 3.
Figure 6-3: Peripherals – Footswitch
Table 6-3: Footswitch Options
Warning: Footswitch is rated IPX1 only. Do not expose to liquids.
Enable BNC Footswitches
Ensure an Ultrasonix-approved Footswitch has been connected, then select checkbox to
enable Footswitch operation.
Footswitch #1, #2, #3
None
Print
Freeze
Quick Cine Record
Exam Management
Measurements
Exam Review
SonixDVR
Next Transducer
Transducer 1, 2, 3
Select the action to be performed when a specific footswitch is pressed.
Note: The numbered transducer option corresponds to the equivalent transducer connector
(e.g., the option for Footswitch #2 is Transducer 2. When Transducer 2 is selected
and the pedal for Footswitch #2 is pressed, the system will switch to whichever
transducer is connected to the second transducer port.
 Loading...