Administrator’s Guide for SIP-T2 Series/T19(P) E2/T4 Series IP Phones
334
A photo.tar file is generated in the directory C:\Program Files\photo.
9. Place this file to the provisioning server (e.g., 192.168.10.25).
Customizing a Local Contact File
To customize a local contact file:
1. Open the template file using an ASCII editor.
2. For each group that you want to add, add the following string to the file. Each starts on a
separate line:
<group display_name="" ring=""/>
3. For each contact that you want to add, add the following string to the file. Each starts on a
separate line:
<contact display_name="" office_number="" mobile_number="" other_number="" line=""
ring="" group_id_name="" default_photo=""/>
4. Specify the values within double quotes.
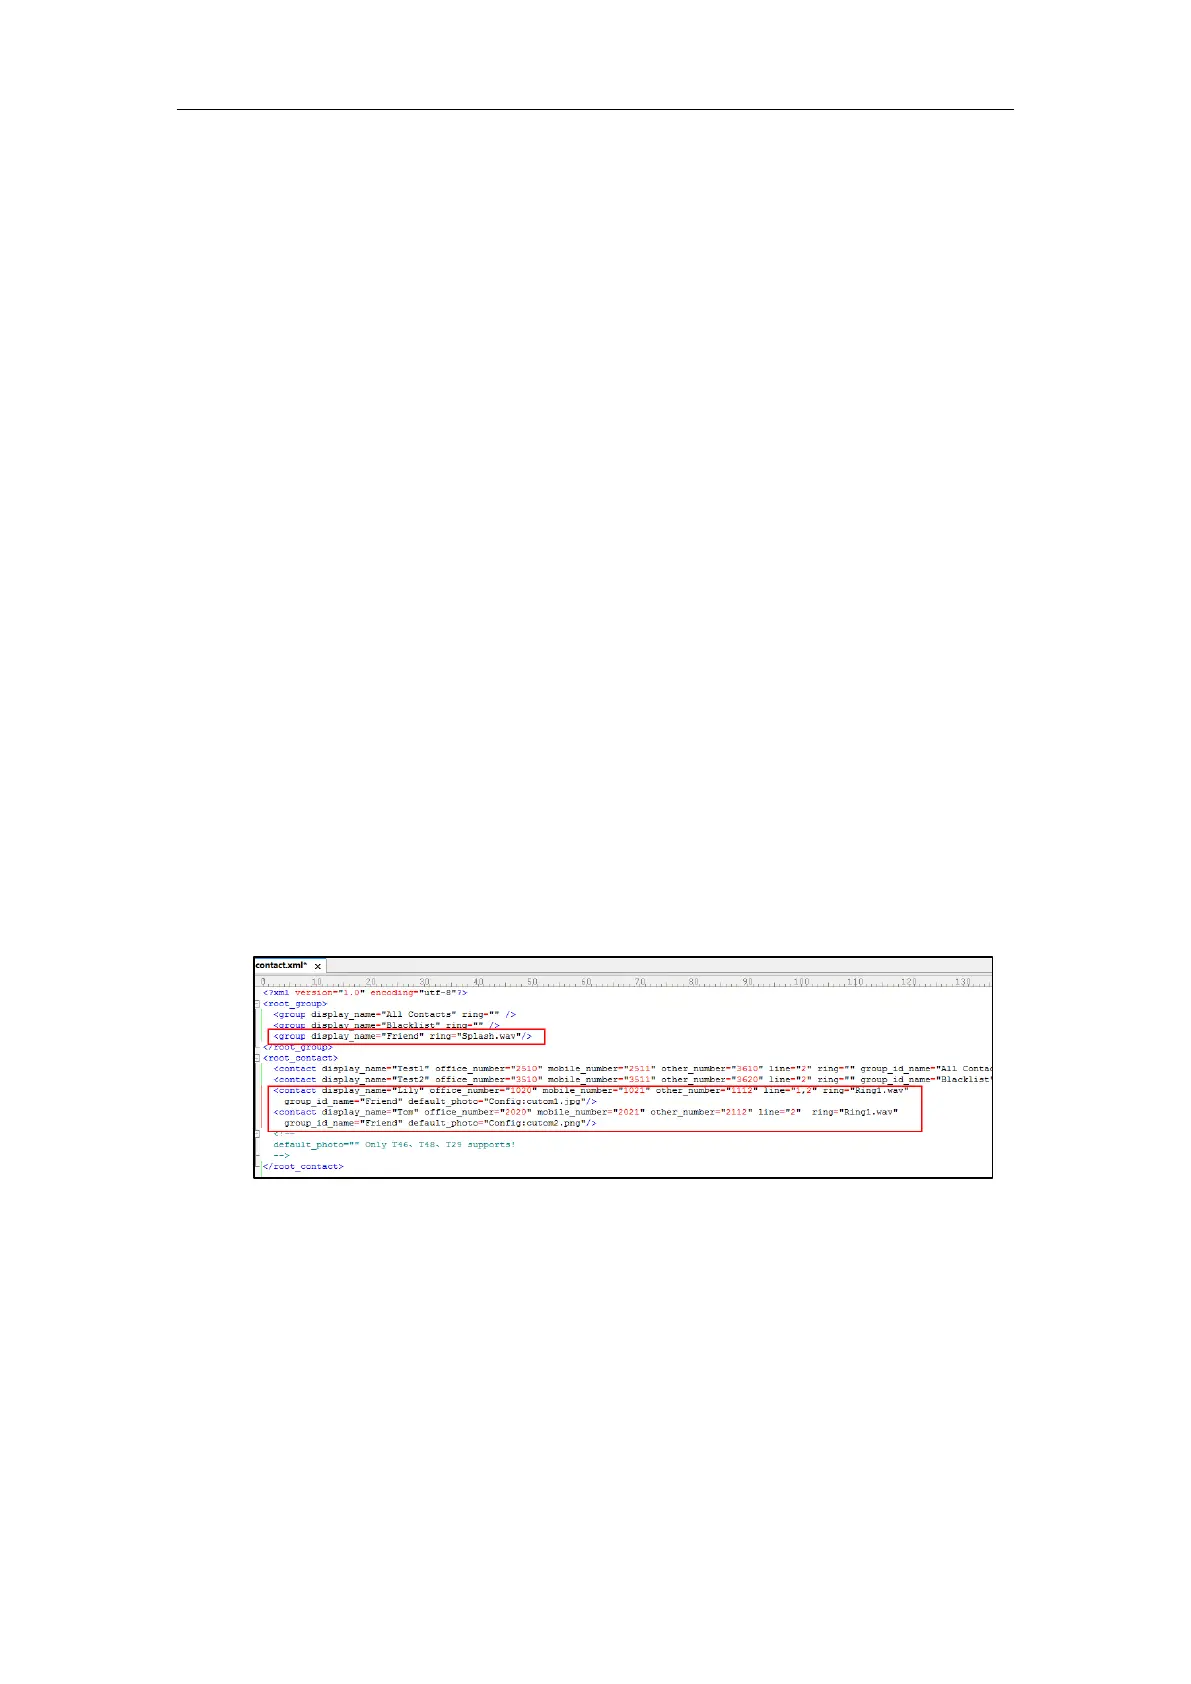
For example:
<group display_name="Friend" ring="Splash.wav"/>
<contact display_name="Lily" office_number="1020" mobile_number="1021"
other_number="1112" line="1,2" ring="Ring1.wav" group_id_name="Friend"
default_photo="Config:cutom1.jpg"/>
<contact display_name="Tom" office_number="2020" mobile_number="2021"
other_number="2112" line="2" ring="Ring1.wav" group_id_name="Friend"
default_photo="Config:cutom2.png"/>
5. Save the change and place this file to the provisioning server.
6. Specify the access URL of the custom local contact template in the configuration files.
There are three methods to specify custom avatar for contacts:
Method 1:
local_contact.data.url = tftp://192.168.10.25/contact.xml
local_contact.photo.url = tftp://192.168.10.25/cutom1.jpg
local_contact.photo.url = tftp://192.168.10.25/cutom2.png
During the auto provisioning process, the IP phone connects to the provisioning server
“192.168.10.25”, and downloads the local contact file “contact.xml” and avatar pictures
 Loading...