Administrator’s Guide for SIP-T2 Series/T19(P) E2/T4 Series IP Phones
336
formatted file (photo1.tar).
The custom icons: “cutom1.jpg” and “cutom2.png”. They are compressed as a tar
formatted file (photo2.tar).
For more information on generating a tar formatted file, refer to Preparing the Tar Formatted
File on page 332.
Note
To customize a local contact file:
1. Open the template file using an ASCII editor.
2. For each group that you want to add, add the following string to the file. Each starts on a
separate line:
<group display_name="" ring=""/>
3. For each contact that you want to add, add the following string to the file. Each starts on a
separate line:
<contact display_name="" office_number="" mobile_number="" other_number="" line=""
ring="" group_id_name="" default_photo=""/>
4. Specify the values within double quotes.
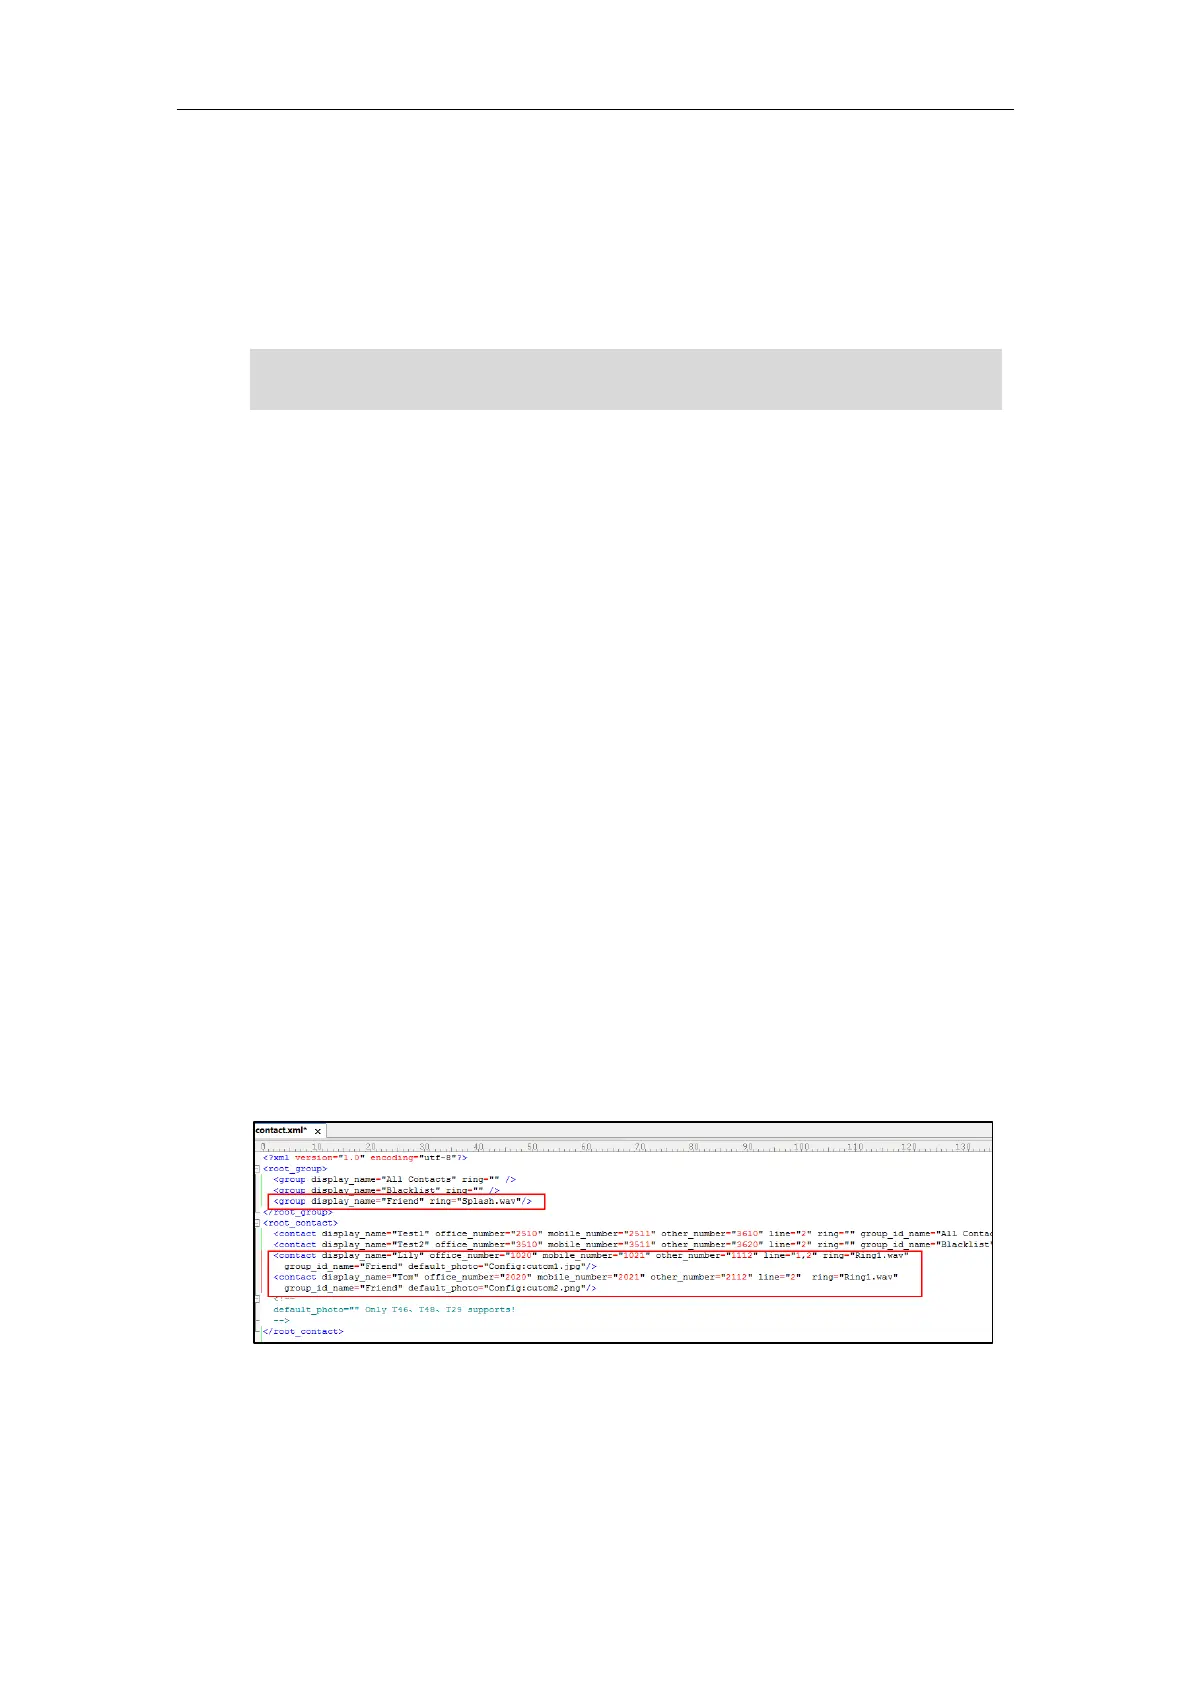
For example:
<group display_name="Friend" ring="Splash.wav"/>
<contact display_name="Lily" office_number="1020" mobile_number="1021"
other_number="1112" line="1,2" ring="Ring1.wav" group_id_name="Friend"
default_photo="Config:cutom1.jpg"/>
<contact display_name="Tom" office_number="2020" mobile_number="2021"
other_number="2112" line="2" ring="Ring1.wav" group_id_name="Friend"
default_photo="Config:cutom2.png"/>
5. Save the change and place this file to the provisioning server.
6. Specify the access URL of the custom local contact template file in the configuration files.
The custom avatar and icon can be different, but make sure the icon name is the same as avatar
name.
 Loading...