Administrator’s Guide for SIP-T2 Series/T19(P) E2/T4 Series IP Phones
884
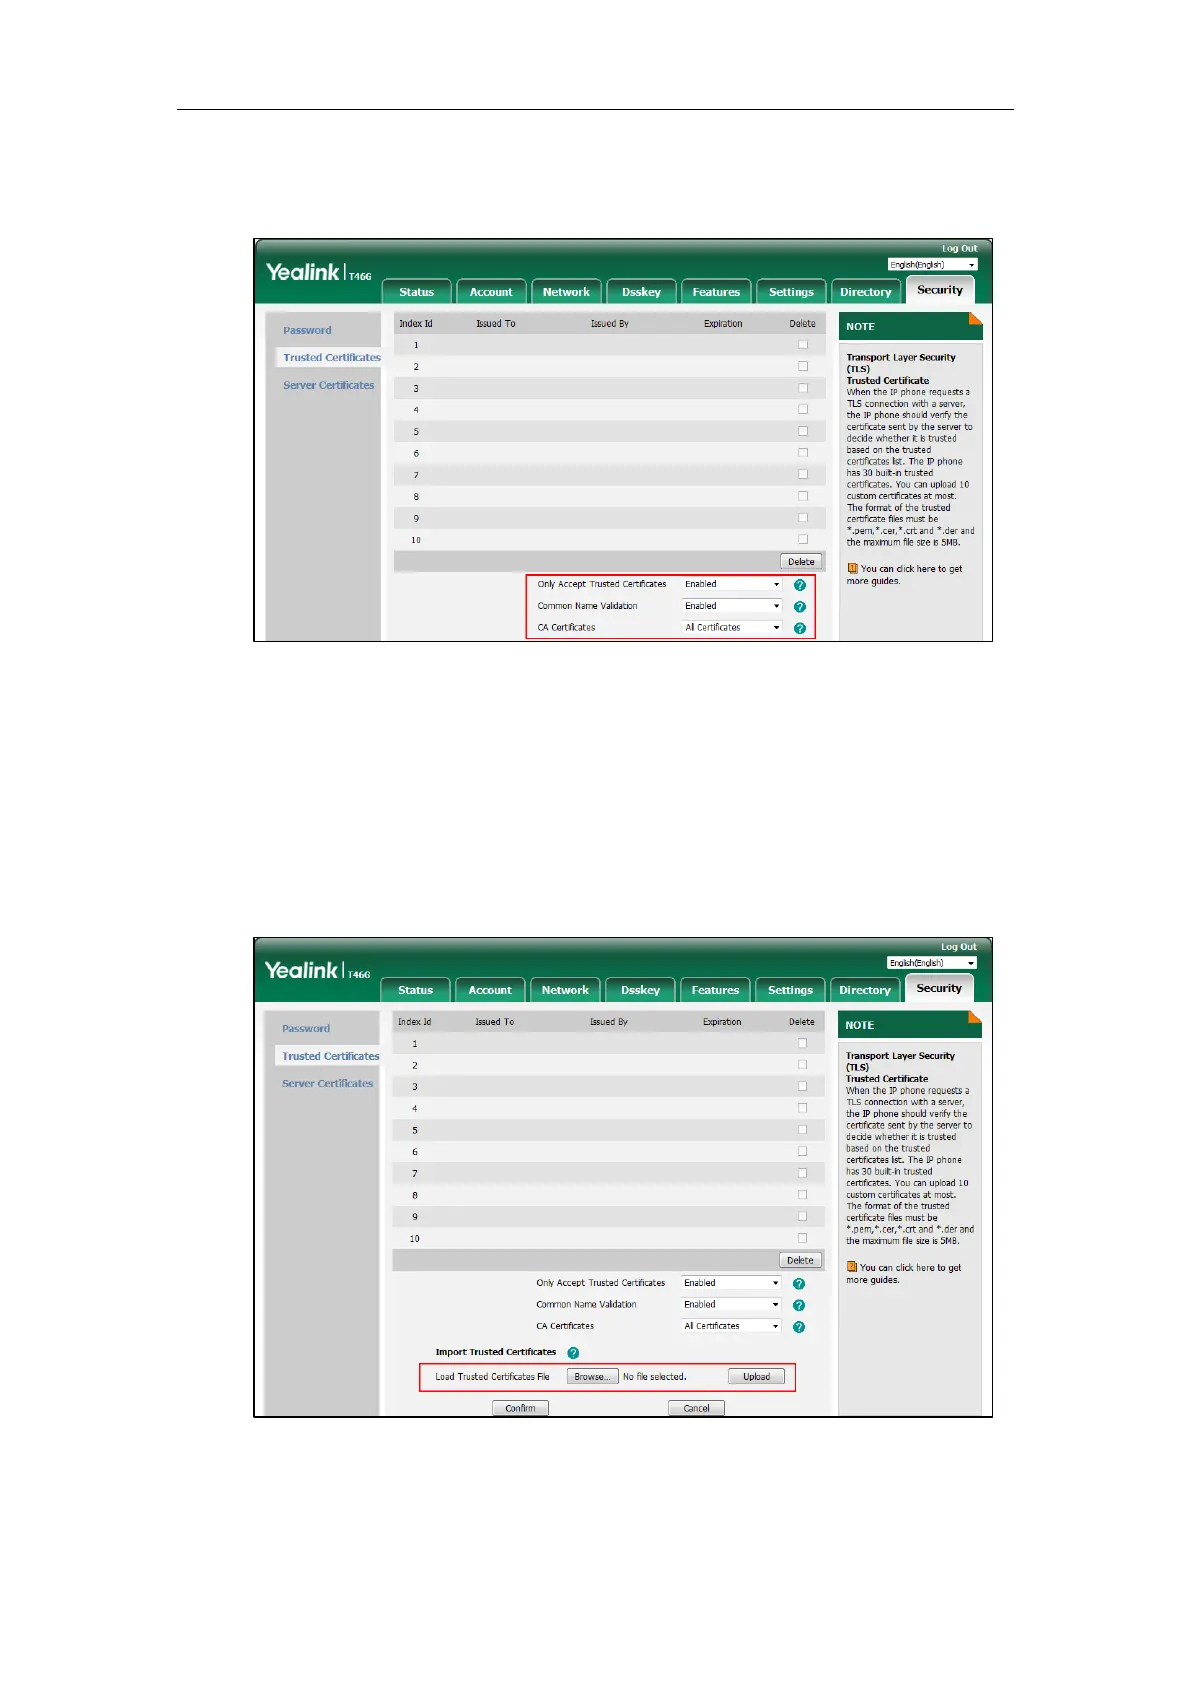
2. Select the desired values from the pull-down lists of Only Accept Trusted Certificates,
Common Name Validation and CA Certificates.
3. Click Confirm to accept the change.
A dialog box pops up to prompt that the settings will take effect after a reboot.
4. Click OK to reboot the phone.
To upload a trusted certificate via web user interface:
1. Click on Security->Trusted Certificates.
2. Click Browse to select the certificate (*.pem, *.crt, *.cer or *.der) from your local system.
3. Click Upload to upload the certificate.

 Loading...