13185L-002 Rev. A 1/24/06 110XiIIIPlus Maintenance Manual Page 4-107
Maintenance Section 4
5. Insert the coax interface board partially into the mounting slot, then attach the other
end of the interface data cable into the data cable connector at the rear of the coax
interface board.
6. Dress the ribbon cable behind the coax interface board as you slide the board
completely into the printer.
7. Fasten the coax interface board in place with the screws removed in step 2.
8. Reinstall the electronics cover.
9. Connect the 9-pin coax adapter cable connector to the mating connector on the
interface board.
10. Connect the coax cable from the host computer to the mating connector on the
adapter cable.
11. Set the DIP switches in the proper positions for the application refer to Table 4-5,
then reconnect the power cord and turn printer On (l).
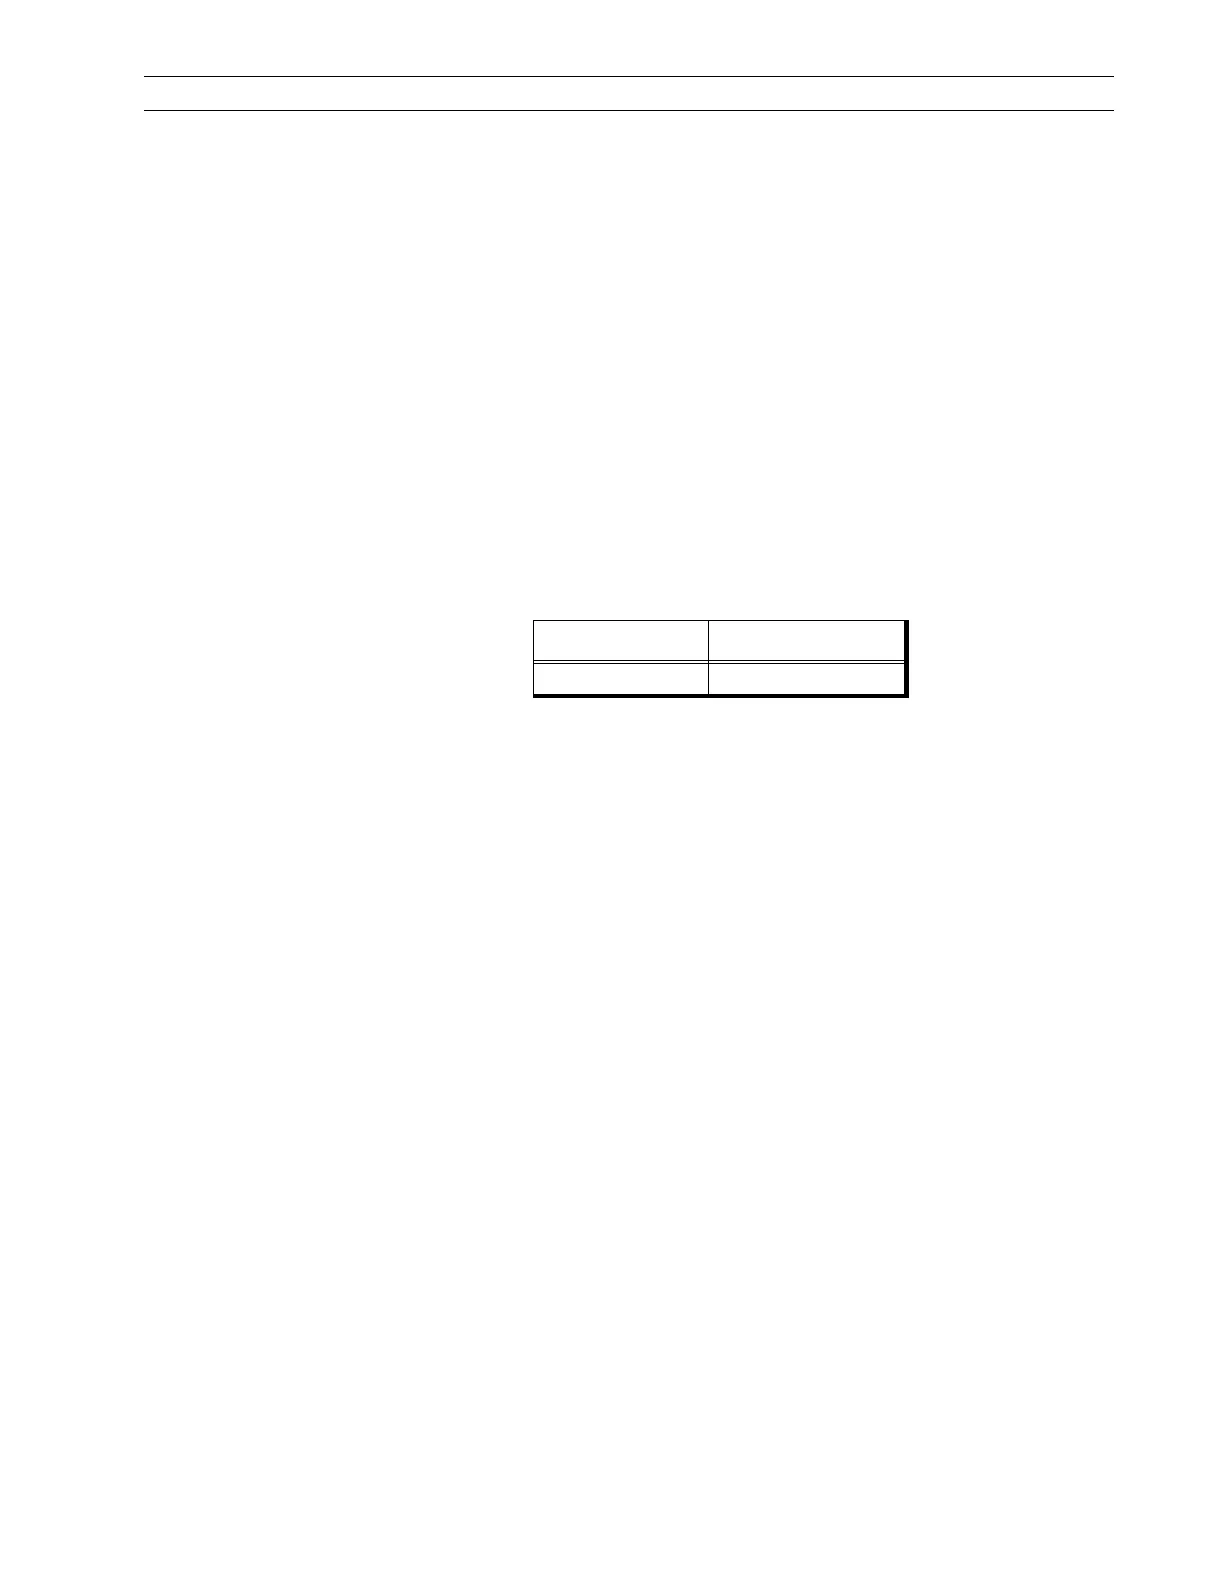
12. Ensure that the printer configuration is set to:
13. Send a sample label format from the host computer to the printer to test for proper
operation.
Parameter Setting
Host Port Twinax/Coax
 Loading...