Instructions for Use 13 Maintenance and Repair
2660021169042 Rev. A 2018-03 13.3 Performance Verification Check
2660021169042 Rev. A 2018-03 191 / 246
5. Select Optimize.
6. Select Cube 12 mm x 12 mm (512 x 512).
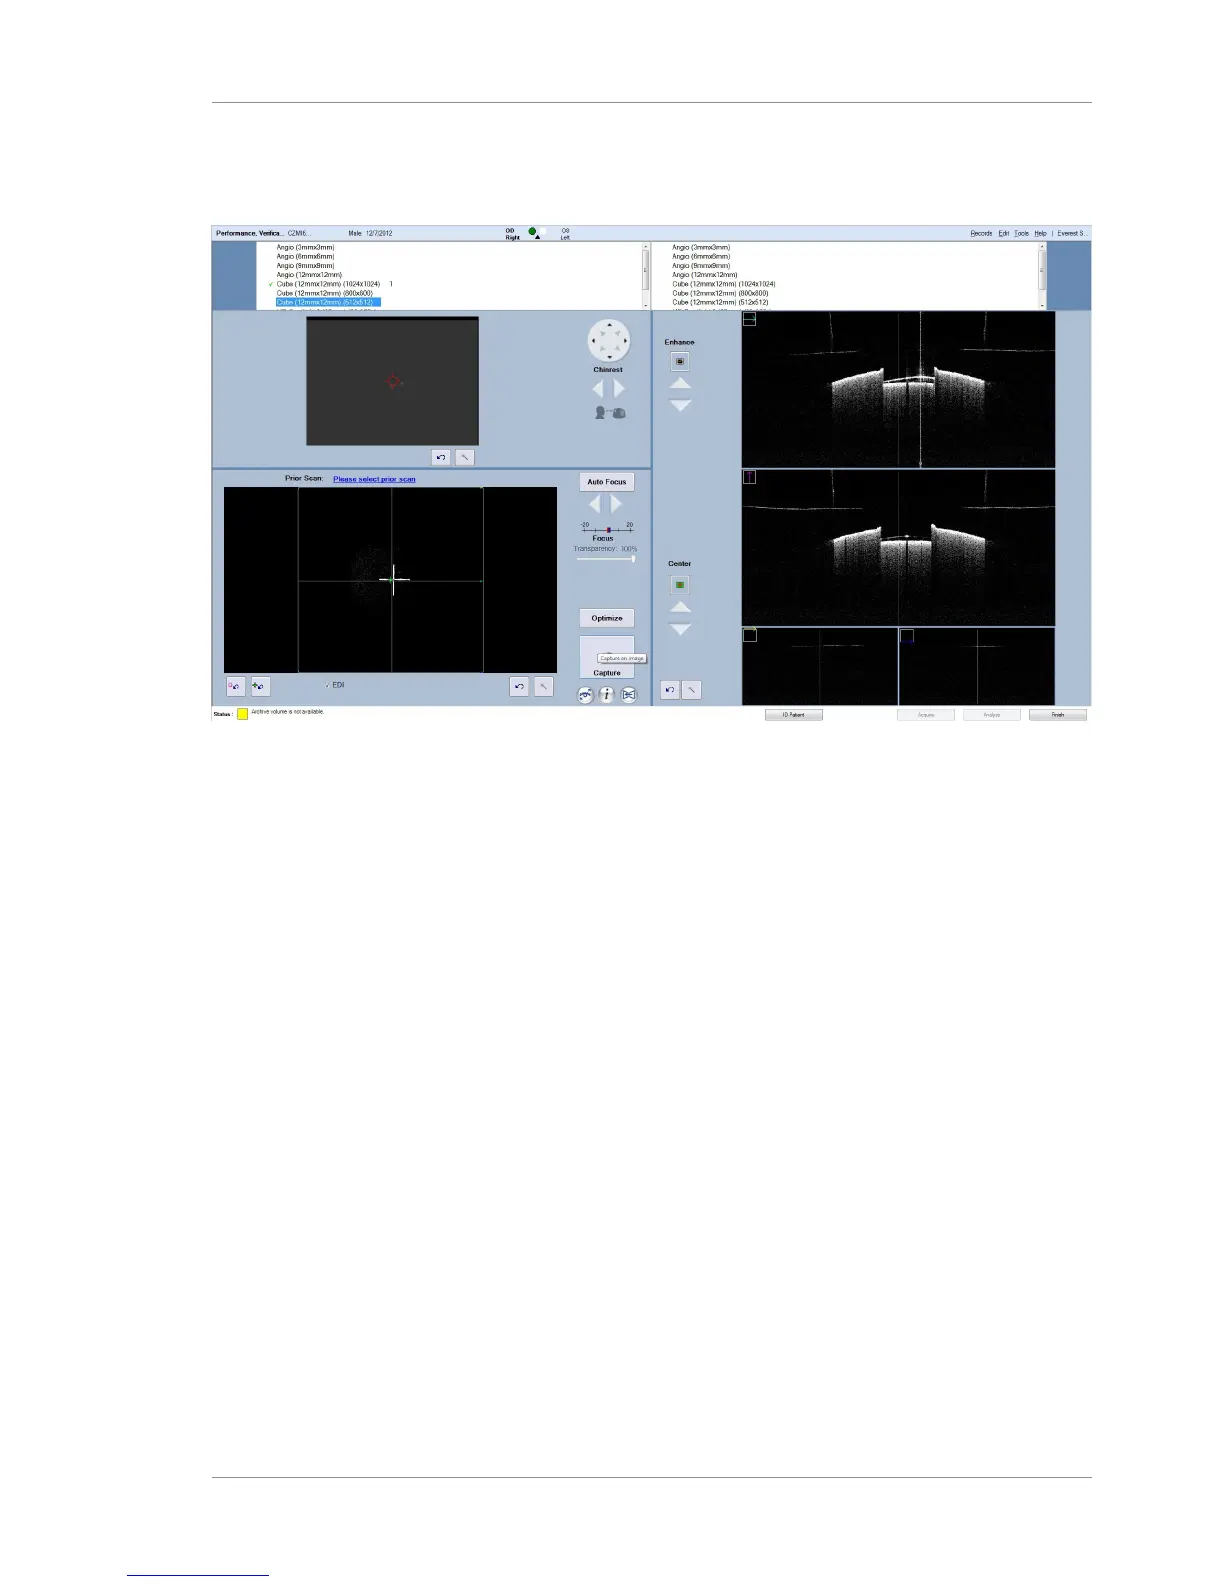
Figure42: Acquire Screen showing a default Cube scan
7. Click Auto Focus to get a clearer image of the cross–hair test
pattern. (Use the focus arrows if your system does not have
Auto Focus activated.) Besides focus, other adjustments
usually are not necessary, although possible.
8. Click Capture and then select OD or OS in the Select Eye dialog
that appears. The Review screen appears automatically.
9. NOTE!Image appearance or signal strength have no
bearing on the co-alignment of the scan and fundus
images, which is what this test evaluates. If necessary,
you can adjust the brightness and contrast later in the
Analyze screen when evaluating the test, but otherwise
no adjustment is necessary. Click Save and then either
Finish or ID Patient to exit data acquisition. You will return to
the ID Patient screen.
10. Select the Performance Verification patient again and click
Analyze.
11. In the Analyze screen, select the scan you just saved.
12. Select En Face Report in the right-hand column.