Illustration/NoteAction
xx1500000485
A M16x60 Hex socket head cap
screw, 3HAB3409-86 (6 pcs)
B Ø30xØ17x3 plain washer,
3HAA1001-186 (6 pcs)
Remove the screws and plain washers in the
holes of the pedestal.
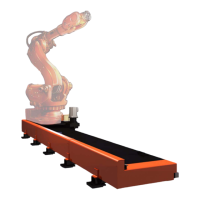
3
Fit two guide bushings to the hole on the car-
riage table of the robot track according to the
orientation of robot.
4
For the guide bushing assembly positions, see
Assembly position on page 112.
Make sure the pedestal is correctly
fitted onto the guide bushings.
Guide the pedestal gently, using the screws
while lowering it into its fitting position.
5
Refit the securing screws and plain washers
in the attachment holes of the pedestal.
6
Lift the robot back and gently put it onto the
pedestal. Refit the securing screws and plain
washers in the attachment holes of the robot
base.
7
Tighten the bolts in a criss-cross pattern to
ensure that the base is not distorted.
8
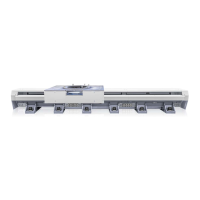
Product manual - IRBT 2005 115
3HAC051130-001 Revision: F
© Copyright 2015 - 2018 ABB. All rights reserved.
2 Installation and commissioning
2.5.3 Changing manipulator orientation
Continued