29601–426 /17 F70 Series
When grey, the function is not enabled.
When blue, the function is enabled. See the figure in chapter “LCD Status screens”, page 26 where the
dashboard page shows the highlighted Brilliant Color mode, Digital shift and Digital zoom.
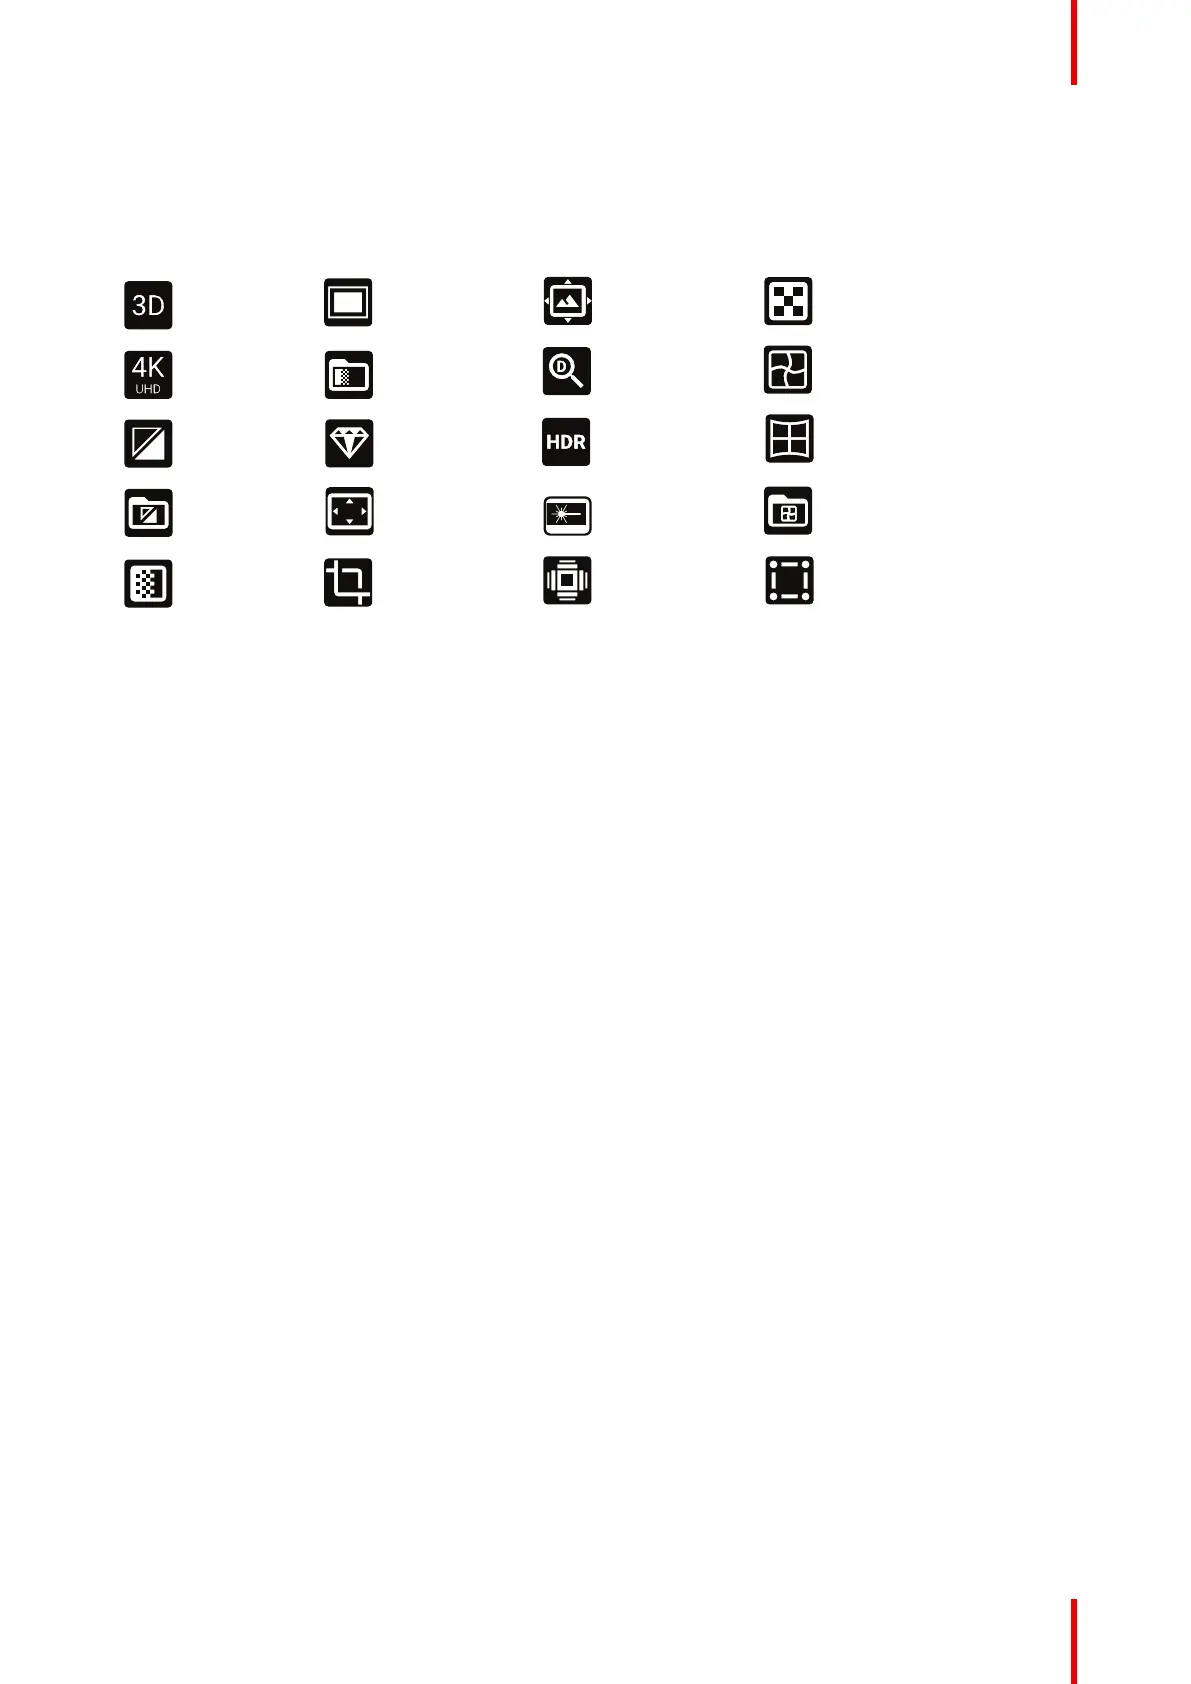
Symbol explanations are showed in the figure below.
3D
4K
Black Level
Black Level les
Blend
Blend Black level
Blend Files
Brilliant Color
Feature 16:9
Crop
Digital Shift
Digital Zoom
HDR
Laser
Smear Reduction
Test Patterns
Warp
Warp Bow
Warp Files
Warp Four Corners
Image 2–8 Dashboard Symbols explained
2.5.5 OSD Menu mode
About.
This is the projector setup menus, explained in detail in their own chapters in this manual. (Source menu,
Image menu, Installation menu, System Settings menu, Status menu).
2.5.6 LCD functionality in Ready Mode
About
When the projector is in Ready mode, it is possible to activate and navigate in the projectors menu on the LCD
display, in order to set or check values and settings before the lamp is switched on.
Ready mode is enabled either when the power cable is connected (after the startup sequence), or when
pressing the Power Off for 4 seconds when the projector is in On mode. See chapter 5.4 Power Mode
Transitions for a graphic presentation of the ready mode.
Procedure
When in ready mode, press the Menu button either on the remote control, or the keypad to enter the menus.
Navigate by using the arrow and OK keys, either on the remote control or the keypad.
2.6 Local keypad
About
The Keypad gives direct access to several functions, in addition to access to the menu system. The keypad
and remote control functions are equal.
The keypad has a back light that can be switched on and off manually. The light turns off automatically after a
preset time.
The Standby key is equipped with white, blue and red backlight depending on the status of the projector. See
table in “Power on / Standby button backlight indications”, page 25 for info regarding this.
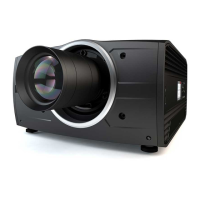
Getting to know the projector.