71601–426 /17 F70 Series
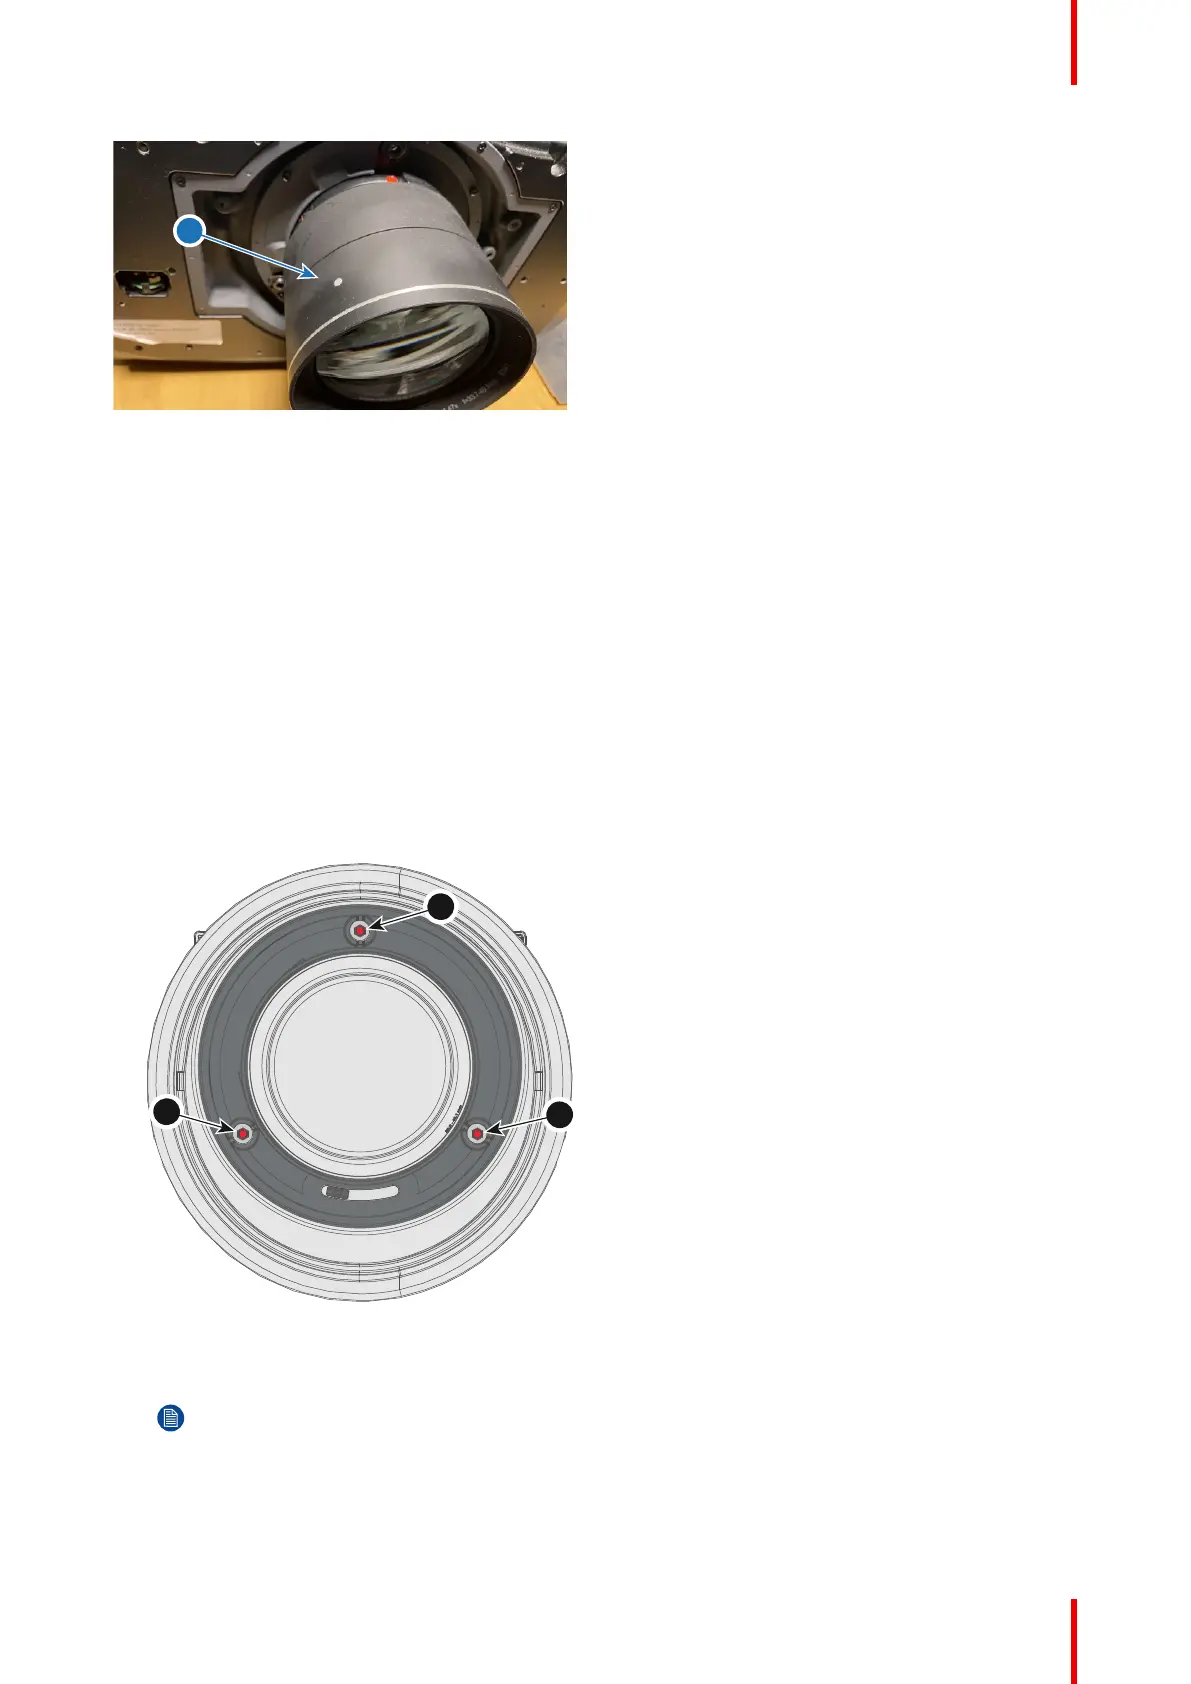
Image 4–8
Preparation
1. Prepare the test area. Barco recommends a projector-screen according to the table “Lens distance” above
to be used for all Scheimpflug adjustments.
Verify that the throw ratio of the installed lens matches the requirements of the installation area (projection
distance and screen size).
2. Check that the lens is correctly installed, and lens shift is in centre position.
3. If the installed lens has Iris control, open the Iris all the way up.
4. Open the focus ring all the way up.
5. Go to Main Menu / Test Patterns / Full Screen and select to display the Focus test pattern.
6. Zoom the lens to its widest opening (maximum image size on the screen).
Apply a Scheimpflug correction
1. Loosen the three set screws (reference 1b, 2b, 3b). Use a size 6 hex key to do this.
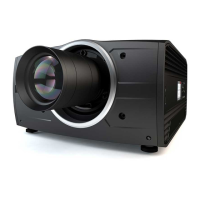
Image 4–9
2. Adjust the left side Scheimpflug adjustment screw (reference 1 in the next figure) until the test image in the
top left side of the screen is in focus. Use a size 4 hex key to do this.
Note: This process may cause the other areas of the image to slide out of focus. This is totally
normal.
Physical Installation