Page 340 of 479
event so that operator action will be continuously present for the time defined at “holding”, such that the PLC
will receive the operator action properly.
If the operator touches a button and releases his/her finger instantly, it is called a “Clicked” action.
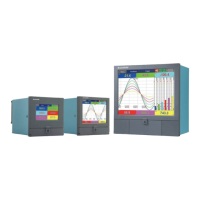
During this time, a total of three actions will be executed. Click, Pressed and Released
Case-1
Holding time = 0
In above example, Tag1 value becomes 3
Case-2
Holding time = 5000m sec
In the above example, if the scan time for Tag1 is 1000m sec, the Tag1 value becomes approximately 8.
When the button is clicked, the “Clicked” and “Pressed” event action occurs, and the Tag1 value becomes
2. Since the holding time is 5 sec, for the next 5 seconds, the Tag1 value is incremented by 1 each second.
So, Tag1 value becomes 7. When the button is released, Tag1 value is incremented by 1 again, so it
becomes 8. The above example is for illustration only to understand about events for the button object.
Pressed: Define the action that happens when a user continuously presses on a button. If
required, it is possible to configure Auto repeat and interval time for this action.
Once an operator touches a button, the “clicked” event will be executed first. If the operator keeps
holding the button continuously, the “pressed” action will continuously be executed. When the operator
releases their finger, the “released” action will be executed.
Auto repeat: On, Time interval=1000 m sec. In this example, the Tag1 value will first increment
by 1, then it will keep incrementing by 1 once every 1000 m sec. as long as the operator presses the button.
The Tag1 value will also be incremented by 1 when the operator releases the button.
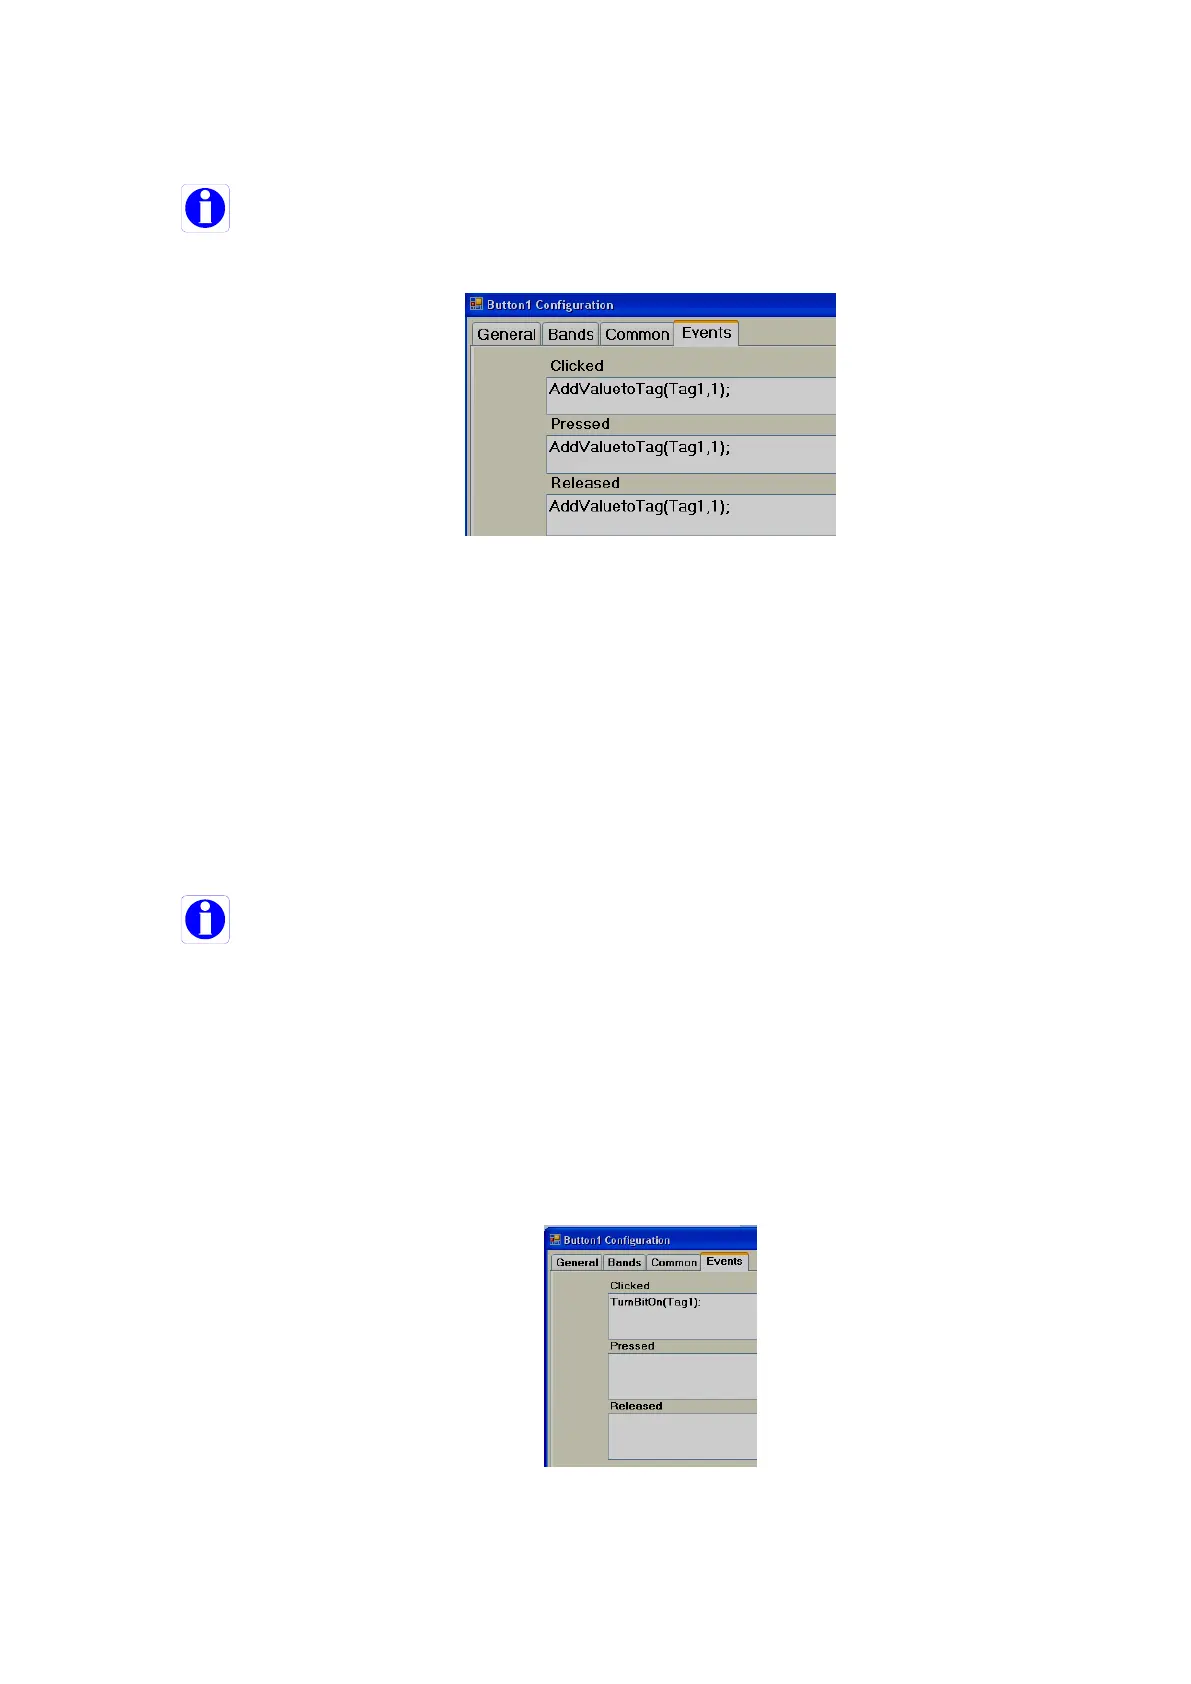
Released: Defines the action when the user releases the button
Switch Function
With this function, two buttons are required. One button to turn a tag ON, and a second button to
turn a tag OFF.